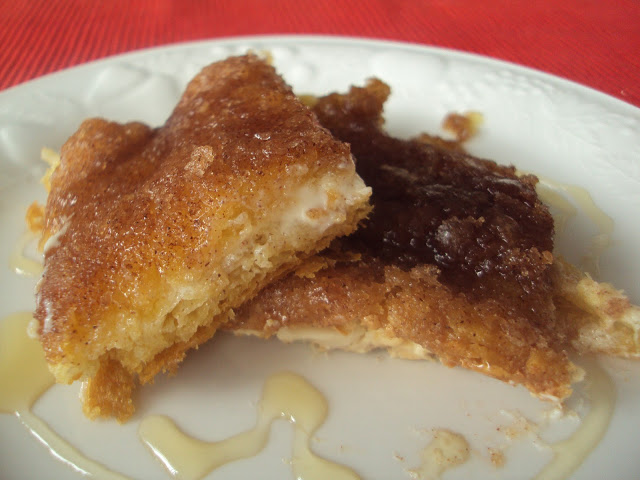
Sopapilla Cheesecake Bars


Here’s a way to make an easy version of a Mexican favorite!  (So-pa-pee-ah)

Ingredients:
2 cans (8oz ea.) refrigerated crescent dinner rolls OR Pilsbury Crescent Creations Seamless Dough
2 packages (8oz ea.) cream cheese, softened
1 1/2C Sugar, divided
1 tsp vanilla
1stick butter (1/2C), melted
1 T ground cinnamon

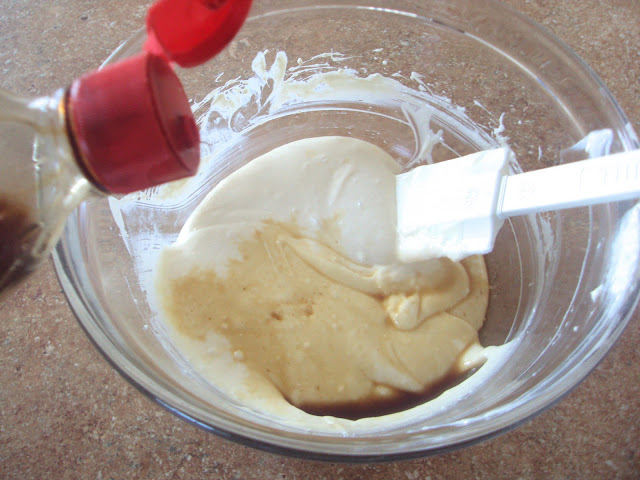
First mix together the softened cream cheese and 1 cup of sugar, then add the vanilla.  
I don’t like to measure vanilla. Just splash it in…you can’t go wrong.  Go ahead, try it. I can almost guarantee it’ll make you happy. 😉 Then stir it until it’s nice and creamy.
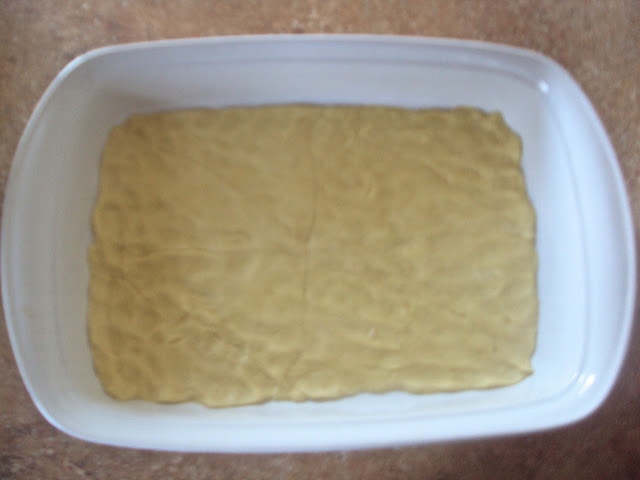
Next, unroll one can of crescents into the bottom of a 9×13 pan.  Press together the seams and fill out the pan to the edges like this:
Pour the cream cheese mixture over the bottom layer of crescents 
Then unroll the second can of crescents over the cream cheese mixture. This part is a bit trickier than the first.  Sometimes it helps to unroll the dough on the counter, press the seams together, roll it back up and then unroll it again over the mixture.  Either way it’s a sticky, tricky job.  But don’t worry about perfection. It ends up looking DELICIOUS, no matter what. 
Then…you know what to do.  That’s right…pour–that–butter!  You might be thinking, “Why in the world would I need ALL THIS BUTTER?”  I will happily answer that question for you.  Because it’s good.  And because it gives the whole top of the dish a deep-fried-with-butter effect.   
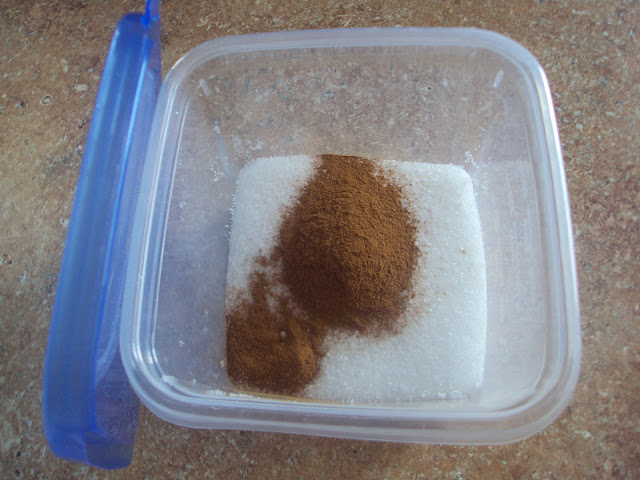
Now, you’ll mix 1/2 C of sugar with 1T of ground cinnamon.  
I like to put it in a container with a lid and shake it up!  
After you do that, sprinkle it evenly over the melted butter. Mmmmm. I can taste it now.

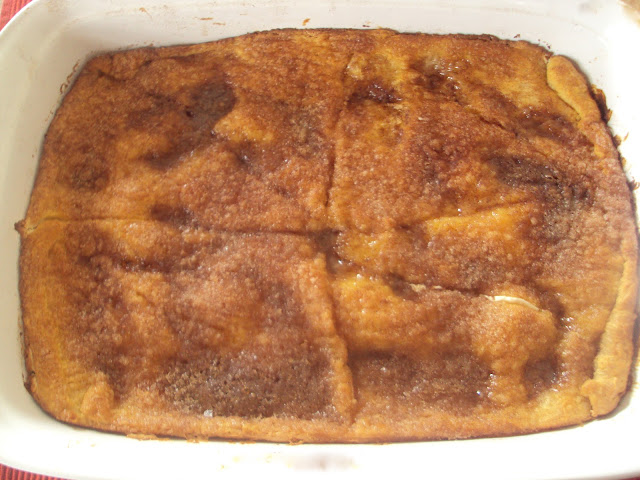
Bake for 30 minutes at 350* and let it cool a bit before you cut into it.  Let me show you, again:
Mmmm. Mmmm. Mmmm. Fabuloso! 


DIY All Natural Deodorant–non food

Is this a recipe? Yes.  Should you serve it with a side veggies? No.  But you could confidently wear it to a special dinner feeling fresh and dry. You can even count on it to eliminate odors.  After my husband became allergic to one deodorant after another, we gave up and decided to search out a more natural alternative.  My friend Cindy introduced us to this recipe.  For us, it literally works–ALL DAY.  And the most important benefit is that you get to miss out on all of the harmful ingredients that you find in store-bought Antiperspirants.  You can find a list of those HERE.  And it’s simple to make:

Ingredients:
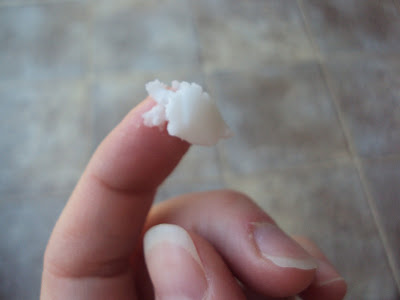
1/3 C Coconut Oil (in it’s soft solid stage, room temp. Somewhat resembling Crisco)

1/4 C Baking Soda (You know…the greatest–all-time–odor absorber!??)
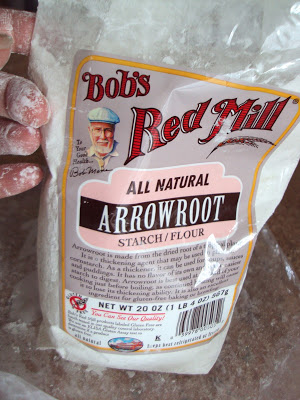
1/4 C Arrowroot Powder* (found in the whole food section or baking aisle or a whole foods store)
    *I’ve recently researched that you could substitute Corn Starch for the Arrowroot Powder, but I haven’t personally tried it.

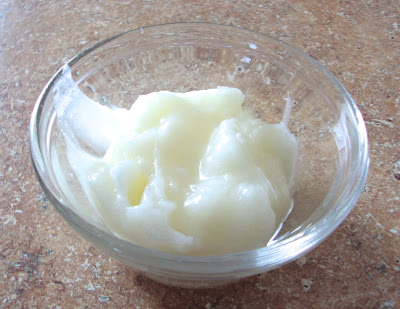
Measure and mix all ingredients in a small or medium size bowl until smooth and looking a bit like this:

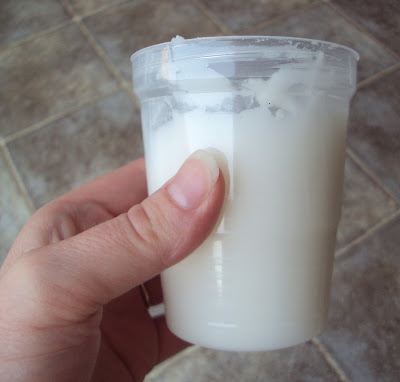
For a container, I used a small freezer jam jar. They’re plastic with a nice tight-fitting lid…and just the right size!  I made the mistake of trying to stir it all together in the jar.  What a mess!  Eventually we got it…but please, learn from my mistake.

Now you’re ready to use it!  All you need is a small amount on the end of your finger tip for each application (I was going to say “for each pit” but that didn’t sound very lady-like…lol).  When you’re applying the deodorant in a paste, like this, just rub it in until you feel the coconut oil softening or melting. Then you’re good to go!

I’ve always wondered if I could somehow maneuver this mixture into an empty deodorant container. Hmm….Maybe I’ll try it sometime.

*Make sure to store in a cool area.
*If your Coconut Oil does liquify after you’ve made the mixture (like…you forgot and left it in the bathroom while you took a steamy shower), just stir it well and return to a cooler area.
*If you don’t over apply, this stuff will last you a long, long time!

–Jamie

Nutty Apple Salad

A cool summer salad for hot summer days. Think of things you like with Peanut Butter and it might be in this salad!  
Ingredients:  
2 Granny Smith Apples
3 stalks of Celery, diced
2 C seedless grapes, halved
1 C mini marshmallows (I omitted these in a valiant effort to use less sugar, but by all means…toss ’em in!) 
1/3 C cold Evaporated Milk
1/2 tsp sugar (I used a squirt of Agave Nectar)
1/4 tsp vanilla extract
3T Mayo (I used Vanilla Yogurt because I despise mayo!) 
3T (heaping Tablespoons) creamy Peanut Butter
1/2 C mixed nuts (or nuts of your choice), chopped
Prep:  Before you even think about getting your celery and fruit chopped up, put a medium sized glass or metal bowl in the freezer and a can of evaporated milk in the fridge. You’ll want them both nice and cold. Ok…now you can chop the apples, dice the celery, half the grapes and set them aside. And if you’re using marshmallows, add them in with this stuff.

After your bowl is nice and COLD, take it out of the freezer–maybe with an oven mitt so it doesn’t stick to your hands…and don’t lick it 😉  You know I’m thinking of the Christmas Story, right? Ok…moving on:

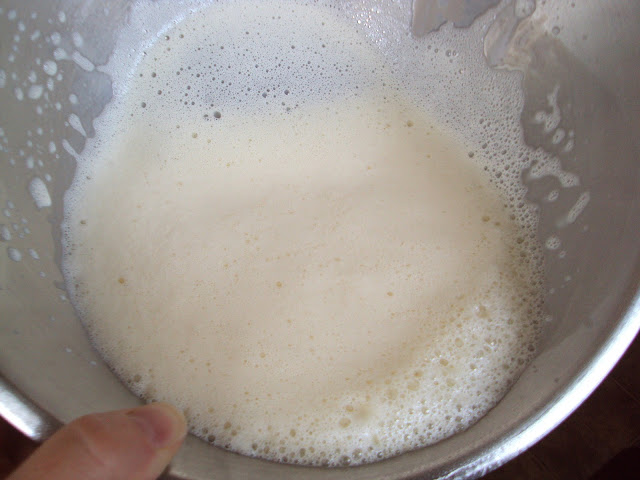
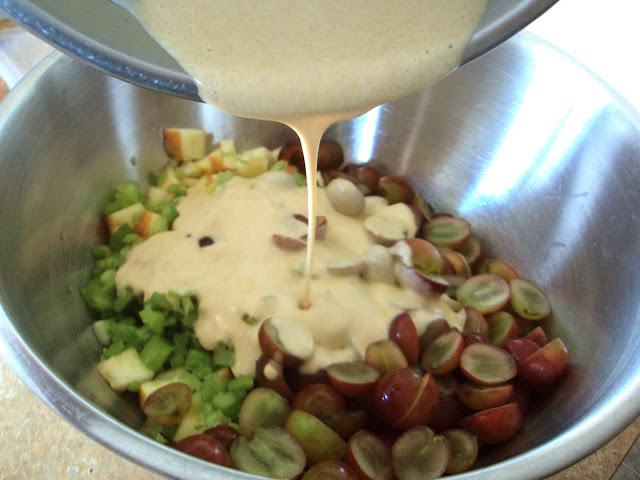
Next, pour the cold evaporated milk into the cold bowl and beat it on high with a mixer until it’s nice and frothy (I love that word).  Beat in the yogurt and PB, take a little taste, then pour the mixture over the solids.

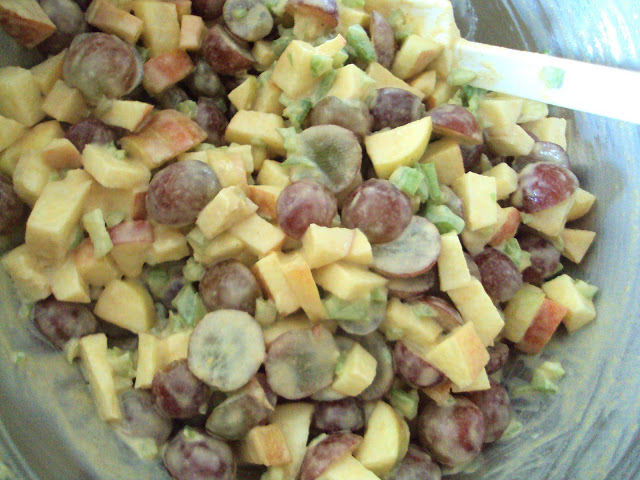
Stir it all together and chill until serving.  Yum!

Pepper Rubbed Pork

I found this recipe for pork rub on a little sticker attached to a pork loin roast. After trying it, I just couldn’t let it go undiscovered! Great for roast or chops.

The Rub:
1/2-1tsp ground pepper (depending on how spicy you want it)
2 tsp each: dried basil, rosemary, thyme
2T Grated parmesan cheese
1/4 tsp each: garlic powder and salt

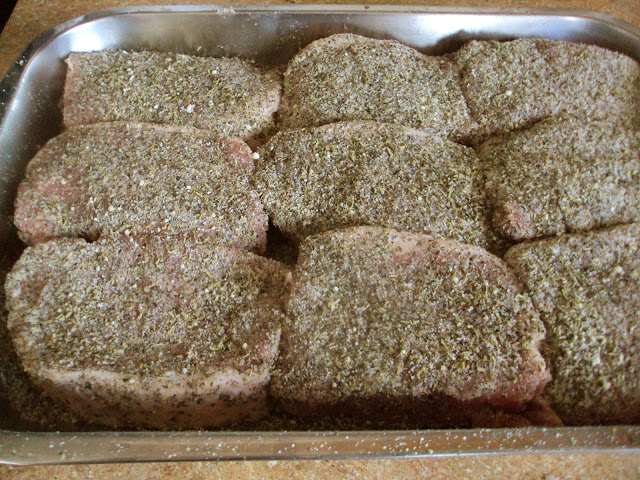
Combine all of the ingredients together in a small bowl and apply liberally to all surfaces of your pork. The first time I used the rub, it was on a pork loin roast. I had just enough to cover the whole thing.  When I made these chops, I doubled the rub recipe. It seemed there was more surface area to cover since I was working with the front and back of each piece.  Now here’s where you can choose your own adventure!


If you plan ahead and have some time before dinner:  Place the pork chops in a 9×13 dish with a splash of water in the bottom, cover tightly with foil and bake for about 3 hours at 300*. 
Now, I know some will warn you not to cook them too long for fear of drying them out.  I will say this:  If you’re foil is on tight, and your temp is not too high. They will be juicy, slow cooked chops.  The longer they bake the better, if you ask me.  They were falling to pieces!  Mmmmm!  And the flavor? WOW! 

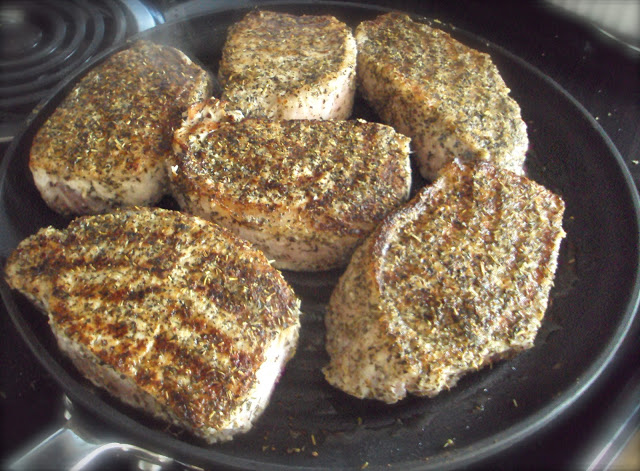
Or, if you’re ready to get dinner on the table sooner than later:  Let the pork rest with the rub on it, preferably in the fridge, for about 10 minutes or so.  It just gives the pork juices a chance to mingle with the spices.  Then…I used my marvelous grill pan (any pan will do) to sear the flavors and juices into the pork.  About 3-5 minutes on medium heat on each side. Then another 10-12 on each side to cook through (internal temp. should read between 140-160.  I always shoot for 160).

   Enjoy!  (I know I did =)

“Healthy” Chocolate Sauce

A few weeks ago my husband came out of the kitchen sporting the evil scientist laugh.  “MWAHAHAHAHA!” What had he created now? Healthy chocolate sauce!  I realize this may not be a new concept to the world (according to Google), but do you think my husband would research recipes online? …I don’t think so.  He did this all-by-him-self.

Get this: It’s easy  
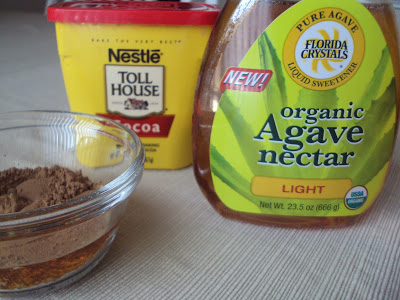
2 parts Cocoa Powder
3 parts Agave Nectar 
Mix the parts together…
keep mixing…keep mixing…that’s right, you’re getting there. 
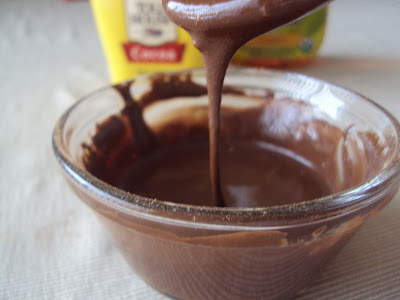
And finally! The Agave bursts through and you have a lovely sauce.  
If this is too “dark” for your taste, just add more Agave.

How do you use it?
Chocolate Milk
Add a dash of salt a splash of vanilla for Hot Chocolate
Drizzle on pancakes, cakes, cookies, pies brownies, etc…
What will you use it for?  Please leave comments. I would LOVE to know!
If Agave Nectar is new to you. Check out some really interesting info HERE about it.  Long story short: It’s better for you than sugar in almost any form.

Banana Oatmeal Chocolate Chip Muffins (No Flour)

I’ve been looking for more recipes that don’t include flour and/or dairy.  By way of Pinterest, I found this one!  *If you want a totally gluten-free version, simply use the gluten-free oats. =)

Ingredients:
3 Very ripe bananas, mashed 
1 C Vanilla Almond Milk (I used original flavor almond milk and it was still yummy) or cow’s milk
1 T Coconut Oil (optional: helps to moisten the oats a little more and make the outer layer crisp) 
2 Eggs
1 T Baking Powder (Yes, Tablespoon)
3 C Old Fashioned, Quick,  or Gluten-Free Oats (I know, that’s a lot of options 😉
1 tsp Vanilla
As many MINI chocolate chips as you like (I used about 1/2 C)
PREHEAT OVEN TO 375* (I put that in bold type because I seem to always forget this step)
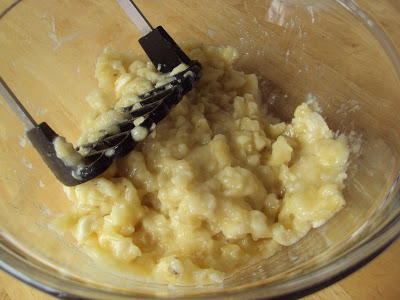
First, mash your bananas

Mix together all of the ingredients except for the chocolate chips and 
let the batter sit while you’re preparing the muffin tins. 
*This is really important in this recipe because it gives the oats a chance to release their natural thickening agent.* I was AMAZED at how these turned out looking like I had added flour.  

Spray your muffin tin with non-stick spray or use muffin liners. 
Give your batter another quick stir as you add the chocolate chips.
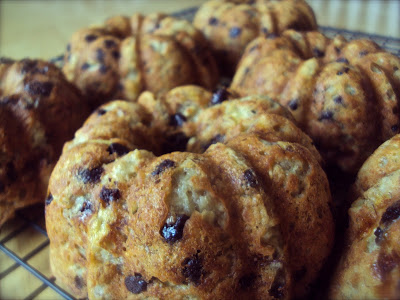
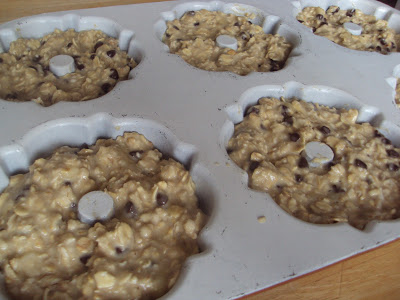
Evenly divide the batter into approximately 15-18 muffins.  (Or 6 mini bundt ca)
Bake 20-30 minutes. My first time making this recipe I used regular muffin tins with liners. You can attempt to eat them while they’re hot, but the muffin liners may not come off very easily.  You’ll definitely have a better time getting them off when they’re cool.  
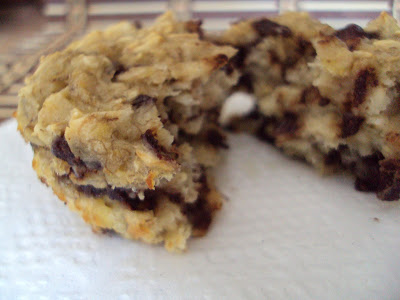
Have I mentioned what a great texture these guys have?  Great texture. 
*Adapted from Green Lite Bites Banana Oatmeal Cups with Chocolate Chips

Zucchini Pizza Bites

We’re always looking for ways to sneak veggies into our meals.  We have found that 
zucchini is stealth.  And what better way to disguise it than as Pizza?  

All you’ll need is:
1 or 2 medium size zucchini
1T olive oil for brushing
About 1C Pizza sauce 
1/2 C (or more) grated parmesan cheese
Pepperoni (or any other pizza topping of your choice)
Shredded Mozzarella cheese
Wash the zucchini and slice them into rounds
Lightly brush each round with a little olive oil and toss it on the grill. 
Cook for about a minute on each side
I used my new grill pan today. =) (Thank you MIL!) 
 Once you see some nice grill mark on each side, transfer the 
slices to a baking sheet,foil-lined for easy clean up.   
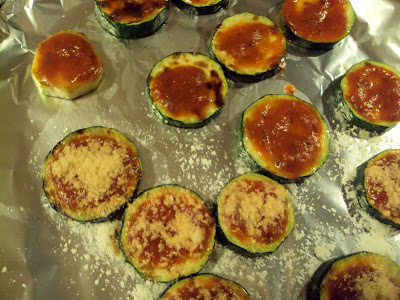
Spoon a little pizza sauce on each slice and sprinkle with Parmesan
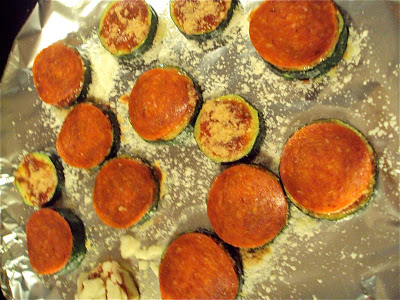
Add a pepperoni, a little sprinkle of shredded mozzarella 
(and maybe even an extra sprinkle of parmesan, just for good luck), 
and pop it in the oven under the broiler until the cheese is golden and bubbly! 


*CAUTION: These little guys know how to hold their heat!! Be careful…
even when you think they’ve cooled, they might surprise you!  

*Thank you Kalyn @ KalynsKitchen.com for this yummy recipe! 

Fiesta Lettuce Boats

I would call it a “wrap”, except we decided it was much easier to eat it like a “boat” =)

Simple, healthful ingredients and it’s on your table in about 30 minutes!  
Ingredients:  
1lb Ground Beef
1/2 Green Pepper, diced
1/2 Red Pepper, diced
1/4 C Diced Onions, or 1-2T dried diced onions
2 tsp Emeril’s Essence BAM! seasoning (This stuff’s good)
Salt & Pepper to taste
1-2 Romain Hearts
1-2 C Shredded Cheese (We used colby jack)
Dice up your peppers and onions (or used dried like I did)
and toss them in with the ground beef.  Sprinkle on some BAM!
(It was really fun to say that) and cook until the beef is cooked through.
(Sorry…I forgot to snag a pic of the sizzling meat, but…) 
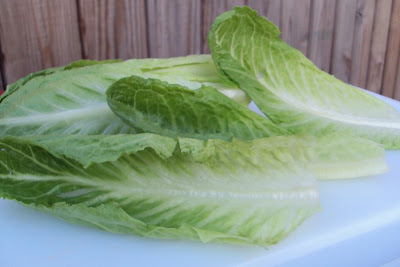
While the meat is browning, prepare your Romaine lettuce by 
slicing about 3-4 inches off of the bottom as shown above.  
Rinse the leafy greens in cold water and drain well.  
Fill your little lettuce boats with the seasoned meat, top with cheese
(and maybe a little sour cream, if you’d like) and enjoy!  


Easy Zucchini Parmesan

Here’s a great alternative to having breadsticks with your pizza!  Carb free! 
 
Ingredients:
2-3 Medium size zucchini
olive oil or butter
Parmesan cheese
Garlic salt (or my fav. Garlic & Herb seasoning)
 

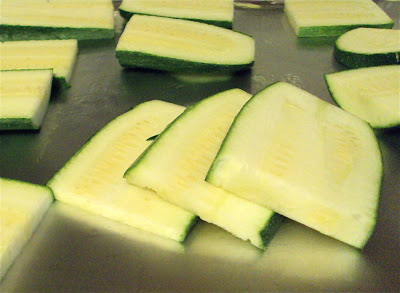
1.  First, slice your zucchini any way you like it.  I cut mine in half width wise, then made lengthwise slices.  I found that thicker slices turned out more crisp, and thinner slices were softer.
2.  Next, spray or brush your zucchini with olive oil, butter, spray butter…what ever you like best. I used butter, of course.  😉
3.  In a small bowl or ramekin mix together about 2 parts parmesan and 1 part garlic seasoning. I honestly didn’t measure. Approximately 1/2c parmesan and 1T garlic seasoning.  It’s going to turn out great…you’ll see.
4.  Line a cookie sheet with foil (for easy clean-up), and coat with a non-stick spray (or just brush with some butter or olive oil)
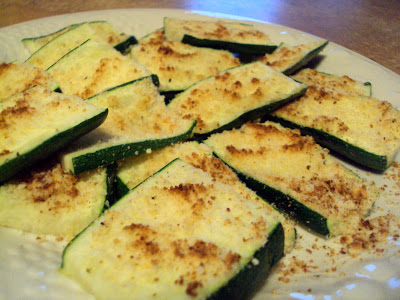
5.  Lay the zucchini slices out in a single layer on your cookie sheet.  Brush liberally with butter or oil and sprinkle on the parmesan mixture.
6.  Set your oven to broil.  And bake for about 4-5 min. or until the cheese turns golden. Watch them closely.  All broilers are not created equally.

*Very yummy served with a marinara sauce or a ranch dip.
**Recipe Adapted from SparkRecipes @ SparkPeople.com

Apple Nachos

Contrary to what you may think, there is no cheese involved in this recipe…but lots of gooey PB and other crunchy toppings to satisfy your snacky cravings. Thanks to Pinterest and Manifest Vegan we now have another healthy (not to mention FUN) morsel to make with the kids. 😉


Ingredients
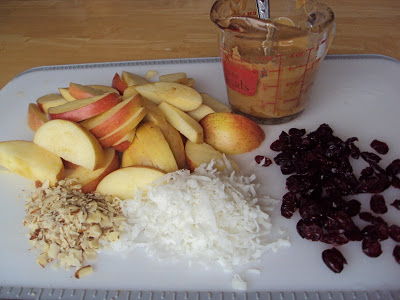
Apples (we usually have Gala or Pink Lady…but use your fav.)
Lemon Juice/Fruit Fresh/or Lemon Lime Soda (if you don’t want them to brown)
Peanut Butter (about 1/2 C per 2 apples), Warmed
Craisins (Dried Cranberries)
Shredded Sweetened Coconut
Slivered Almonds (or any other type of chopped nut)
 
 
The best part about Apple Nachos is that you can use 
as much or as little of your choice of ingredients as you would like! 
And the kids LOVE to help!
First, just get your apples washed and sliced.  
If you want to prevent them from browning, put the apples in a bowl 
or ZipLock bag and pour either lemon juice, a Fruit Fresh solution 
or some lemon lime soda (like 7Up or Sprite) over them and stir 
or shake to coat them completely.
Warm up the PB in a microwaveable cup or dish. 
I did 1/2 C for about 30-40 seconds.
When you get the apples on the plate, just start piling it on!
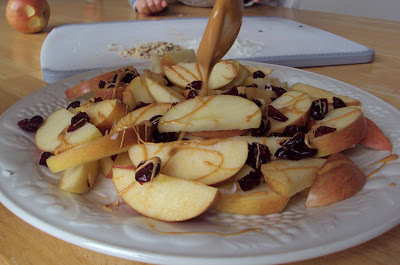
We started with the Craisins, then drizzled that melty PB all over.
Mmmmmmm. Melty Goodness.
Some how those little people always make their way into my pics. 😉
 

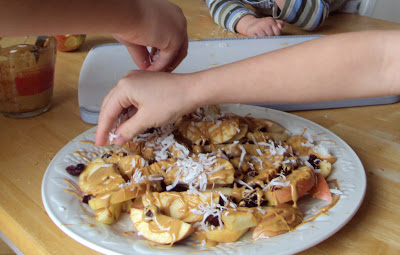
And…….Voila! Apple Nachos!

Mmm Hmmm…They’re sticky, alright!