Sticky-Buns in Cast Iron

sticky buns in cast iron

Buns of Iron?

Okay, that was pretty lame.  But I couldn’t help it.

I’ve never made sticky buns before but when I saw a recipe making them in a cast iron skillet I knew I had to try it.  I love my cast iron cookware and use it all the time.  I especially love finding recipes where I can bake with it.

I followed the original recipe directions and made 9 large buns, but next time I will make smaller ones.  I think the sticky-to-bun ratio is better that way.  I also used my Thrive Life Country White Dough Mix for the bread.  Use any basic bread dough recipe you like.  Or maybe you love the frozen roll dough!  That’s even easier than using a mix.  Whatever works for you!  My dough mix recipe is for one loaf’s worth of dough.

I used a 9″ square cast iron skillet (my grandmother’s).  So to make it mathematically easy, I’ll divide the dough into 16 equal pieces and do a 4×4 arrangement.

Do you like cast iron?  If so, what’s your favorite piece?

Sticky Buns in Cast Iron
Bread, butter, sugar.....like seriously....do I need to say more?
Write a review
Print
Prep Time
1 hr 20 min
Cook Time
25 min
Prep Time
1 hr 20 min
Cook Time
25 min
Ingredients
  1. The Bun Dough
  2. 1 c. warm water
  3. 2 tbsp. warm water
  4. 2 1/4 tsp. Active Dry Baker's Yeast
  5. 2 tbsp. honey
  6. 3 3/4 c. THRIVE Country White Dough Mix
  7. The Sticky Stuff
  8. 1/2 c. butter, softened
  9. 1/2 c. brown sugar
  10. 1 tsp. Ground Cinnamon
  11. 3 tbsp. honey
  12. 1 pn. salt
  13. 1/4 c. pecan halves
Instructions
  1. Prep the Dough
  2. Add the water, yeast, and honey to the bowl of a stand mixer equipped with the dough hook. Slowly add in the dough mix. Once it's all incorporated, knead in mixer for about 5 minutes.
  3. Spray a medium bowl with cooking spray. Form the dough into a ball and place in the bowl, turning to coat it with the cooking spray. Cover and allow to rise for about 40 minutes.
  4. When dough has doubled in size, punch it down and divide it into 9 pieces (or 16 as mentioned in the description). Set aside while you prep the sticky stuff.
  5. Prep the Sticky Stuff
  6. Combine all but the pecans in a medium bowl and stir well to combine everything.
  7. Spread this onto the bottom and up the sides of the cast iron skillet.
  8. Place the pecan halves evenly over the sticky stuff. (If you want it to be pretty, make sure you have the flatter side of the pecan facing up.)
  9. Dough + Sticky Stuff
  10. Take the dough pieces and roll into balls. Place these evenly over the sticky stuff. Cover and allow to rise about 30 minutes.
  11. Preheat oven to 375 degrees.
  12. Bake the skillet, uncovered, for 20-30 minutes or until rolls are golden and dough is cooked through. Allow to sit for 15 minutes once you remove it from the oven.
  13. Place a large plate upside-down over the skillet and carefully flip so that the rolls release onto the plate. Enjoy!
Notes
  1. Makes 9 large rolls, but you could make smaller rolls. I would make 16 for my square skillet.
Adapted from Rie McClenny
Mormon Mavens https://www.mormonmavens.com/

Bagel Quiches

bagel quicheIt’s a new look for bagels…and quiches!

If you’re bored with the same-old, same-old for breakfast, give this a shot.  We’re always using Thrive Life ingredients in our home, but you could easily sub your own ingredients; Thrive Life just makes prep easier. 

Try some different combinations of flavors!  I think a Caprese combo would be great, and it’s next on my list to try:  basil, tomato dices, and mozzarella!


Bagel Quiches
Serves 1
Quiche in a bagel!
Write a review
Print
Prep Time
10 min
Cook Time
25 min
Prep Time
10 min
Cook Time
25 min
Ingredients
  1. 1 bagel, sliced in half
  2. 2 eggs
  3. 1 pn. salt and pepper to taste
  4. 2 tbsp. THRIVE Red Bell Peppers - Freeze Dried
  5. 2 tbsp. THRIVE Mushroom Pieces - Freeze Dried
  6. 2 tbsp. THRIVE Shredded Cheddar Cheese - Freeze Dried
Instructions
  1. Preheat oven to 375 degrees.
  2. Measure out your Thrive Life veggies/cheeses/meats and place them in a small container with a tight-fitting lid. Add in about a Tablespoon of water and close the lid. Toss every couple of minutes to refresh the ingredients while you prep the other items. (If using non-freeze dried, prep and chop ingredients and set aside.)
  3. Cut a trench into each bagel half by cutting about 1/4" away from the outside edge and the inside hole. Use your fingers to carefully remove the bagel bread from between the cuts; again, being careful not to tear all the way through the bottom.
  4. Cradle each bagel half in foil and place on a baking sheet.
  5. Whisk the eggs in a small bowl or glass measuring cup. Add in the salt and pepper while whisking. Pour enough of the egg into each bagel half to cover the bottom of the trench.
  6. Drain the container with the Thrive Life veggies/cheeses/meats if needed. Using your fingers, sprinkle these ingredients over the egg in your bagel halves. Add more whisked egg over top but do not overfill the bagel (just fill to the top).
  7. Bake for 20-30 minutes or until egg is set (25 minutes in my oven at home). Serve!
Notes
  1. Depending on the size of your bagel, you will use anywhere from 4-8 Tablespoons of Thrive Life ingredients (or your non-freeze dried ingredients).
  2. Try adding Thrive Life's Chef Choice Seasoning or our delicious freeze dried herbs (or whatever herbs you have on hand)!
  3. Use any combo of ingredients you like.
  4. Could be a great way to use up those leftover veggies from dinner!
  5. I used presliced bagels, but would have preferred bakery bagels that are unsliced. Too often, presliced bagels are uneven--the top is thinner than the bottom. Still, it worked. 🙂
  6. You can also use our Thrive's Scrambled Egg Mix! It comes in handy if you're out of eggs, and I promise it is delicious. Even my pickiest eater eats it!
Adapted from Recipe Girl
Mormon Mavens https://www.mormonmavens.com/

Use-it-Up Jam Bars

jam bars

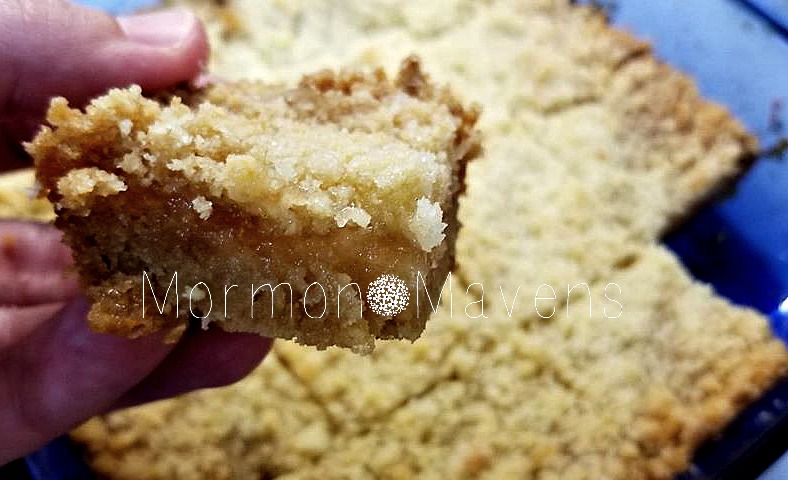
If you have too many jam jars in the fridge and you’d like to free up some space, this recipe is for you.  And the beauty of it is that you can just mix together whatever jam flavors you’ve got!  

Now for this particular batch, I had a jar of pear jam that I wanted to use up (nobody would eat it on toast).  Once I made it into a cookie bar creation, it was a hit!

But I’ve taken a few jars and simply combined what was left of the jam residue…..just need a cup total.  The results are always tasty.

Hmmm….wonder how it would be with fruit butters!  I’ll have to try that next.

I make this with Thrive Life’s Vanilla Sugar Cookie Dough Mix because that’s what I always keep on hand, but you can use another mix.

Use-It-Up Jam Bars
Yields 16
A tasty way to use up leftover jams and jellies from the fridge.
Write a review
Print
Prep Time
10 min
Cook Time
35 min
Total Time
45 min
Prep Time
10 min
Cook Time
35 min
Total Time
45 min
Ingredients
  1. 2 1/4 cups Thrive Life Vanilla Sugar Cookie Dough Mix
  2. 1/2 cup cold butter
  3. 3 Tbsp. water
  4. 1 cup jam or jelly
Instructions
  1. Preheat oven to 375 degrees. Grease an 8x8-inch baking pan.
  2. Cut the cold butter into large dices. Place the cookie mix and the butter into a food processor with the water. Pulse until the mixture resembles coarse crumbs. Remove 1 1/2 cups of this mixture and set aside.
  3. Pour remaining crumb mixture into the baking dish and evenly spread it out. Using the bottom of a measuring cup, press the mixture down to form the bottom crust.
  4. Spread the jam over the bottom crust evenly.
  5. Sprinkle the reserved crumb mixture evenly over the jam.
  6. Bake for 30-35 minutes. Allow to cool completely before cutting into squares and eating.
Notes
  1. Use any combination of fruit jams and/or jellies to equal the 1 cup of jam in the ingredient list.
Mormon Mavens https://www.mormonmavens.com/

Lemon Pie Tarts


lemon pie tartsWhen a recipe is not only easy and quick but also impressive-looking, you know you’ve got a keeper.  And these Lemon Pie Tarts fit the bill.
I had been seeing them on Pinterest but, not being much of a lemon-lover, I kinda ignored them.  But since I had a church event to plan food for, I decided to give them a try since they looked pretty easy.

I’m so glad I did.  These little guys are so easy but so cute!  And I think you could really use any pie filling you wanted to use.  Lemon is a no-brainer because it’s such a pretty pastel color.

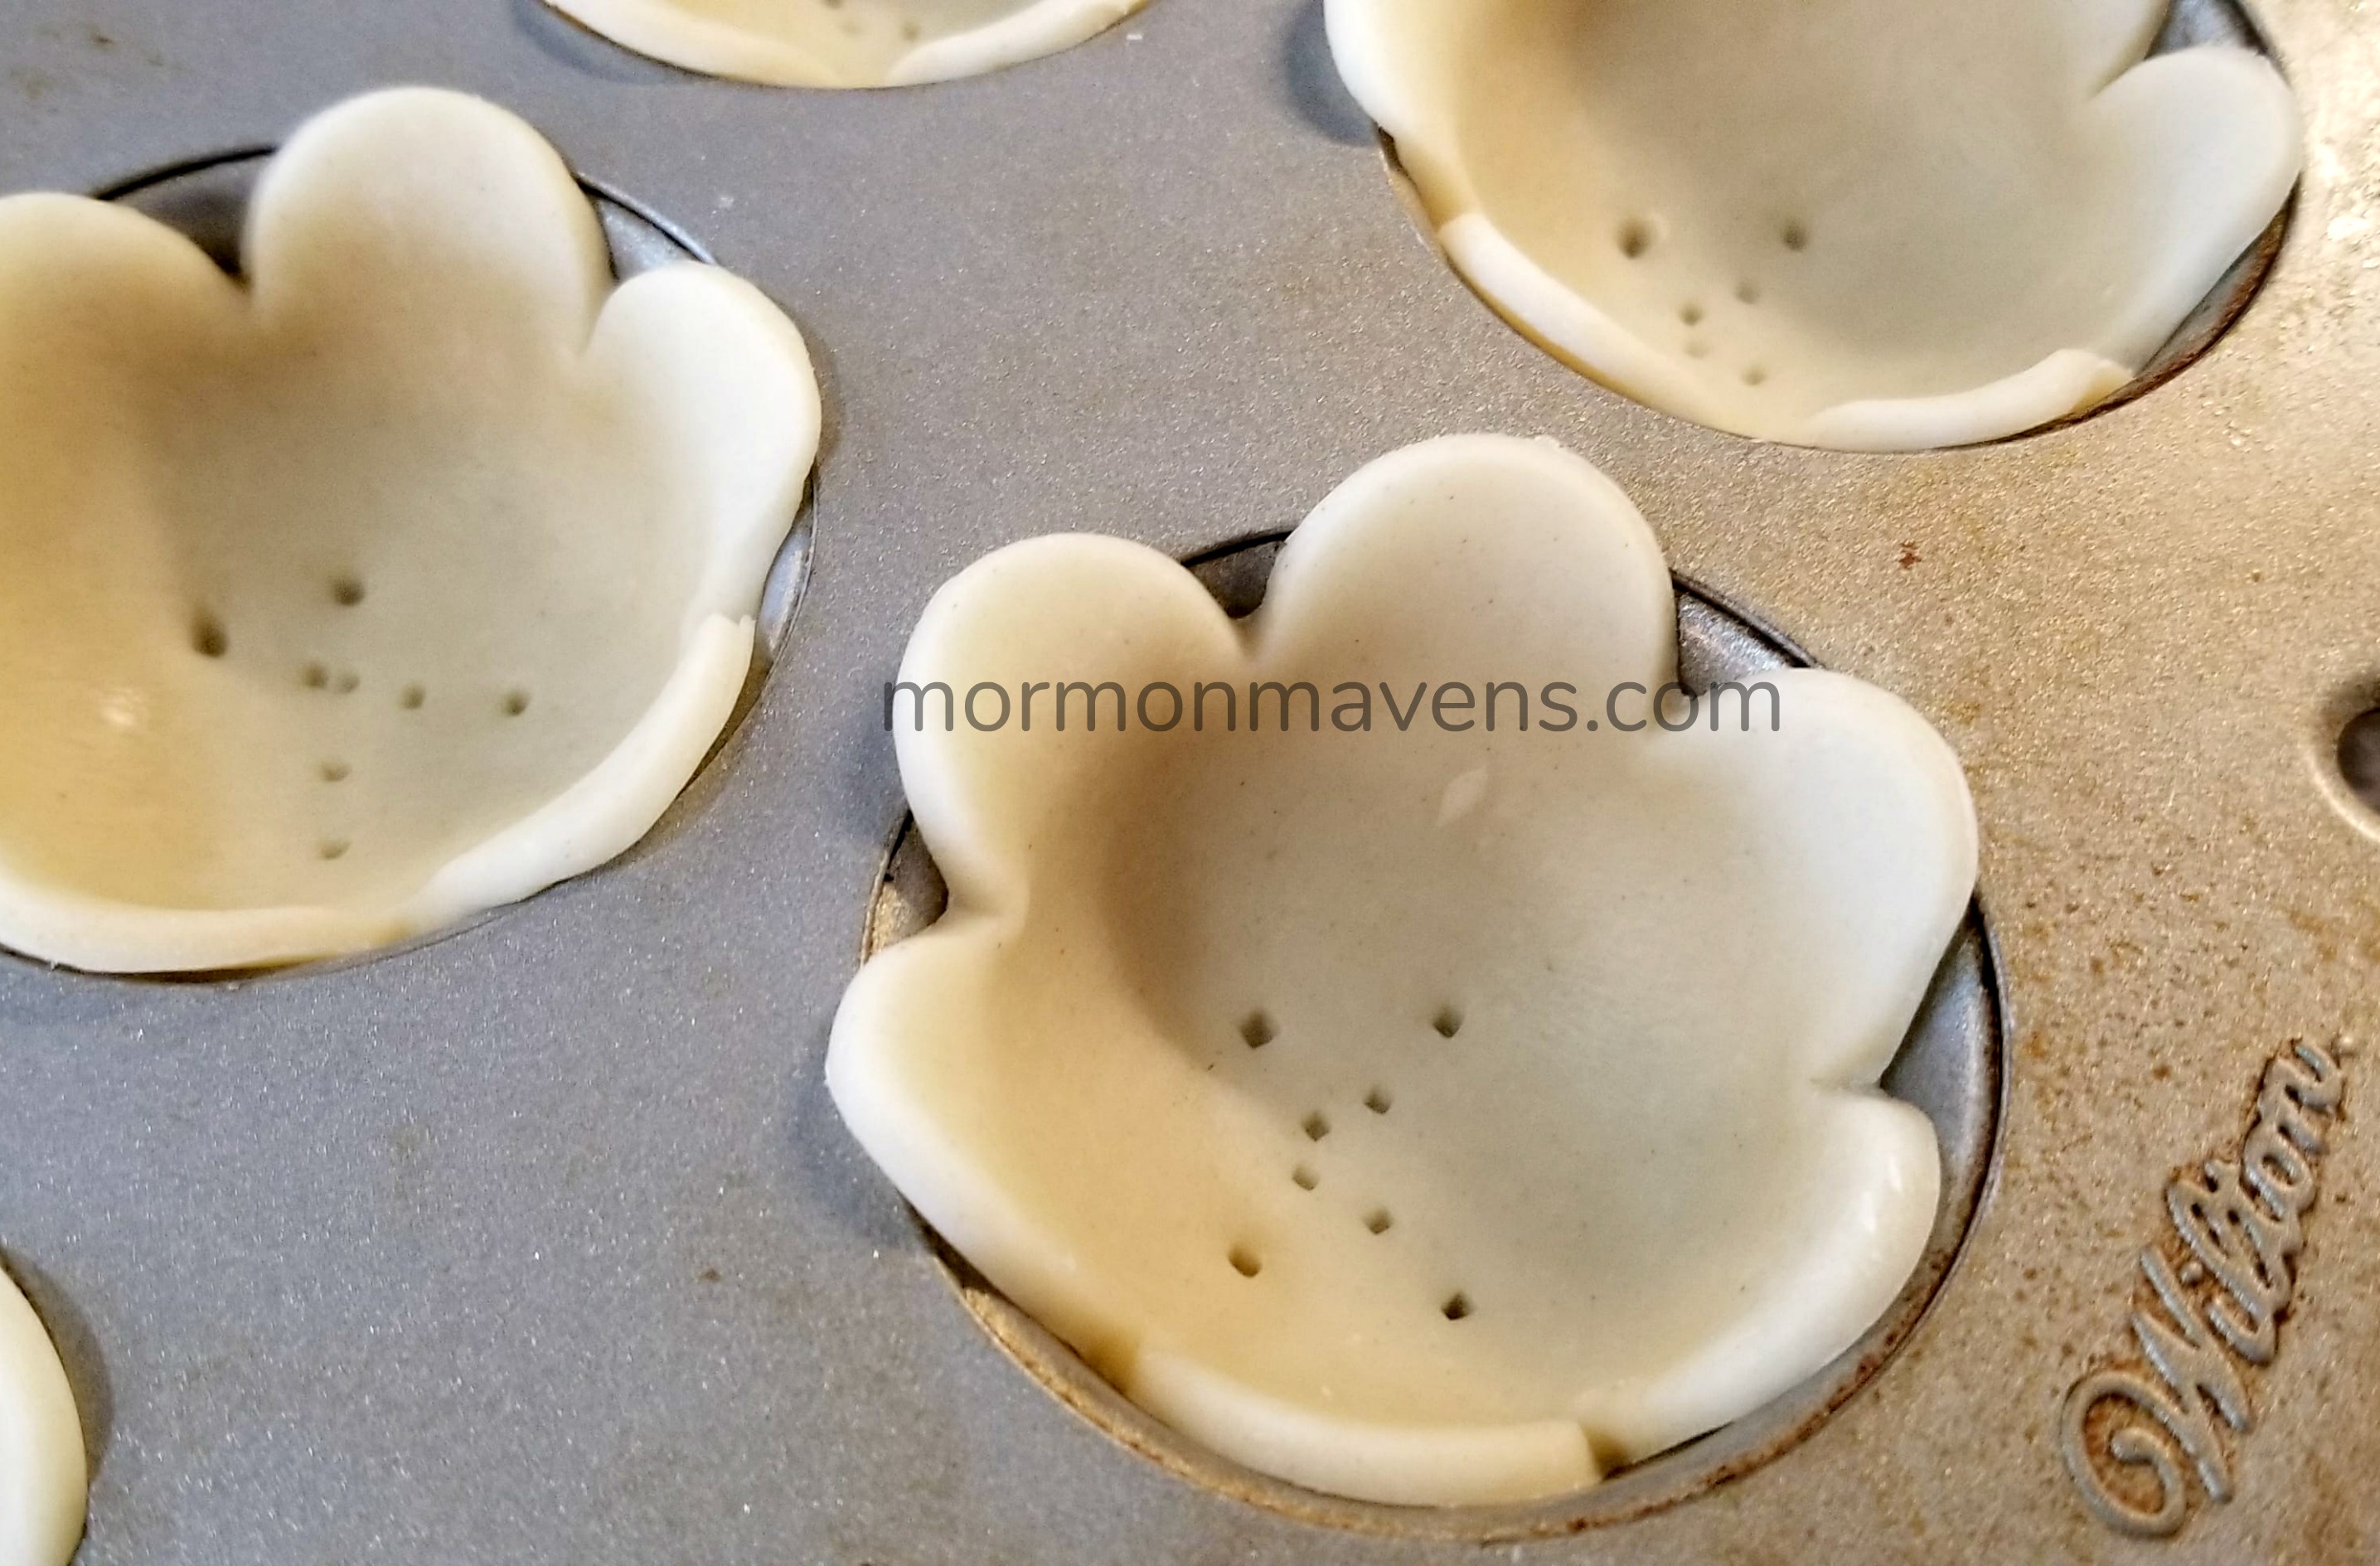
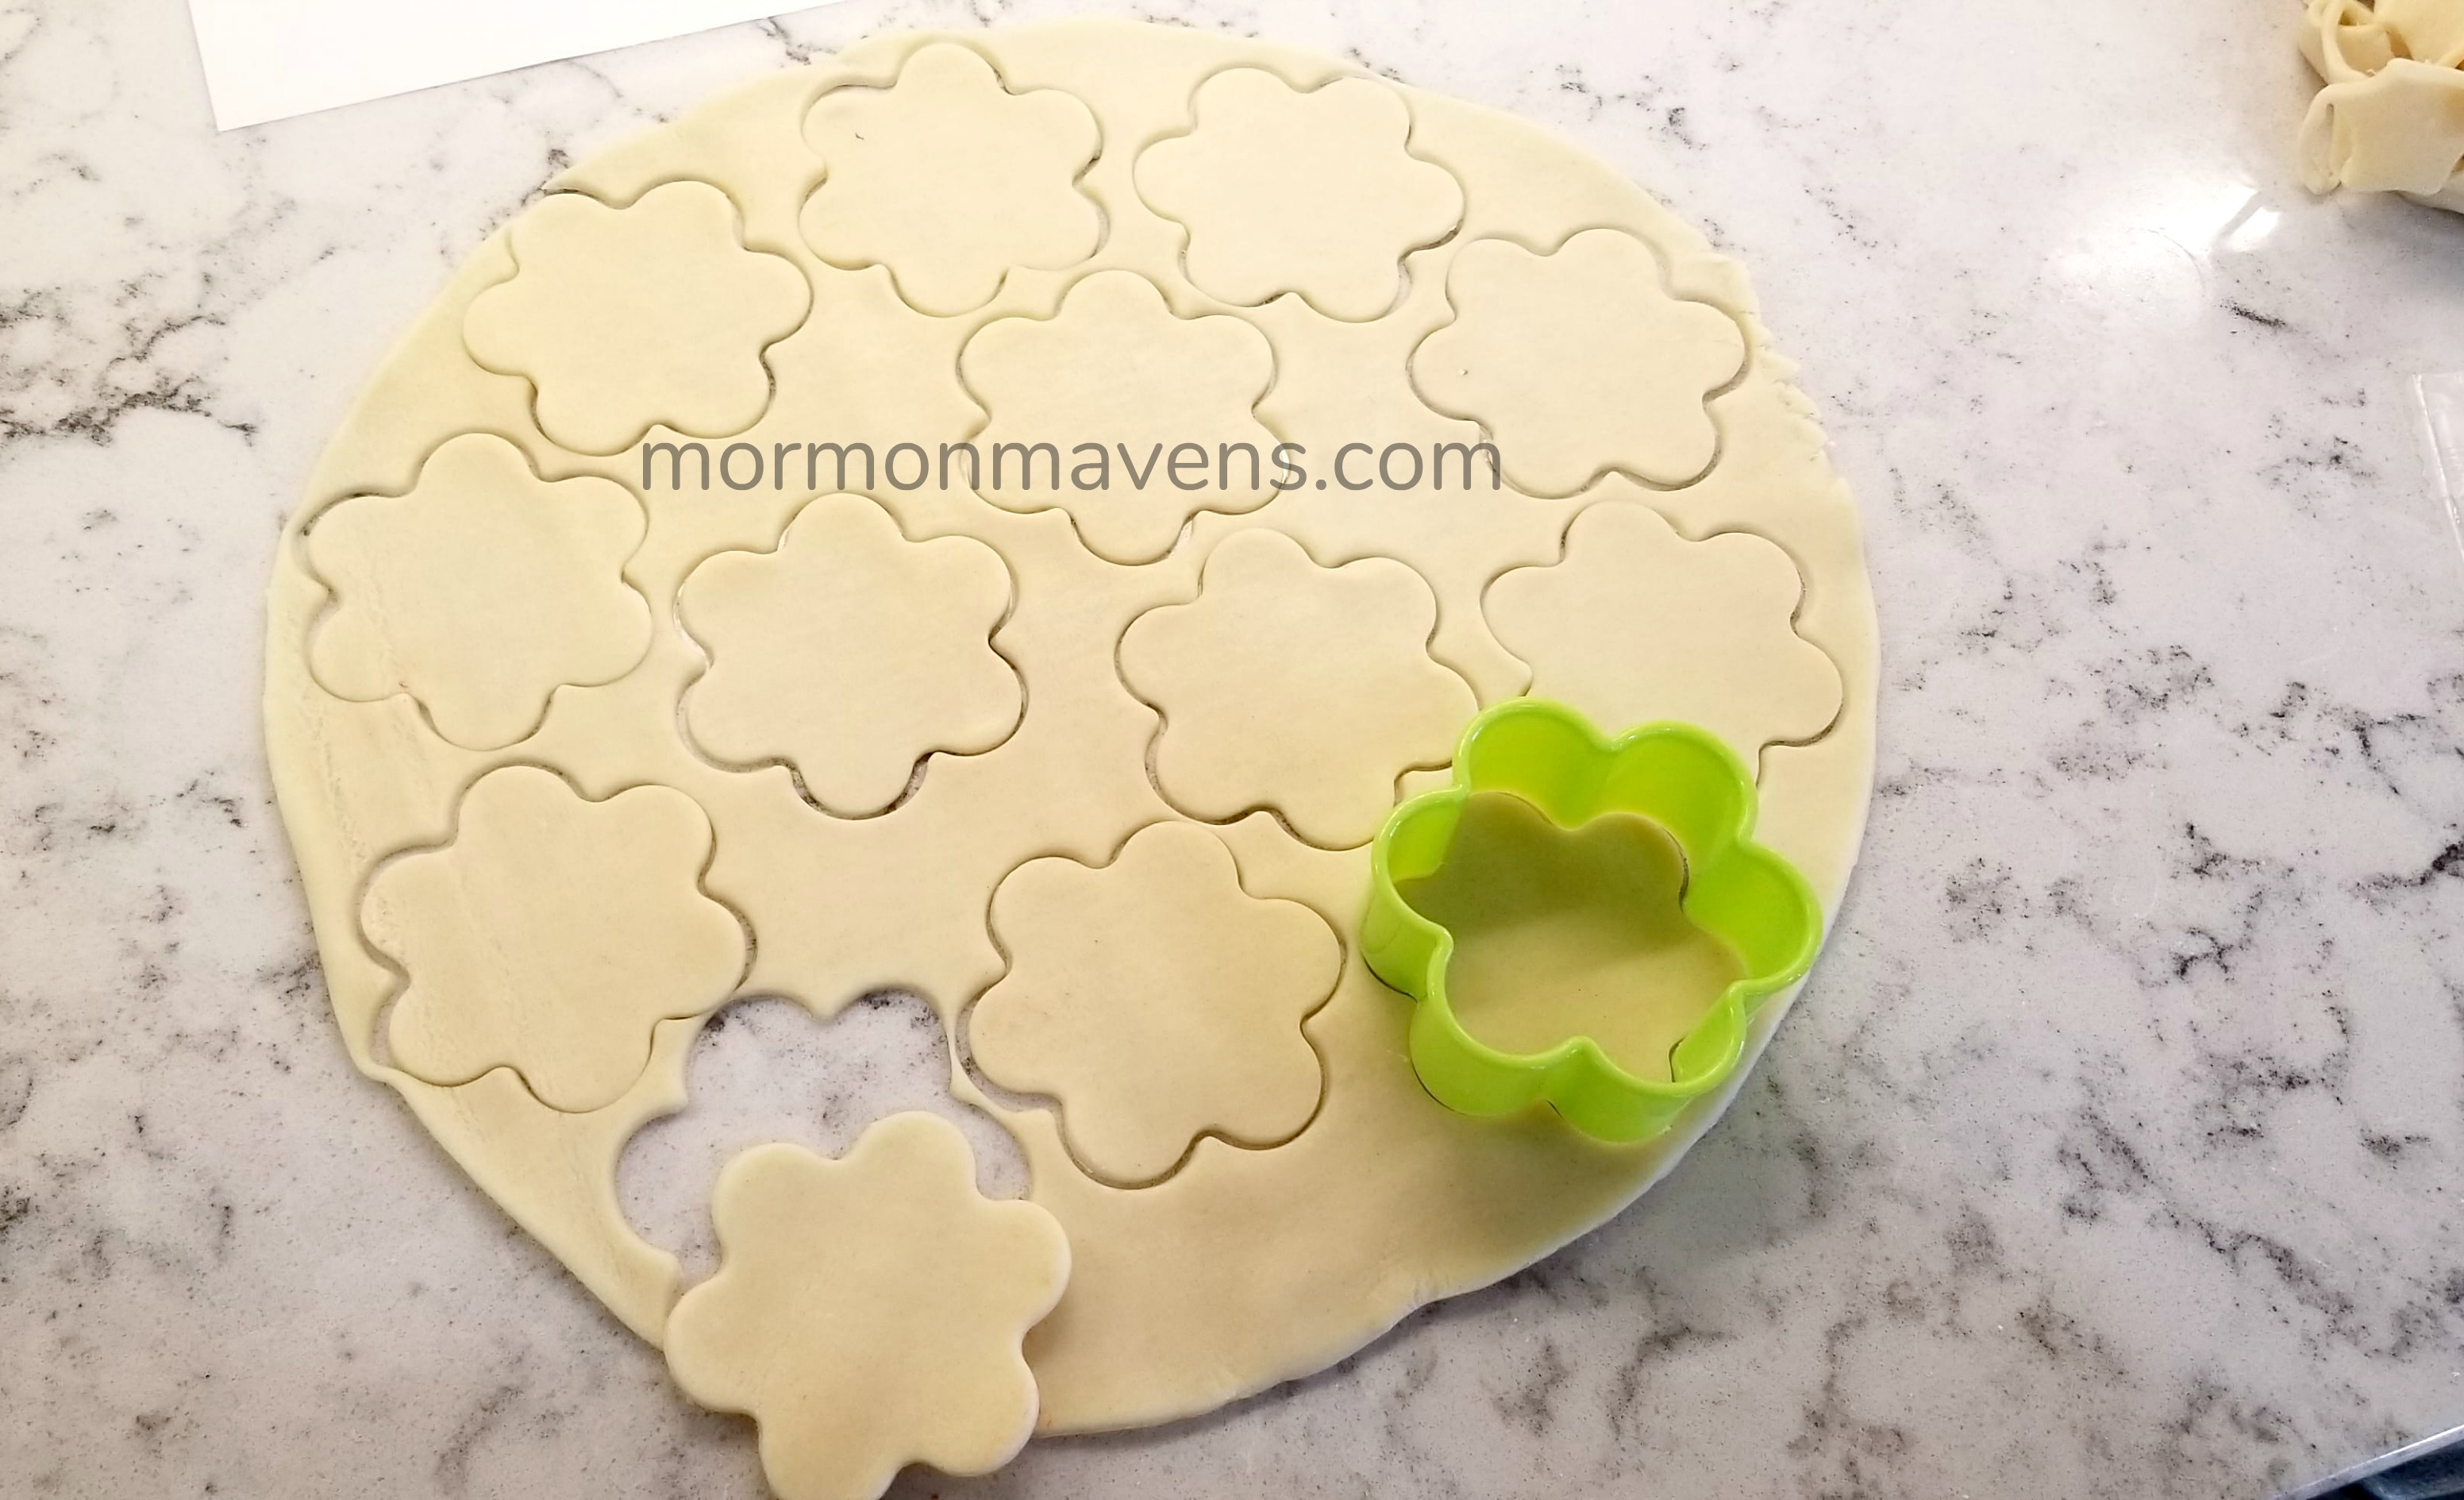
The original recipe I found (and several others) used much larger flower cutters.  This requires you to only use every other mini-muffin tin well when baking.  Well, call me lazy, but I really didn’t want to have to take twice as long to bake these suckers up.  So I chose a smaller flower cutter, which I think made the crust-to-filling ration even better!

lemon pie tarts cutting the crust

lemon pie tarts muffin tin

piercing the crust

fresh out of the oven crusts

baked crusts ready for filling

Lemon Pie Tarts
Easy, quick, cute party food.
Write a review
Print
Cook Time
5 min
Cook Time
5 min
Ingredients
  1. 1 box ready-to-bake pie crusts (roll-out type)
  2. 1 can lemon creme (lemon pie filling in the baking aisle)
  3. powdered sugar
Instructions
  1. Set out your pie crusts so that they come to room temperature.
  2. When ready, preheat over to 450 degrees.
  3. Roll out the pie crust, then use your flower cutter to cut out as many flowers as will fit. I got about a dozen flowers using my cutter. It just depends on the size you choose.
  4. Place flower crusts into wells of a mini muffin pan. With smaller flowers, don't press all the way down. You want to have at least the edges of the petals flaring out a bit on the edge.
  5. Pierce the bottoms with a fork to prevent air bubbles.
  6. Bake for 5 minutes, or until lightly golden on the edges. Remove from pan and allow to cool.
  7. When ready to serve, dust the empty shells with powdered sugar. Open the lemon creme and spoon it into a pastry bag. Fill the shells with the filling and serve.
Notes
  1. If you don't have a pastry bag you can use a ziploc bag. Spoon the filling into the bag, seal it, then cut a small corner at the bottom of the bag to fill.
  2. The rolled out pie crusts come two to a box. I got a couple dozen flowers out of one box. Again, it depends on the size cutter you use.
Mormon Mavens https://www.mormonmavens.com/

Tiger Butter Fudge

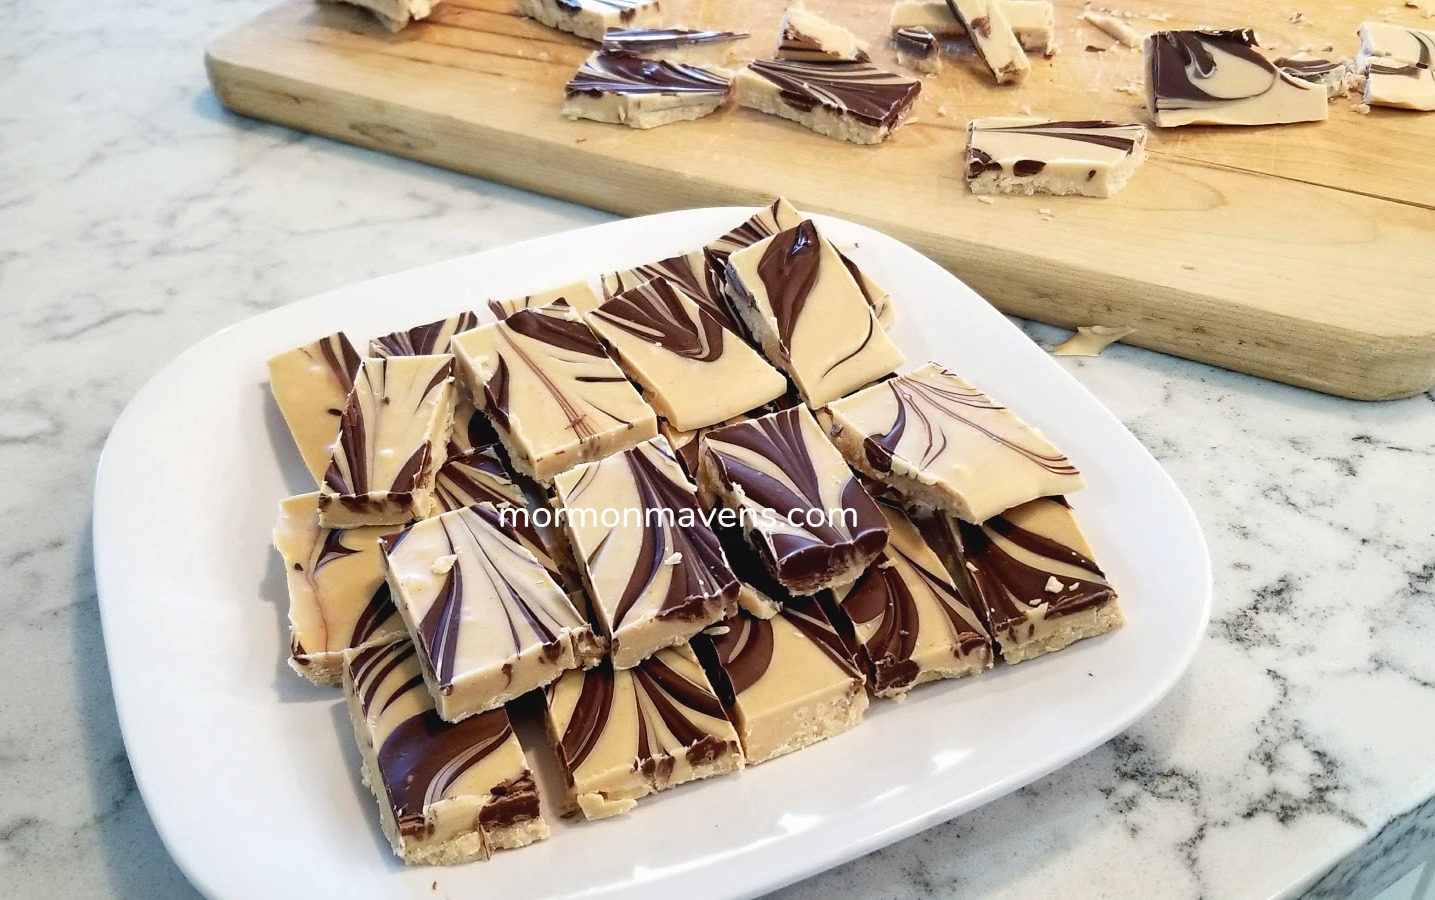
Ever need to make a treat to take to an event but don’t really want to go to the trouble?  Or maybe you just want a treat for yourself?

With only three ingredients, this recipe is a winner and you’ll be toting/indulging in this treat in no time!

tiger butter fudge

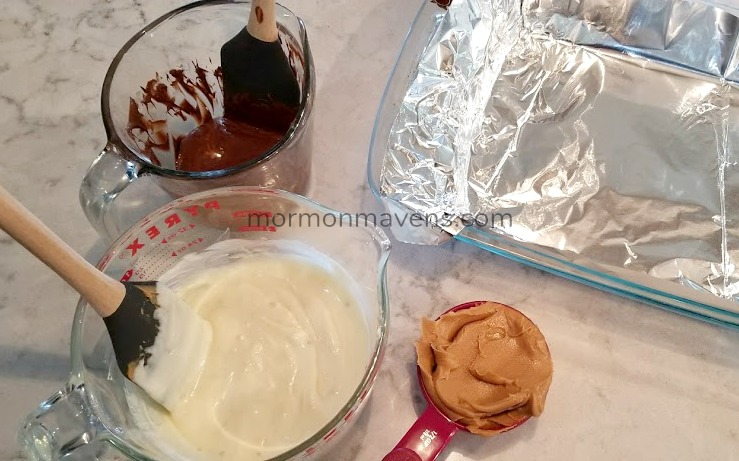
tiger butter fudge prep

Chocolates are melted, peanut butter is about to go into the white chocolate, and the pan is ready.

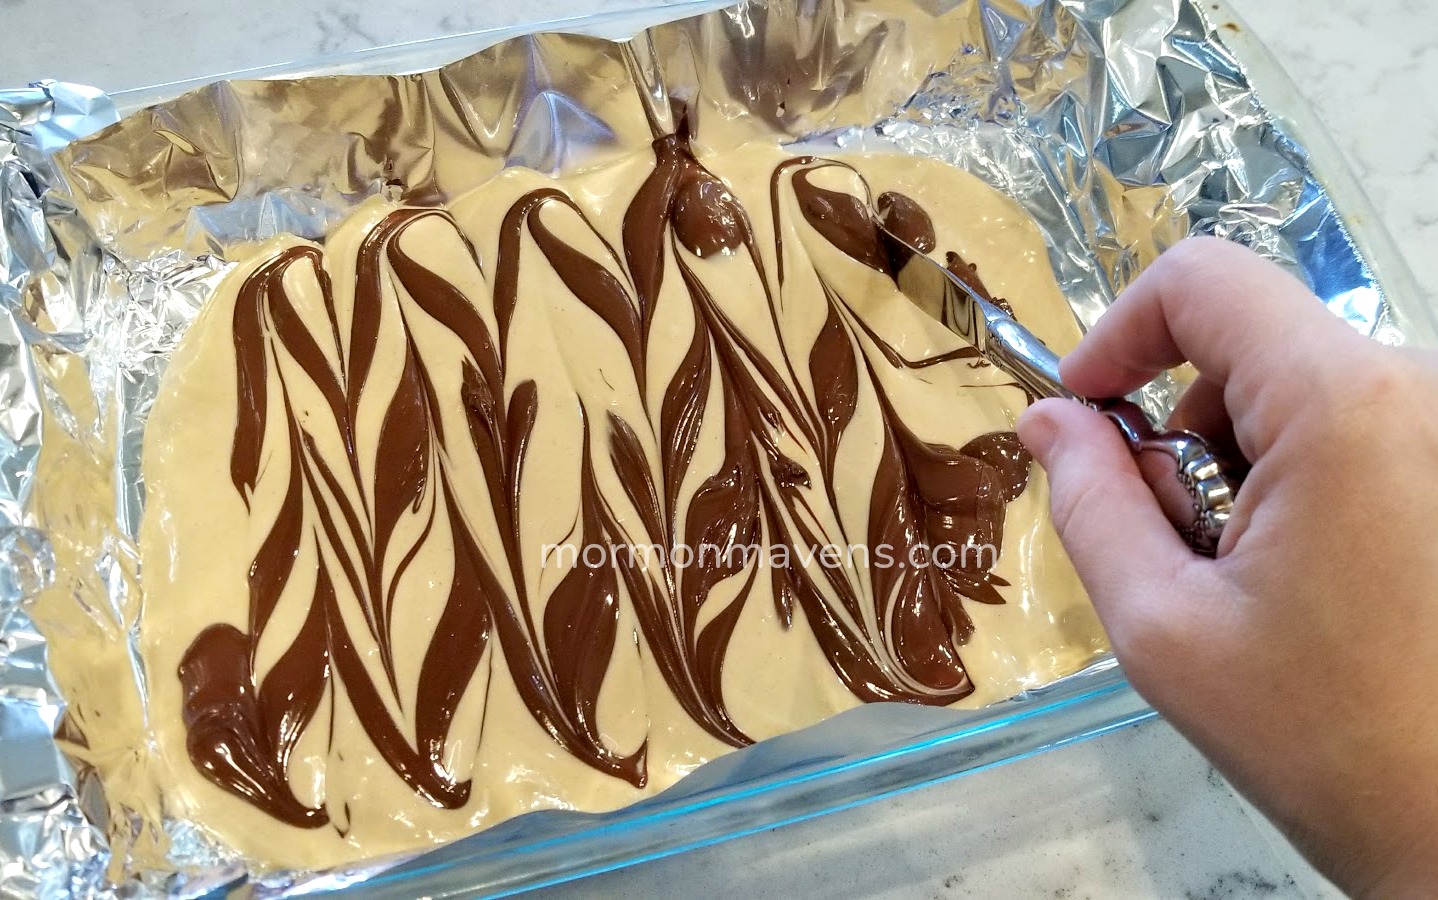
This is the fun part!

tiger butter fudge

Easy recipe…..peanut butter and chocolate….pretty…..WIN!

Tiger Butter Fudge
With only three ingredients, this recipe is one you can whip up in no time.
Write a review
Print
Prep Time
5 min
Prep Time
5 min
Ingredients
  1. 1 (12 oz) bag of white chocolate chips
  2. 1/2 cup creamy peanut butter
  3. 1/2 cup semisweet chocolate chips
Instructions
  1. Line a 9x13 pan with aluminum foil so that when you are ready to cut and serve, you can easily lift out the fudge.
  2. Place the semisweet chips into a microwave-safe bowl and microwave for 1 minute. Remove and stir. Continue to melt in microwave in 30 second increments until the chips are melted. Set aside.
  3. Repeat this process in a different bowl with the white chocolate chips. Stir peanut butter into the melted white chocolate.
  4. Pour the white chocolate/peanut butter mixture into the pan. Don't worry about spreading it to the edge, just let it spread as far as it will on its own.
  5. Use a spoon or spatula to drop the semisweet chocolate onto the white chocolate mixture in rough lines.
  6. Using a butter knife, run through the fudge in the opposite direction of the semisweet lines, making a marbled pattern. Do this until you get the look you like!
  7. Allow to set at room temperature, or place it in the fridge to set quickly. Lift out the foil and place on a cutting board; cut in pieces.
Mormon Mavens https://www.mormonmavens.com/

Nutella Peanut Butter Cookies

Anyone who knows my family knows that we love our peanut butter.  I mean, we buy the giant 5-pound Peter Pan canisters at Sam’s, for cryin’ out loud.  

Nutella?  Well, we may or may not have been known to just grab some by the spoonful.  

So combining the two was sure to be a hit!

nutella peanut butter cookies

I think what I love most about these cookies, though, is the texture.  They have this wonderful, melt-in-your-mouth-ness. 

Heavenly.

nutella peanut butter cookies

Nutella Peanut Butter Cookies
Yields 2
An easy recipe with a great texture!
Write a review
Print
Prep Time
30 min
Cook Time
15 min
Total Time
45 min
Prep Time
30 min
Cook Time
15 min
Total Time
45 min
Ingredients
  1. 1/2 cup butter, softened
  2. 3/4 cup creamy peanut butter
  3. 1/2 cup sugar
  4. 1/2 cup brown sugar, packed
  5. 1 egg
  6. 1/2 tsp. vanilla
  7. 1 3/4 cup all-purpose flour
  8. 3/4 tsp. baking soda
  9. 1/4 tsp. salt
  10. 1/3 cup Nutella
Instructions
  1. Cream the butter, peanut butter, and sugars in a mixer for several minutes until light and fluffy. Add in the egg and vanilla and mix till well-combined.
  2. In a separate bowl, combine the flour, baking soda, and salt and whisk together.
  3. With the mixer on low, slowly add the flour mixture until it just barely comes together.
  4. Scoop the Nutella into a microwave-safe bowl and nuke it for about 30 seconds. Drizzle this over the cookie dough and fold/cut in the Nutella just to the point where the dough is marbled.
  5. Cover the dough and place in the fridge to chill for 15 minutes. Preheat the oven to 350 degrees.
  6. Remove the dough from the fridge and form into balls. Place about an inch apart on a cookie sheet (I used parchment paper on mine for easy clean up!). Use a fork to make criss-cross marks, gently pressing the balls down to about half their "starting" height.
  7. Bake for 12-15 minutes, but keep an eye on them. You only want them to bake until the edges are just barely starting to turn a light brown. Allow them to cool for a few minutes, then place them on a cooling rack to finish cooling.
Notes
  1. The original recipe from Six Sisters Stuff recommended 8-10 minutes for baking, but this was not nearly long enough in my oven.
Mormon Mavens https://www.mormonmavens.com/

Putting Things Away

Confession time:  I’m not a naturally tidy person.  I have a hard time putting things away in their proper place.

Don’t get me wrong–I love a neat and tidy house.  I’m just not good at it.

I also confess that I’ve let my house go a bit.  Especially during 2017, which was a particularly stressful year for me.  My priorities were all out of whack, my stress level was through the roof, and I felt ineffectual at home.

But lately I have felt a strong pull towards putting in the extra physical and mental effort (yes, it does take mental effort too) to keep things more orderly.  I have been setting my house in order, which is no small task when you’ve let your house go a bit…for a long time!  I’ve been dejunking, organizing, cleaning.  The effort has been, well, a lot of effort!  But the results have been so liberating.  It reminds me of this scripture in Doctrine and Covenants 93:43:

And now a commandment I give unto you—if you will be delivered you shall set in order your own house, for there are many things that are not right in your house.

Delivered!

Yes, I felt delivered when I finally cleaned out my laundry room and threw away/donated the items that had been stuffed on shelves or tucked into corners.  Delivered when I finally tackled my gross cleaning closet filled with unused or empty cleaning bottles.  Delivered when I let go of items in my closet, kitchen, craft room, and pantry that hadn’t been used in years and are now either in the garbage or on their way to a donation site to bless someone else.

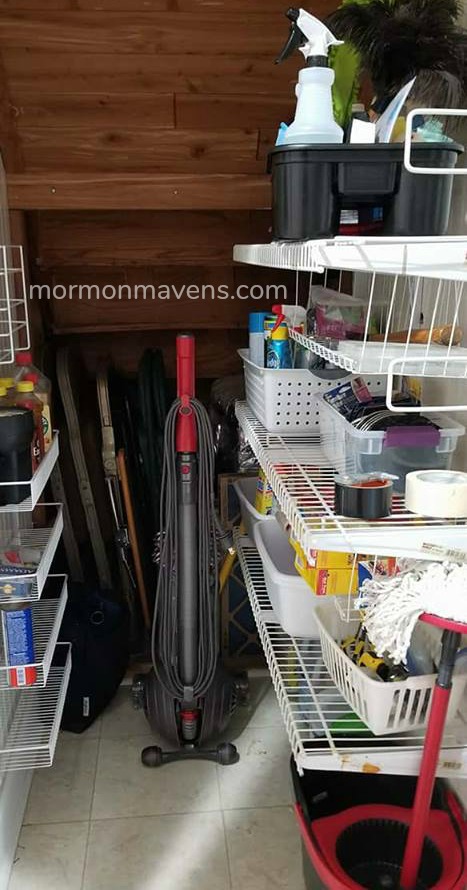
putting things away in my cleaning closet

My cleaning closet now….man, I wish I had taken a before pic because it was MESSY!!

And while that scripture certainly hits the nail on the head for the physical order in my home, there’s another kind of order that I had not considered.

As I sorted, straightened, and cleaned my cleaning closet (ironic that it was one of the worst-cleaned areas in the house…the cleaning closet!) my mind began to wonder.  How did I let it get this bad?  Isn’t it so much nicer to have fewer things to keep track of? I can’t believe how relieved and happy this is making me–just putting things away in their proper place.

Putting things away in their proper place.  

I’m not quite sure how my thoughts then progressed (probably the Spirit, right?) but I began to think of other things that need to be put away.

Grudges.  Offenses.  Stress.  Judgments.

….and so on.

And where is the proper place for these?  If I put these “away” would I feel the same kind of relief, peace, and deliverance?

Duh.

The only place I can think of to put these is with the Lord.  What’s the saying–let go and let God?  Let go of those wasteful, dust-collecting, soul-draining, energy-sucking thoughts and feelings and let Him worry about it.  The weight of those mental loads is really a lot heavier than we realize.  And once that weight is lifted, we can enjoy that sweet feeling of deliverance.

It will have to be a matter of prayer, I think.

Please help me to see him/her as You see him/her.

Please help me to see myself as You do.

Please help me to forgive as I hope You will forgive me.

Please help me to handle this challenge with the Spirit.

If prayer is a form of work, then maybe the best time to pray for these things is when I’m actually working on cleaning my home.  While I’m in the middle of sorting, cleaning, organizing, and dejunking, why not reach out to the Lord and ask for his help in tidying up my mind and heart? 

Because honestly, I’m ready for that kind of deliverance too.


Low Carb “Keto” Hot Chocolate

Yes, you can have hot chocolate while eating low carb/keto!  Since trying out a low carb diet over a year ago, this recipe has become one of my go-t0’s and often serves as my breakfast.

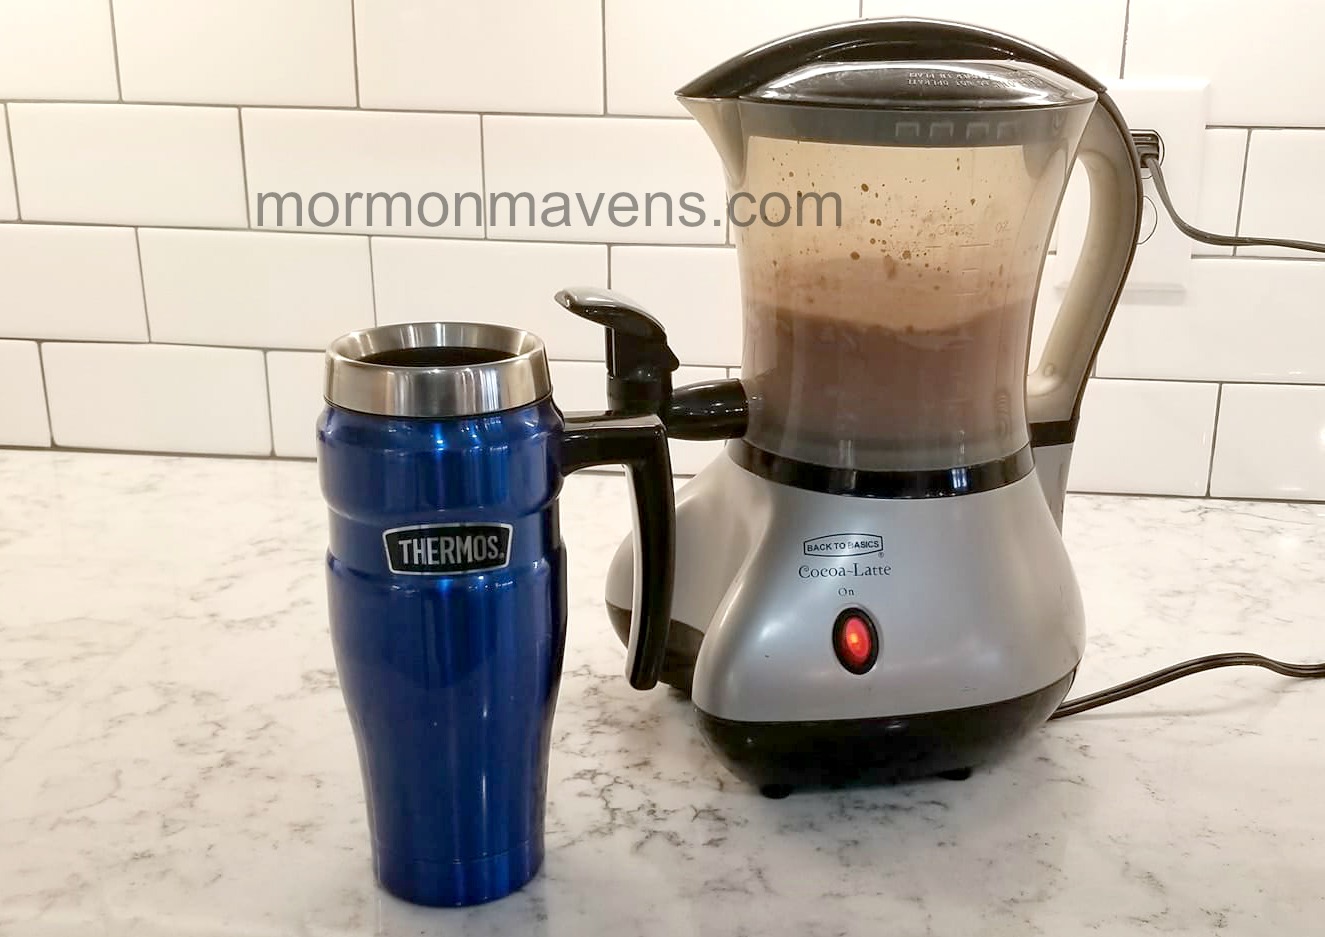
The original recipe is from a pin on Pinterest, but I have tweaked it to my liking.  I make this in my  Back to Basics Cocoa-Latte maker.  I’m on my second one now  (the first one died and this one could at any minute) so I would love any recommendations for good cocoa makers!

cocoa latte maker

If you know of a good quality cocoa-mixing machine, drop a comment!

I have to also mention my very favorite Thermos mug.  I believe I grabbed this one at Target, and it’s been fantastic at keeping my hot chocolate warm for a loooooong time.  I mean hours!   

I have two favorite sweeteners/flavorings for this recipe.  I always use a sugar-free Torani syrup as well as 12-15 drops of NuNaturals Vanilla Stevia.  You can sometimes find sugar-free Torani at Walmart, but I have also seen it at World Market and, of course, Amazon.  My favorite flavors are Salted Caramel and Vanilla.  The vanilla stevia I order on Amazon.

nunaturals vanilla stevia

I’ve also experimented with leaving out the cocoa altogether and using fruit flavored sugar free Torani.  It’s fun to experiment!

low carb hot chocolate

Low Carb Hot Chocolate
Serves 1
Going low carb doesn't have to mean missing out on this cozy treat.
Write a review
Print
Ingredients
  1. 12 ounces almond or coconut milk
  2. 1 Tbsp. coconut oil
  3. 2 Tbsp. butter
  4. 2 Tbsp. unsweetened cocoa powder
  5. 2-4 Tbsp. heavy whipping cream
  6. 12-15 drops stevia
  7. 1-2 Tbsp. sugar free flavored syrup
Instructions
  1. Add all but the stevia and syrup to a cocoa maker or to a saucepan. If using a saucepan, whisk well to keep cocoa powder from burning around the edges onto the pan. (This is a pain and hard to clean up, so that's why I prefer my cocoa machine.)
  2. Add the stevia and syrup to your mug of choice.
  3. When the hot chocolate mixture is heated through, pour it carefully into your mug.
Notes
  1. If I'm drinking this right away, I wait and add the heavy whipping cream at the very end after I've poured the mixture into my mug. Helps cool it down a bit so it's ready to drink!
  2. Using the sugar-free Torani syrups gives you a chance to tweak the flavors. You can also try leaving the cocoa powder out altogether. I did this once with the Salted Caramel syrup and it was "hot caramel" instead of hot chocolate. Delicious!
Mormon Mavens https://www.mormonmavens.com/

Favorite Things for the New Year

We just finished a kitchen renovation…right before Christmas.  Yikes, was it an adventure!  It’s actually my new favorite thing.  But I’ll share a couple of other favorites first, and then you can see the big reveal!

First off, I am in love with this adorable wax warmer from Scentsy.  (Truth be told, I love any vehicle carrying a Christmas tree!)  It goes perfectly in my new little kitchen nook.  It’s by far my favorite wax warmer I have ever seen!  Holly Berry Cinnamon and Homestead Holiday are great choices for a cozy, seasonal scent.  You can buy Scentsy from my friend, Samantha, here.  

favorite Scentsy warmer

There’s a switch on the cord to turn it off and on; when it’s on, the headlights light up!

I’m also in love with these ecloths.  I first heard of these when I stumbled onto Kathryn’s YouTube channel, Do It on a Dime.  One of my goals for the New Year is to keep things cleaner here at home–to stay on top of cleaning so I’m not facing the housekeeping equivalent of Mount Everest every time I clean.  So when I saw Kathryn cleaning her home with these cloths THAT ONLY USE WATER I was instantly intrigued and hopped over to Amazon to snag a set for myself.  I’m so incredibly happy with them!!    They clean with just water and they also remove 99% of bacteria!! (The list you see is the card that came with the box of ecloths.  I laminated it and keep it in my cleaning caddy with the cloths.)  This quickly became a favorite for me.

Check out all of Kathryn’s organizing, cleaning, and dollar store videos–she’s got some great tips.  Love her channel.  And head over to Amazon to grab your own set of ecloths; I’ve already purchased two more sets for gifts.  I mean, who wouldn’t want these?  

favorite cleaning cloths

I’m actually learning to enjoy cleaning with these babies!

Okay, so here’s my BIG favorite: my brand new kitchen.  When we added on to our home, we did not have enough money in the budget to tackle the very tiny kitchen.  So we’ve been waiting patiently impatiently to get it done.  I’m in love with the result!  I have a few things to tweak (and these pics are also a couple of weeks old, so there are a few new wall art elements that are missing) but you get the idea.

Keep in mind that these pics were taken before we were completely done.  I actually took these really quick the other day to send to a friend.  I thought about taking some new pics today, but we’re…uh…still recovering from New Year’s cookery in this kitchen.  So she’s not camera-ready at present!  But she’s still my favorite!  (Wait, the kitchen is a she?  Does that mean I need to name her?)

I’ll put in some before pics for reference…(old phone had a wide angle lens……new phone does not, so the after pics look a little different)

not my favorite kitchen

Here’s the view from my living room entry way. At this point we were in the middle of emptying the kitchen.

Look at this amazing transformation:

favorite kitchen

Aaaaaaand the new view. SO much more space and I love how open it is!  Don’t mind the stack of wood on the counter….dur!

How about this view from the triple window?

not my favorite kitchen

Why is all my wood the same color???

So much more soothing to look at this new view.  Well, except for the mess in the living room.  We were still adjusting!

favorite kitchen

I can seat 7 at my counter!!

And the view from the bottom of my back stairs, totally blocked with that wall.

not my favorite dining room

But now…..aaaaaaahhhhhh….oh, and look….there’s Henry!

favorite dining area

I do need to show you one more picture though.  I don’t have a before shot of just the space in front of the picture window.  But if you look at the last before pic, you can see that we just had a small sofa in front of that window.  This was a weird space.  Before we added on, that area was actually the dining room and my current dining room was actually our living room.  So, that window area became this strange, not really usable space where people just came and sat (and it was also quite the catch all!).  But now look at it….

favorite window seat

I’ve had more than one person ask if we put in a different window or changed it in any way. Nope! Same window, but now it looks AMAZING!

I’m so in love with this kitchen.  We have several more home projects in the works, but I don’t think anything will make as much of an impact as this very favorite room, my kitchen.

You’ll be hearing more from us each month on our favorite thing/things.  We’re excited to share our finds with you and hope you’ll do the same.  Hope your Christmas was wonderfully magical and that your New Year is starting out with abundance.

Happy New Year!!!


(no sponsored content in this post, just my own recommendations)