I love quick and easy recipes. Especially when they look impressive!
This beautiful, swirly chocolate treat is a fun way to enjoy a little decadence–you could even give this as a gift! Just remember to keep it cold as the chocolate warms easily to the touch and the freeze dried strawberries will have a better texture cold.

(this recipe is also shared in my Thrive Life recipes….hence my Thrive website url)
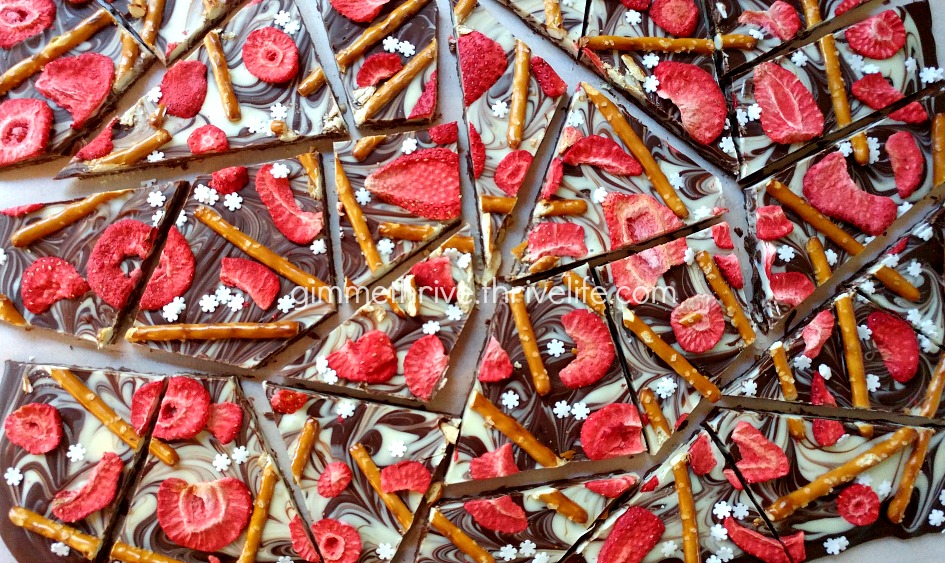
Strawberry Pretzel Bark
2016-11-01 02:55:05
Easy but elegant, sweet and salty.
Prep Time
5 min
Cook Time
5 min
Total Time
10 min
Ingredients
- 12 ounces semisweet chocolate chips
- 8 ounces white chocolate for baking (could also use vanilla candy melts)
- 1 cup freeze dried strawberry slices (I used Thrive, of course!)
- 1/2 cup salted pretzel sticks
- sprinkles of your choice
Instructions
- Line a baking sheet with waxed paper or parchment paper.
- Place the chocolate chips in a microwave safe bowl and melt for 30 seconds at a time, stirring after each time, until the chocolate is smooth and melted completely.
- Pour 3/4 of the chocolate onto the paper lined baking sheet. Use an offset spatula to spread the chocolate into a thin, even layer so that it ends up in a rectangle about 9"x 12".
- Melt the white chocolate in the microwave in the same way you did the chocolate chips. Drop by spoonfuls onto the chocolate rectangle. Use the remaining melted chocolate chips to drop spoonfuls over top of the white chocolate spoonfuls. Swirl with a toothpick.
- Immediately place the pretzel sticks and strawberry slices on the surface, pressing down lightly.
- Refrigerate until set. Slide the bark with the paper onto a cutting surface and cut the bark into pieces. Serve right away, or store in the fridge in a covered container.
Notes
- You can use different freeze dried fruits--blueberries, raspberries, cranberries. All sorts of combos! And if you like it a little saltier, sprinkle on some sea salt too.
Adapted from Five Heart Home
Adapted from Five Heart Home
Mormon Mavens https://www.mormonmavens.com/
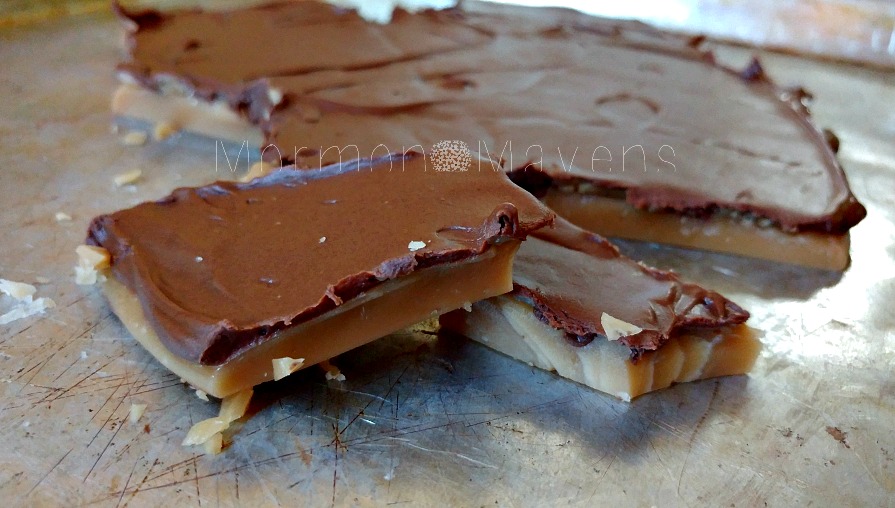 I have a friend who makes THE most amazing toffee.


 So it’s fall. Yeah, I know. It’s supposed to be pumpkin everything, right?


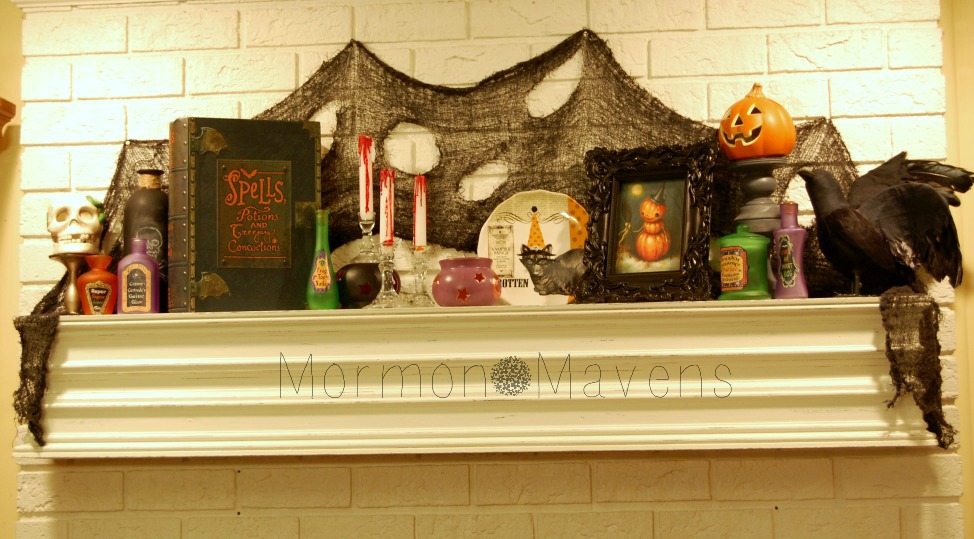
 Some people are very gory and graphic with their Halloween decor. In contrast, some people don’t even like to say the word “Halloween”!