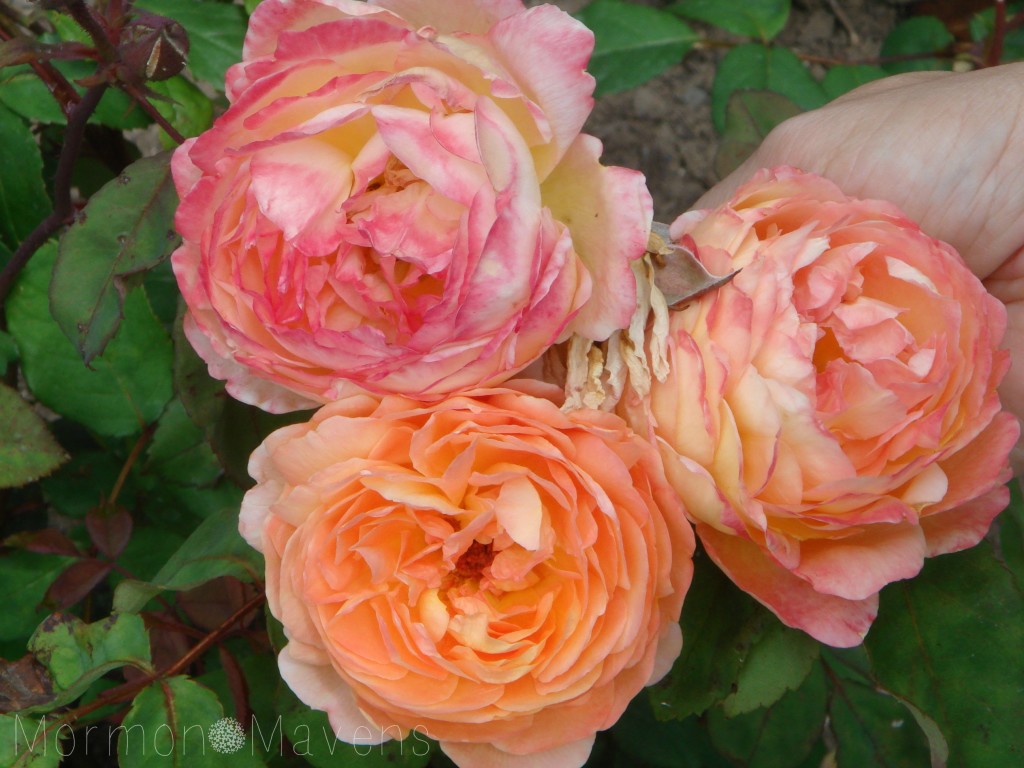
Beautiful roses at Bodnant Garden, Wales
I was a Master Gardener.
Taking the Master Gardener course was exciting. I just kept thinking, “I’m gonna be a Master Gardener!” A Master Gardener’s garden would surely look amazing–lush, beautiful, and serene. A Master Gardener’s yard would look well-kept and be a beautiful green. A Master Gardener’s veggie garden would be overflowing with perfect produce and fragrant flowers. If a Master Gardener had acres of land (like I do), her property would look like something on the cover of Country Gardens magazine.
I guess I thought I would come out the other end of the class with magical gardening powers or something.
But I didn’t.
I came out the other end with a lot more book knowledge about gardening, but with no more experience than I had before. And since that class many years ago, I have yet to achieve any of those gardening dreams. A combination of life stresses, crazy calendars, and a revulsion for hot and humid Southern summers have been challenging. And because of all that, I also did not put in the yearly volunteer hours necessary to retain my Master Gardener title.
But couldn’t I have steadily improved, even in small increments, even with my crazy schedule and the oppressive summer heat?
Of course I could have. I just chose not to. I chose instead to daydream about what my Someday Garden would look like:
- once this month is over.
- once this event is done.
- once we get back from this trip.
- once, once, once….
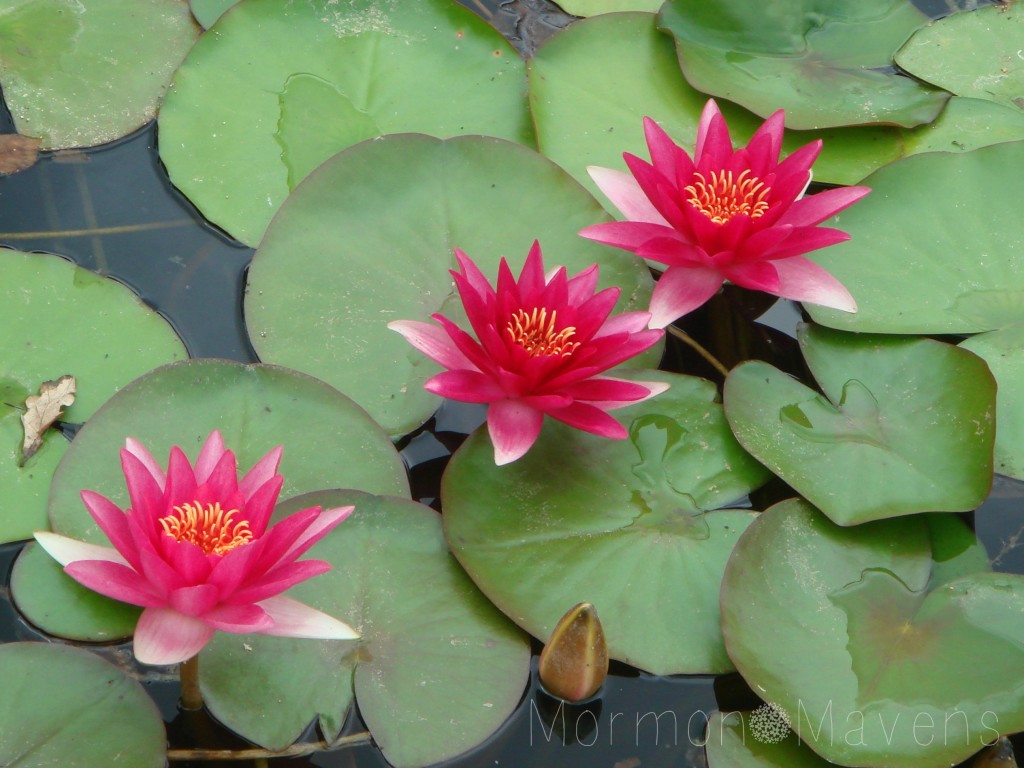
Gorgeous water lilies at Bodnant Garden, Wales
This past weekend I attended
Time Out for Women in Raleigh NC. One of my favorite speakers, Jon Bytheway, was one of the first to address us. He spoke a lot about having roots, about seeds and soil, and then he talked just a little about gardens
.
He said that some of the most important events to have ever taken place have been in a garden. The Garden of Eden. The Garden of Gethsemane. The Garden Tomb. That last one is timely considering the holy day we are about to celebrate next week.
And I began to think about my spiritual life–my whole life really–as a garden. If I translated my life, in its current state, into a garden, what would it look like? As I imagined this garden, I began to feel uncomfortable. I imagined weeds much too large and much too numerous. I imagined some plants overgrown and needing dividing while others struggled in their little patch of earth, neglected and withering away. I saw some points of beauty there too.

Me at a park in London
But I imagined the gardener as distracted, inconsistent, and a little lazy. Yes, the gardener is busy; but busy with what? Is the gardener so preoccuppied with creating a garden art project to hang on the garden wall that she ignores watering the garden? Is she so consumed with daydreams of what the garden ought to look like that she forgets the work it would take to someday get there?
I realized that both in my actual garden and in my life garden, I have been neglectful. I have the “book learning” for both. I know how to garden; I know how to live the gospel. But am I doing either in an effective way?
Am I looking for weeds?
When I find them, am I pulling them out early, before their roots get too deep?
Am I providing nourishment regularly so that no part of the garden begins to suffer?
Am I fertilizing it with rich material that will encourage strong growth?
Am I taking time to appreciate and enjoy the garden?
Do I feel comfortable sharing the garden with others and helping them along their own gardening path?
Today is the first day of spring where I live. Spring is a time of renewal, growth, and hope. And it feels like the perfect time for me to get out my gardening gloves and go to work.
It’s time I became a Master Gardener of my life.
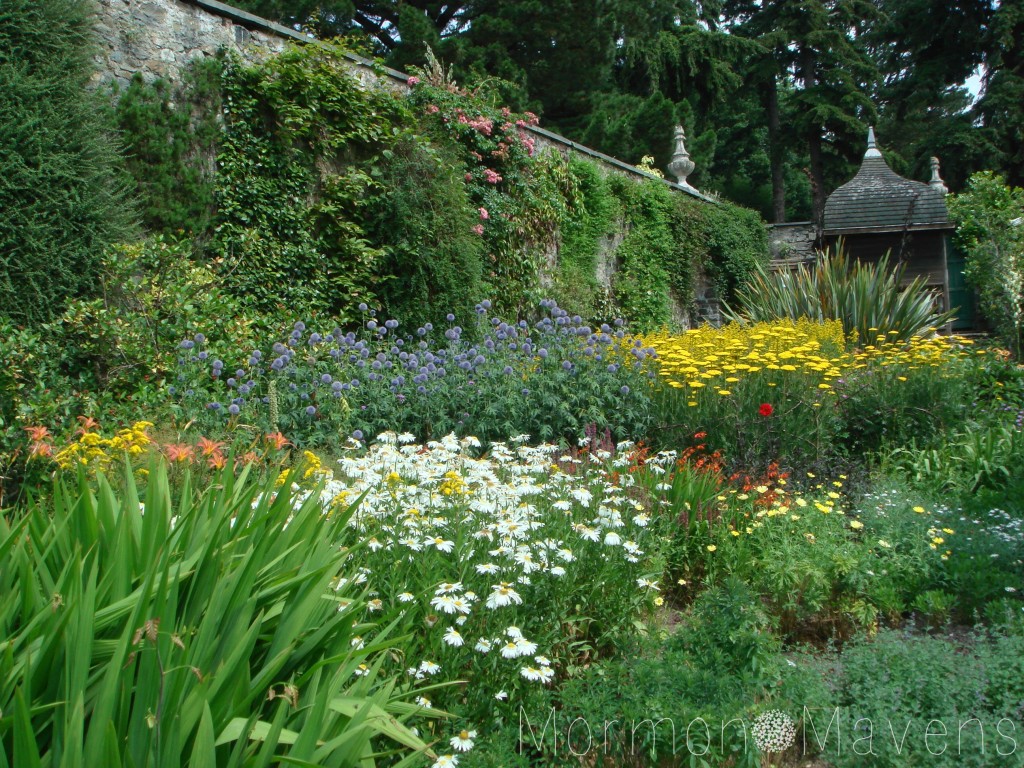
Bodnant Garden, Wales