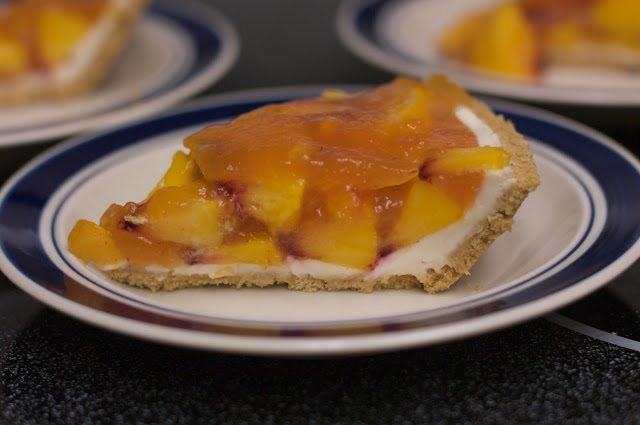
Cream Cheese Peach Pie

We are in the throws of peach season here and this is my favorite time of year because of it! 🙂 This pie is so light and fresh. It’s hard to go wrong with Cream Cheese AND Peaches. I hope you enjoy it as much as I do! I have to give a big shout-out to our friend, Audrey, for giving us the recipe. It’s quickly becoming a fav!

Ingredients:
2-3 Graham Cracker Crusts (I use 3–and I cheated and used store bought. *gasp!*)
12 – 15 Peaches, Peeled
1.5 Cups Granulated Sugar
1/4 Cup Cornstarch
1/2 Cup Water
1 (3 oz) package Lemon Jello
8 oz Cream Cheese
1/2 Cup Powdered Sugar
1 Cup Whipped Cream (or Cool Whip–I use Whipped Cream)

1. Puree 4 – 5 peaches–enough to make 1.5 Cups. I don’t have a food processor, so I cut them up and sloshed them around in my KitchenAid (be sure to use the splash guard!) until they were good and juicy. It was a little chunky, but I actually like it that way!
2. Dissolve the cornstarch into the water and set aside.
3. In a medium saucepan, bring the puree and granulated sugar to a boil.
4. Add the cornstarch (you may need to shake it up a bit again) and cook until thickened.
5. Remove from heat and stir in the dry jello. Put in the fridge to cool.

6. Cream together the cream cheese, powdered sugar, and fold in the whipped cream.
7. Divide evenly between the pie crusts. Smooth along the bottom and sides. Be careful not to pull the sides away from the pan. It will still taste good, but it won’t look it! 🙂
8. Slice the remaining peaches and distribute them evenly among the pie crusts. I use around three peaches per pie.
9. Pour the cooled mixture over the sliced fruit and put each pie in the fridge to set (about 3 hours).

Source: Audrey Miller, who says she got it from her aunt

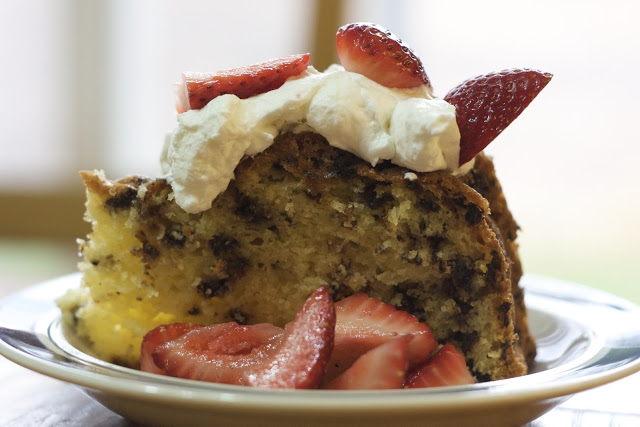
Chocolate Chip Strawberry Shortcake

I’ll start with the disclaimer: this isn’t really shortcake. It’s a gussied-up white cake. BUT…

…It’s MOIST. It’s easy. And it will tantalize your taste buds. Oh, yes, my friends. It will.

I usually make this cake using Devil’s Food Cake mix and chocolate pudding, but today I couldn’t decide between Strawberry Shortcake or chocolate cake. So I mixed it up a little and it turned out so fabulously I thought I’d share it with you! The chocolate chips are the perfect complements to the strawberries.

You’re Welcome. 🙂

Ingredients:
1 White (not yellow) Cake Mix (I use Betty Crocker)
1 (5.1 oz) Vanilla Instant Pudding mix
1 Cup Sour Cream
1 Cup Vegetable Oil
4 eggs
1/2 C Warm Water
1.5 C Mini-Chocolate Chips (I suppose you could use regular, but in my experience the bigger chips sink to the bottom while cooking)

1. Preheat the oven to 350 degrees F.

2. In a large bowl, sift together the cake and pudding mixes. Add the wet ingredients, one at a time, ending with the chocolate chips.

3. Pour into a well-greased 12 Cup bundt pan.

4. *Bake for 50 – 55 mins, or until the top is springy to the touch and a toothpick inserted in the middle comes out clean. Cool cake thoroughly in the pan, at least an hour and a half, and invert onto a plate if desired.

5. Top with whipped cream and strawberries.

*I use a 10 Cup Sunflower-shaped Cake Pan with no fluting and it fits, but just barely. I bake this in a preheated 335 degree oven for 80 mins.

You can also bake this in a 9×13″ pan, at 350 for 25 – 30 mins.

Source: My own variations on Too Much Chocolate Cake from allrecipes.com

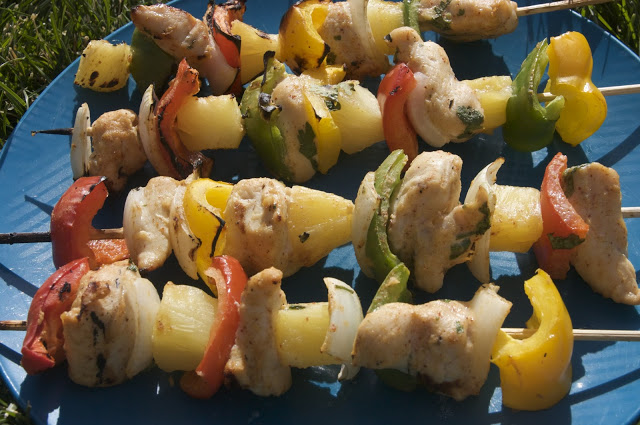
Chicken and Pineapple Kebabs

I love to grill in the summer time! Who wants to bake in a kitchen when you can cook in the open air?? AND when you’re in the heat of summer, who wants a heavy meal? Not me, friend!

These hit the spot with their fresh, light mix of fruit, vegetables, and meat.

Ingredients:

20 oz can of Pineapple Chunks in juice (fresh pineapple is awesome if you can get it)
1 teaspoon ground Cumin
1 teaspoon ground Coriander
1 garlic clove, crushed
1 teaspoon chili powder
1 teaspoon salt
2 Tbsp plain yogurt*
1 Tbsp chopped fresh Cilantro
few drops of orange food coloring (opt) –I didn’t use it.

1.5 lbs skinless, boneless Chicken Breasts (or tenderloins) — about 2 cups
1 Red Bell Pepper**
1 yellow Bell Pepper
1 green Bell Pepper
1 Onion
Cherry Tomatoes
1 Tablespoon Vegetable Oil

12 Kebab Skewers

1. Drain the canned pineapple into a large bowl and reserve the chunks, covered, in the fridge. If you use fresh, you should juice enough to get about 1 Cup and chunk the rest.

2. In pineapple juice, blend together the cumin, coriander, garlic, chili powder, salt, yogurt, and food coloring (if you use it, I really don’t know why you would, but hey. To each his own, right?) The actual recipe says that you should mix all the spices together separately and then add them to the pineapple juice, but I really hate doing dishes and mixed them all together in one bowl. It worked just fine.

3. Cut the chicken into cubes and add to the yogurt spice mixture. Marinate it in the fridge for 1.5 hours.

4. Cut your veggies into chunks.

5. Arrange the chicken, peppers, onion, tomatoes, and pineapple on your kebabs.

6. Brush the kebabs with oil and cook on a preheated, Medium heat, grill, turning every 4 minutes or so,  until the chicken is cooked through and the veggies are tenderish. I like mine a little crispy and it took around 10 – 15 minutes.

Serve with rice and salad.

*I don’t cook with plain yogurt regularly and wasn’t about to go buy some for 2 Tbsp worth, so I used sour cream and they tasted fabulous! I like sour cream anyway!

**I imagine that since this is squash season, this would taste GREAT with a variety of squashes on the kebab. Mix it up and let me know how it turns out!

Source: The Ultimate Barbecue Cookbook, Barnes and Noble

Marinated Grilled Chicken

“Kara, can you give this recipe to my mom so she can make it? It is SO GOOD!”

Liam is six years old. He has the most adorable face and the most beautiful hair (that’s right. HE does). I cannot deny the child the one pleasure in life he has asked me for. I daren’t. So, here you go! The real plus is how dang EASY-PEASY it is!
Easy.
Ingredients:
1 Cup 7-UP* 
1/2 Cup Soy Sauce**
1/2 tsp Garlic Powder
1 tsp+ Ground Ginger
5-6 Chicken Breasts (about 1.5 lbs)
1. Mix all ingredients in a 1 Gallon zip lock bag (I do two bags just in case) and refrigerate over night.
Peasy.
2. Slap those bad boys on a grill the next day for lunch or dinner and VOILA!  You’ll have 6-year-old boys…and 80-year-old boys for that matter…lined up begging you to give their moms the recipe. (Please cook the chicken all the way through until the juice runs clear. Those boys will take it all back if they get food poisoning!)
*Sprite works, too, but I really do think 7-UP is better for some reason. I feel a science experiment coming on!
**For a different kick, try 1/4 Cup Soy Sauce and 1/4 Cup Teriyaki Sauce.
NOTE: I think that smaller chicken breasts work better. I always cut the chicken down into “Smallish” sized portions. This way, the portion size is great for kids, too.
Source: My Great Aunt, Audrey
~Kara

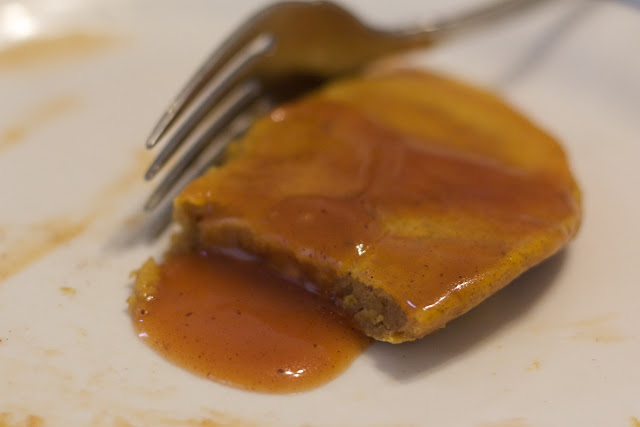
Apple Cider Syrup

I guess this is one of those recipes that you don’t usually find until the fall, HOWEVER, we LOVE pumpkin. Pumpkin cookies, pumpkin pancakes, pumpkin waffles, pumpkin seeds, pumpkin heads…that’s what my granddad used to call us kids when we were young.

This syrup is the perfect combination for pancakes and waffles. It is Celestial Kingdom food–trust me.

Ingredients:
1/2 Cup Sugar
1 Tbsp Cornstarch
1 tsp Cinnamon
1 Cup Apple Cider
1 Tbsp Lemon Juice
2 Tbsp Butter

1. In a medium sauce pan, stir together Sugar, Cornstarch, and Cinnamon.
2. Add Apple Cider and Lemon Juice. Stir until well combined.
3. Cook over Medium Heat until it comes to a boil. Boil until thick enough to coat a spoon.
4. Remove from heat and stir in butter.

Serve warm.

Source: Uh…somewhere on allrecipes.com, I’m sure

~Kara

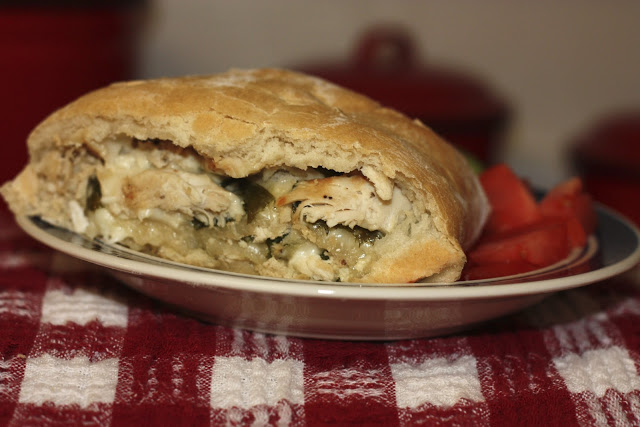
Chicken and Spinach Stromboli

My kids love Stromboli, but only the kind with ham and cheese. Mr. Blue Eyes and I like ham and cheese, too, but sometimes it’s nice to zest it up a bit, don’t you think?

One day I had some fresh spinach in the fridge, some chicken in the freezer, and I thought, “I wonder…”  Well, my friends, IT WORKED! And here I am to share this concoction with the world. Lucky you. 🙂

Ingredients:
1 Batch of Pizza Dough (or a frozen loaf of Rhoades, thawed)
2-3 Chicken Breasts, thawed
Crushed Peppercorn and Garlic Rub (or some variation thereof–use your favorite and what’s on hand)
2 Cups Mozzarella Cheese, shredded
Fresh Baby Spinach Leaves

1. Rub the chicken with the seasoning and bake, fry, etc. until done. I use my panini maker to grill it. A George Foreman or out door grill would work great, too. Just cook the chicken. 🙂
2. Using a fork, shred the cooked chicken and set it aside.
3. Preheat the oven to 350 degrees F.
4.On a lightly floured board, roll out the dough into a rectangle.
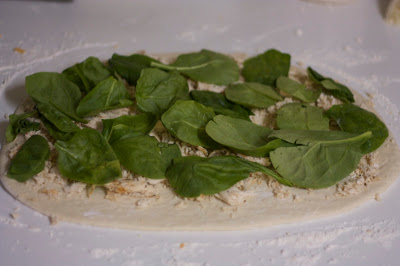
5. Spread the mozzarella cheese over the dough until evenly covered. Spread the chicken over the cheese. Spread the spinach over the chicken. It should look like this:

6. Beginning at the upper long edge, roll the dough in toward you (like cinnamon rolls), carefully tucking spinach leaves as you go. Don’t worry too much if they bunch a little. You’ll win in the end.
7. Pinch the seam and ends shut and place in a jelly roll pan (or on a cookie sheet of some kind) seam side down.
8. Bake for 25 minutes.

Cut into slices and enjoy!

Source: An original

~Kara

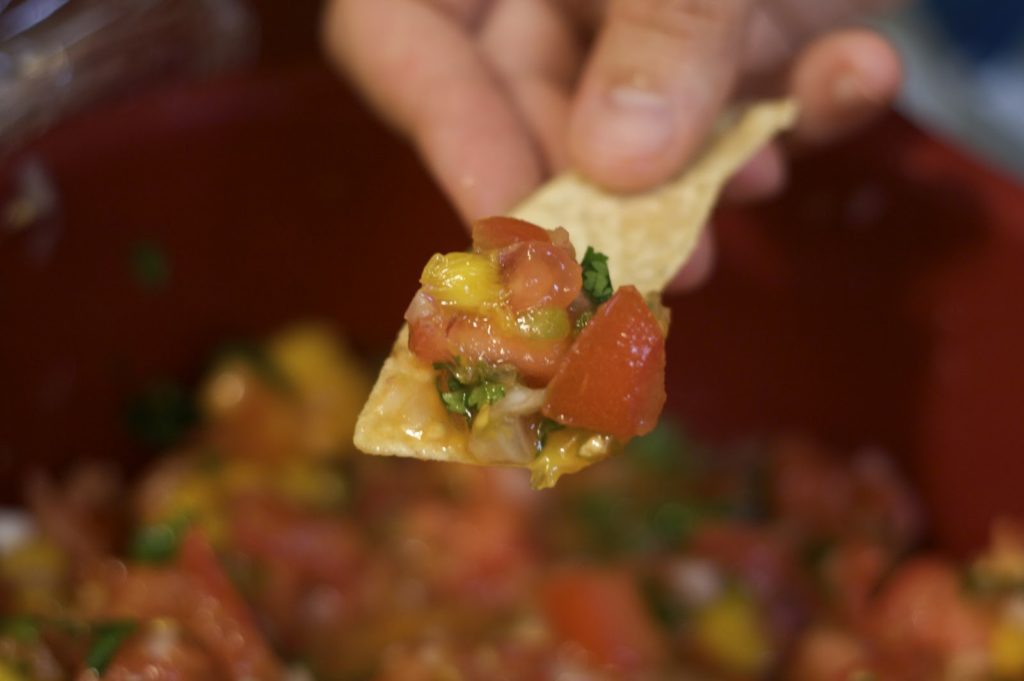
Mango Salsa

Fresh homemade salsa in the summer? YES, PLEASE! How can you resist those veggies?? (fruit…if we are technical.)

Oh. My. Goodness.

Ingredients:
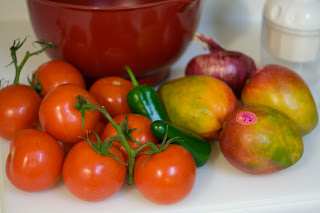
8-10 Medium sized garden tomatoes
1 Red Onion
3 Mangos*
0 – 3 Jalapeno peppers
Fresh Cilantro, chopped, to taste
1 Tbsp Salt (or to taste)

1. Chop your tomatoes and onion up. Mix them in a Large bowl.
2. Dice your mangos and add them to the mixture. Here is a great video on how to dice a mango. We learned the checkerboard method when we lived in the Caribbean.


3. Deseed (or not) your Jalapenos and dice them up. I used three Medium sized jalapenos, got every seed out of each one, and our salsa wasn’t hot at all. But if you’ve ever experienced jalapenos–you can’t bank on them. 🙂 I use surgical gloves to deseed and I don’t take the gloves off until I’m finished handling the pepper, because only an idiot would cut up jalapenos, wash her hands and then harmlessly scratch an itch by her eye, right? The burning sensation is harmless. (Oy! Can you hear the sarcasm drip??)
4. Using scissors, cut the leaves of fresh cilantro and add them to the mix. We really love cilantro so we put in quite a bit–maybe 1/3 of a bunch.
5. Stir in the salt to taste and serve with your favorite chips!

HAPPY SUMMER!

Source: An Original from watching many people make many different types of salsa.


~Kara

Snicker Doodles

Every time I make Snicker Doodles, I always wonder why I don’t make them more often. They don’t take long and they are super tasty! Cooked right, these have that perfect crunchiness around the outside edge with a soft middle. Mm-MMM!

Ingredients:


1 C Shortening
1.5 C White Sugar
2 Eggs
2 3/4 C All-purpose White Flour
1 tsp Baking Soda
2 tsp Cream of Tartar
1/2 tsp Salt


 3 Tbsp White Sugar
2.5 tsp Ground Cinnamon

1. Preheat the oven to 375 degrees F.

2. In a Medium bowl, cream together the Shortening, Sugar (1.5 Cups), and Eggs. I have a superstition about beating the sugar/egg/shortening mixture for five minutes until it’s good and fluffy. I do this with all cookies (or try to) and have no idea it it does anything special, but I like to think it does.

3. In a Small bowl, sift together the Flour, Soda, Tartar, and Salt (or not. Sometimes I add them separately.). Gradually add the dry mixture into the Sugar mixture until nice and incorporated.

4. In a cereal bowl, mix together the Tbsp Sugar and tsp Cinnamon.

5. Taking a heaping teaspoon full, roll the dough into a little ball and then roll it around in the cinnamon until the entire ball is coated.

6. Place on an unprepared cookie sheet two inches apart.

 7. Bake for 7 – 10 minutes. I do mine for 7 minutes and they’re perfect! Cool on a wire rack.

8. Share them. Or DEVOUR them. Whichever you prefer.

Source: LKUEHL, on All Recipes.com, a little personal variation added

~Kara

Grandma’s Spare Ribs

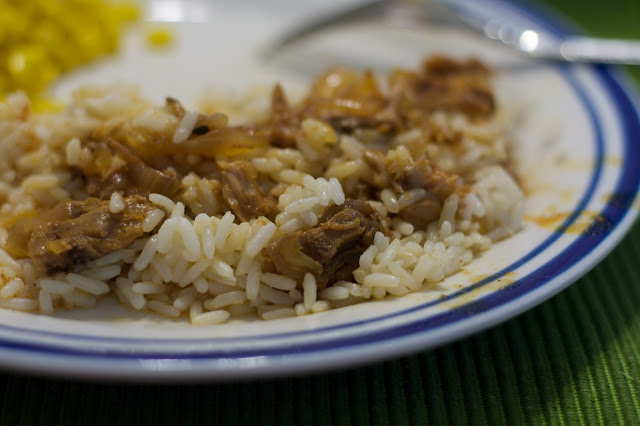
I inherited this recipe from Mr. Blue Eyes’ grandma when I married into the family. Lucky me! When cooked right, the meat falls right off the bones. You can’t beat that!

3 – 4 lbs Pork Spare Ribs
3 small Onions, sliced
3/4 – 1 Cup Ketchup
3/4 (or less) Cup Water
2 Tbsp Vinegar (we use white)
2 Tbsp Worchestershire Sauce
1 Tbsp Salt
1/2 tsp (or less) Red Pepper (we usually leave this out because we have small children)
1/2 tsp ground Black Pepper
1 tsp Paprika
1 tsp Chili Powder

1. In a 9×13 pan, or Large Cast Iron Pot, cook meat at 450 degrees F until brown.
2. Remove the meat from the oven and cover with the sliced onions.
3. Mix all other ingredients together. Pour the mixture over the meat and onions.
4. Cover with tinfoil (or lid) and bake at 250 degrees F for three hours (or 350 for 1.5 hours), basting occasionally. It really depends on your time frame. Just remember, cooking at a lower temperature for longer will make it more tender.
5. Uncover and bake for 15 minutes more.

Serve with rice, potatoes, or egg noodles.

Note: I don’t dig a whole lot of fat on my meat, so I usually trim fat off as I go, depending on how hard it is or how much time I have.

Source: Grandma M., who told me she cut it out of a newspaper umpteen years ago.

~Kara

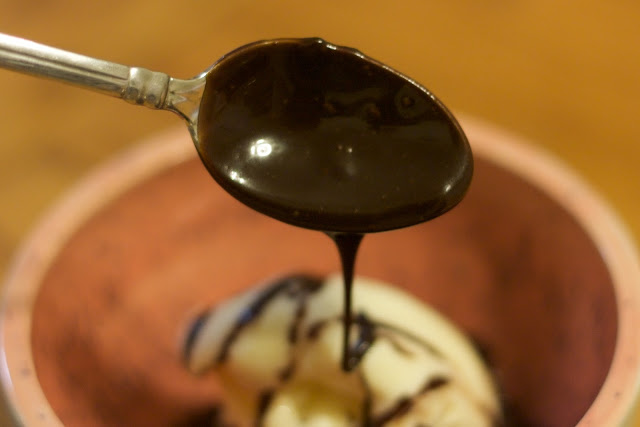
Hot Fudge Sundae Sauce

I may have mentioned before that I come from a family of sweet-tooths…sweet-teeth…whatever. You can blame my mother (and her mother before her) for my appreciation of Hot Fudge Sundaes.

A sweet lady in Colorado gave me this recipe for Hot Fudge Sundae Sauce after I begged her for it when I tasted its goodness at a Relief Society meeting. It’s so easy to make and 5,000 times better* than that microwavable junk you can buy at the store (no offense, Microwavable Junk!). Now, that’s what I’m talkin’ about!

Ingredients:

1/2 C Karo Light Corn Syrup
1/2 C Evaporated Milk (not Sweet and Condensed!)
2 Tbsp Water
2 C Semi-Sweet Chocolate Chips
1 tsp Vanilla

1. In a medium-sized sauce pan, combine Karo syrup, evaporated milk, and water. Stir over medium heat until it just comes to a boil.
2. Remove from heat and immediately stir in the chocolate chips until smooth.
3. Stir in vanilla.

Yield: About 1 pint

This picture was taken after we and another family dipped into it for dessert, so the amount you see in the jar is not the full amount that was made.

The sauce stores very well in the fridge for a long time. Warm it up in the microwave or over the stove when you’re ready to use it again.

Source: B. Buss, Greeley, CO

*Have I ever mentioned that I may exaggerate a bit? Yeah, I’m an exaggerator. But in my defense, it is better than store bought! 5,000 times better? That’s for you to decide.

~Kara