Yummy Healthy Smoothie

So, how many of you are doing the “set a goal to lose weight” goal AGAIN this year?  Oh, come on, you know you did.  It’s like the number one New Year’s Resolution EVER!!  

Anyway, it hit me tonight, as I looked at my calendar (didn’t have time to check it yet this week.  What is that about?) that it was my week to post on Thursday.  

After cleaning the kitchen and living room this morning, vacuuming up copious amounts of pine needles from the Christmas tree, going to my 3rd Zumba workout this week, doing a couple of loads of laundry, going back to work after the long Christmas break, working like crazy to catch up at said work, getting my entry ready for our Arts Council photo contest, running to the bank, yadda, yadda, yadda….I got home from work and had about 30 minutes to breathe and throw down a fold-over ham sandwich before a 6:00 planning meeting at church, prior to the youth meeting at 7:00 pm.

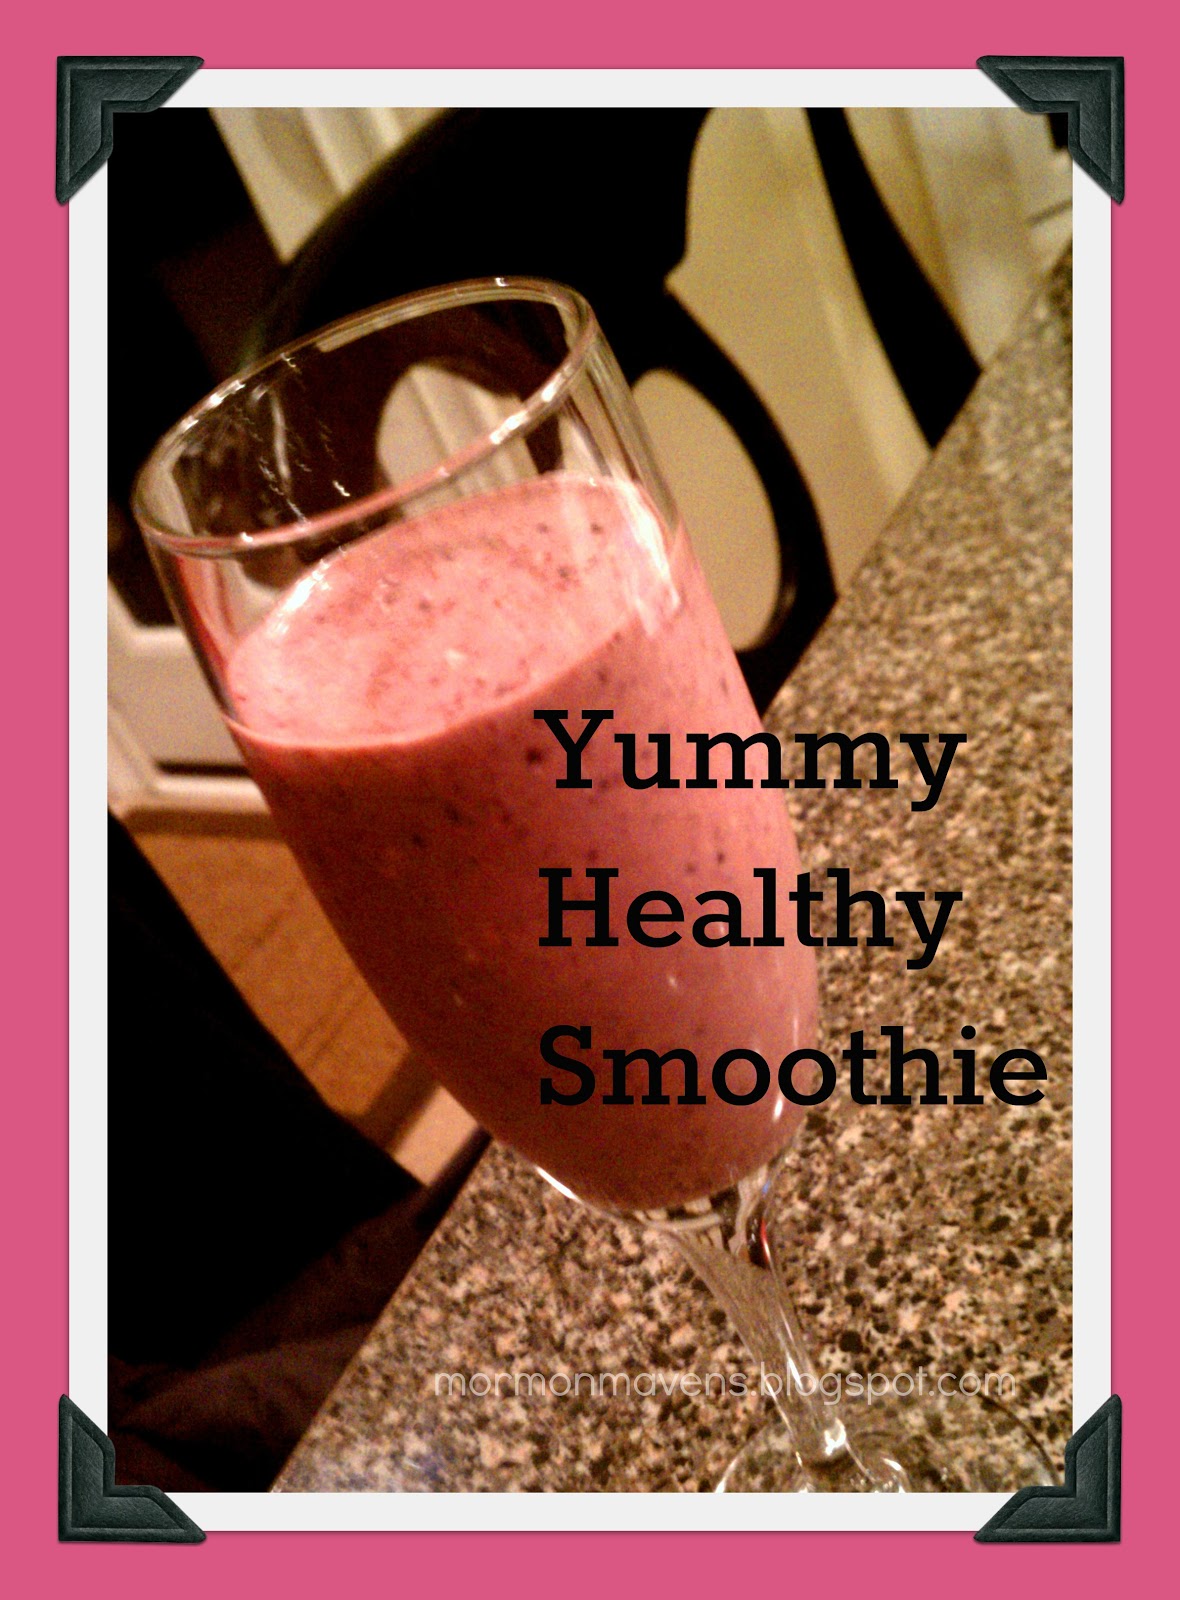
I did NOT have time to whip up an amazing recipe to post, but I do have time to make a smoothie for my breakfast in the morning!  So I am going to go do that right now and snag a few pictures and then I will  be sharing that smoothie recipe with you!  Now we can work on our weight loss goal together!

Ingredients:
2 cups of frozen fruit, we like blueberries
1 cup low fat vanilla yogurt, we like to use 2 containers of Activia yogurt
1/3 cup of Whey Protein, chocolate flavor
1 heaping tablespoon low fat peanut butter
Honey, to preference
Ground flax seed, about a tablespoon or so
1/2 banana
1/4 cup quick oats (or less), or a packet of instant oatmeal of desired flavor
6 oz. low fat milk, we use 1%


1.  Place the fruit in a blender, food processor, or “Ninja” and process for a few seconds.
2.  Add remaining ingredients and process until desired consistency.
3.  Pour desired amount in a glass and ENJOY your healthy beverage.


Originally posted on January 3, 2013.


Crunchy French Toast

Looking at the menu plan in horror, I realized that the Baked French Toast I had planned for the next morning was just not going to happen.  Didn’t have the right bread.  Could make bread but it wouldn’t be the right texture since it would be fresh.  Didn’t really want to run to the store late at night.  Hmmm….what to do?    Go to bed and hope that the Baked French Toast Fairy would come.

She didn’t.  (True story.)

So that morning, after looking online for a jazzed up French toast recipe (that didn’t require overnight soaking!), I decided to just go rogue and make it up as I went along, using a few ideas I’d seen online.   I was quite pleased with the result!  Try it and see what you think.

Also, if you could tell that Fairy that she owes me a breakfast, I’d be much obliged.

Ingredients:
16 slices of bread
4 eggs
3/4 cup heavy cream
3/4 cup skim milk
3 Tbsp. sugar
1 tsp. vanilla
1 tsp. cinnamon
4 cups frosted flakes or plain corn flakes

1.  Preheat oven to 425 degrees.  Place aluminum foil in the bottom of two large baking sheets.  Place a large cooling rack into each pan.  Spray racks with nonstick cooking spray.
2.  Measure the flakes into a plastic food bag and use the bottom of a 1-cup measure to crush the flakes into small pieces.  Pour the crushed flakes into a bowl (make sure the bowl is wide enough to allow you to lay a piece of bread in it).
3.  Whisk together the eggs, cream, milk, sugar, vanilla, and cinnamon.  One at a time submerge the bread into the egg mixture, lift it out, and use your fingers to gently squeegee off any excess.  Then place the dipped bread slice into the bowl of crushed flakes, pressing gently.  Flip the bread over and gently press the other side.  Then place each slice on the cooling rack.  Repeat this with all the slices, making sure to whisk well after ever two or three dippings (the sugar has a tendency to settle at the bottom and the cinnamon likes to float at the top).
4.  Bake for 20-25 minutes, flipping slices over halfway through the baking time.  Serve with butter and syrup and enjoy!

Notes:

  • I used store-bought whole wheat bread.  Different breads will soak up the egg mixture differently and so may require more or less of the mixture.
  • To promote more even cooking, I also rotated the position of the baking sheets halfway through the cooking time.  I just had them switch places in my oven.
  • To check for doneness, I just poked the bread gently in the middle to see if it was still squishy (that’s the technical term).  It should be dry but still soft.
Source:  me!  (well, with a little inspiration from the internet)
 
Originally posted on November 26, 2012.

Baked French Toast


Originally posted on November 16, 2011.

It’s not my day to post a recipe, but I couldn’t help sharing this absolutely delicious recipe with y’all!  It.  is.  so.  good.

I found it last night while searching for a make-ahead recipe for breakfast (I’m trying to get as much done the night before as possible so I can get all my exercising in early….which is a good thing ‘cuz this ain’t no diet-friendly recipe!).  I started searching Pinterest for overnight breakfasts, but then thought, “Oooh, I bet P-Dub has something good on her site!”  I was not disappointed.

I told my kids this morning that we were trying a new recipe from Pioneer Woman.  My oldest daughter said, “Oh, then it’ll be really good.”

And it is.

Really good.

Like, make you wanna slap yo’self good.

Ingredients:
1 loaf sourdough bread (I used Pepperidge Farm, 1.5 pound loaf)
8 eggs
2 cups milk (I used 1%)
1/2 cup heavy cream
3/4 cup sugar
2 Tbsp. vanilla

Topping:
1/2 cup all-purpose flour
1/2 cup packed brown sugar
1 tsp. cinnamon
1/4 tsp. salt
1 stick cold butter, cut into pieces (1/4 lb.)

1.  Grease a 9 x 13 pan with butter.  Tear bread into bite-size chunks and place evenly in the pan.
2.  Mix together the eggs, milk, cream, sugar, and vanilla.  Pour evenly over bread.  Cover tightly and store in the fridge for several hours (I put mine in overnight….it was about 12 hours).
3.  In a medium bowl mix together the flour, brown sugar, cinnamon, and salt.  Cut in the butter with a pastry blender until it all looks nice and crumbly (like small pebbles, according to P-Dub).  Place in a ziploc bag and put in fridge.
4.  When ready to bake, take pan and bag out of fridge.  Remove wrap and evenly sprinkle the crumb mixture over the top.  Bake for 1 hour at 350 degrees (or 45 minutes if you like it more soft and pudding-like).

Notes:
Update:  IMPORTANT!!!!!!!  You must use a dense bread or this dish will turn out soggy.  After getting a few comments below about soggy outcomes, I figured I’d better make sure you understand that.  You can’t use regular ol’ sandwich bread because it will NOT soak up the egg mixture!  I highly recommend starting with the bread listed in the ingredients above as this has ALWAYS turned out perfectly for me.

  • You can serve with syrup, but we made a quick glaze with powdered sugar and milk.  Delish!
  • If you don’t have brown sugar, mix 1/2 Tbsp. molasses with 1/2 cup sugar until well blended.
  • Like I said, you can bake it for less time if you like it softer, but I love how the top gets crispy when it’s baked for an hour.  The underneath part is still somewhat soft.  One hour in my 350-oven was just right.
  • The directions said to scoop out, but I wanted to be able to control the portions so I cut it into 12 servings (they were large, and this is rich, so you could serve other breakfast dishes and use this as more of a side dish and get 24 servings).
  • If you have a hot oven, cover the dish with foil for the last 15 minutes or so if you notice that it’s starting to get too brown (I have never had to do this, though).
  • If you don’t have a pastry cutter, use two knives moving away from each other to cut in the butter for the topping.  Do NOT use a fork to mash!  It will be a globby mess!
 
Makes 12 large servings
 
Source:  slightly adapted from The Pioneer Woman Cooks

Sausage Pancakes


Originally posted on February 25, 2011.

I hate cooking sausage patties.  Love the flavor, but hate cooking them.  They never seem to get done in the middle unless the outsides are overdone.  Cooking ground sausage, however, is much easier.  (We often mix sausage crumbles with scrambled eggs and shredded cheddar and serve that on toasted English muffins, like a breakfast sandwich.)  If you love the flavor of sausage and maple syrup, you will love these pancakes.  They are very filling.  My pickiest eater requests these all the time.
Sausage-Pancakes


Ingredients:
2 cups flour (white, wheat, or a mixture)
2 tsp. baking powder
1 tsp. salt
1/2 tsp. baking soda
2 eggs (or use egg powder)
2 cups buttermilk or sour milk*
2 Tbsp. oil
1 lb. ground sausage, cooked and drained

1.  Mix dry ingredients together in a large bowl.
2.  Mix eggs, milk, and oil together with a whisk until well blended.
3.  Add wet ingredients to dry ingredients.  Do not over-mix.
4.  Pour on hot, greased griddle and cook on both sides till golden brown.

*Sour milk–place 2 Tbsp. white or apple cider vinegar in a 2-cup measure.  Add milk to the 2-cup measuring line.  Let sit for a few minutes.

To freeze, layer pancakes with wax paper in between them and place them all in a freezer bag or container.

Source:  The Hows and Whys of the Year Supply by Melissa Coombs

Nutella Hot Chocolate


Originally posted on November 7, 2011.

I love Nutella.  Love, love, love it.  And once again, Pinterest provides another scrumptious idea on how to use it.  This is yummy, quick, and easy.  You can play around with the amount of Nutella to suit your personal taste.

And how many ways do you think there are to use Nutella in your life?

Ingredients:
1 cup milk (I used 1%)
1-2 Tbsp. Nutella (I eyeballed it)

1.  Place milk and Nutella in a small saucepan and heat over medium-high heat, whisking until Nutella is fully incorporated into the milk.  (You could probably use one of those little cocoa machines with the spout too.)
2.  Pour into your favorite mug and enjoy.

Source:  found on Pinterest (no original source cited there)

Pumpkin Pie Smoothies


The Pioneer Woman cooking show is my favorite and I have a reminder on my phone to head to the bonus room upstairs and watch it at 10:00 on Saturday mornings, if I am around to do it.  As a matter of fact, I just finished watching two episodes and then came back to schedule a couple more posts for this blog.

I was watching back during P-Dub’s Thanksgiving episode, where she shares her family feast recipes, and she showed this one that I am sharing today. So sorry that this is so late after the holidays, because you totally could have used it during that time.  I honestly thought I had already at least DRAFTED it, but you know…life happens.

Anyway, this is a great and pretty healthy idea for using leftover pumpkin pie filling.  Now, I did a variation on this recipe that you won’t think is healthy but it is delicious and needful if you mixed up too much filling for your pies–I’m talking the WHOLE filling with sugar, eggs, etc.  If you’re afraid of drinking raw egg or you don’t want the sugar, follow Ree’s exact recipe.  


Ingredients:

leftover Anna’s Pumpkin Pie filling (future post, but here are the ingredients to mix all together. Makes 2 pies and enough left for a 6-muffin pan)–29-0z. can Libby’s Pumpkin Pie filling, 2 cups sugar, 2 eggs, 1 stick of butter, 3-oz. package of instant vanilla pudding, 1 large can evaporated milk, 1 T. vanilla)

3 cups milk 

1/2 cup vanilla yogurt  

1/4 teaspoon cinnamon  


  1. Spoon pie filling into muffin cups, cover with foil and freeze.
  2. When ready to serve place 4 “smoothie muffins” in a blender or food processor.  Add the milk, yogurt and cinnamon and blend until creamy and smooth.
  3. Pour into glasses and enjoy!


NOTE:  This really is a less healthy version.  Just wanted to put that out there again.  


Brenda’s Rolls


Who doesn’t love the smell of homemade bread or rolls in their home?  Even better is that first warm bite that just fills your soul.

About 18 years ago, or so, I was introduced to the best bread/roll recipe that I have ever had the pleasure of tasting.  

Two sister missionaries–whose apartment had a gas leak–were given permission to sleep over at our house one Sunday evening.  Monday was their P-Day, which stands for preparation day–missionaries use the first portion of this day to clean, shop for groceries, run errands, do laundry, etc.  I was lucky to have these girls in my home on P-Day because one of them asked permission to do some baking.  Um, yeah.  You sure can!

I took off for errands and picking the girls up from school and came home to a house that was oozing with the wonderful aroma of homemade bread and cinnamon rolls.  I was into my second piece of amazing before I even knew it.  Melt-in-your-mouth cinnamon rolls that would rock your world.  They sure rocked mine.

I was able to get the recipe and wrote it inside my family cookbook.  I have only used it once.  I don’t know why!  Maybe because I would eat the whole batch.

I decided it was time to pull that recipe out and make rolls for Christmas Eve dinner.  It makes a lot so I divided it and used the other half for some delicious orange rolls.

You’re welcome!!!!

We are still having Recipe Card format issues, so I am going to copy this straight from how I wrote it in my cookbook. Read through the recipe to make sure you have all of your ingredients, which I have written in BOLD.


  1. Combine 4 T. yeast, 2 t. sugar, 1 cup warm  water (110 degrees F.) and set aside.
  2. Mix 4 c. flour, 1/2 c. instant powdered milk, 4 c. water, 1 and 1/3 c. sugar, 3 beaten eggs,  and 4 t. salt.
  3. Add 2 sticks of melted butter (1 cup).
  4. Add yeast mixture and mix well, stirring in 10 cups of flour.
  5. Turn dough onto a floured surface and knead for 5 minutes.
  6. Grease a large bowl and place the dough in that. Cover with plastic wrap and let rise until doubled.

I divided my dough into two bowls since I was doing a batch of rolls and a batch of orange rolls.

Once the dough has doubled, take it out of the bowl and place it on a floured surface.  Roll out and cut for rolls, place in a greased or buttered pan and bake at 350 degrees F for about 15 minutes.

If you are baking bread, form loaves and place in greased loaf pans and bake at 350 degrees F for about 30 minutes.


If you want delicious orange rolls, do the following:  a regular size navel orange will yield the orange zest and juice you will need.

  1.  Preheat oven to 400 degrees F.  
  2.  Stir together 1/2 t. cinnamon, 1 T. orange zest and 1/3 c. of sugar in a small bowl and set aside.
  3.  Spray counter top with non-stick cooking spray and roll dough out into a large rectangle about 1/4 inch thick.  Brush dough with 3 T. melted  butter, then spread with cinnamon/sugar/orange zest mixture.
  4.  Starting with one of the long sides of the rectangle, roll dough up tightly, working from one end to the other end horizontally, then back again.  pinch the seams closed at the end.  Use a sharp, thin knife (I like to used non-waxed/unflavored dental floss) to cut the roll in half, then each half in half.  You will have 4 sections. cut each section  into thirds.
  5. Set rolls in a greased or buttered  9 x 13 pan and bake for 12-14 minutes.
  6. Whisk together 2 c. powdered sugar, 2 T. melted butter and 3 T. orange juice. Spread over warm rolls.


Roll Recipe Source:  Sis. Stanger of the Arizona Tucson Mission of the Church of Jesus Christ of Latter-day Saints, ca. 1996-2002.

Orange Rolls Variation Recipe:  Butter with a Side of Bread.

Breakfast PLT


What are some of your favorite cooking shows on TV?  I have several and one of them is Giada at Home . First of all, she lives at the beach and being able to see the ocean from the window behind her is awesome.  Second, she whips up some of the most delicious looking dishes I have ever seen on television and she makes it look so easy.  

Don’t even get me started on the episodes she films in her outdoor kitchen in Italy.  Oh my!

One day I happened on her show and she was in that outdoor Italian kitchen and making items that she likes to prepare for herself and her daughter for breakfast.  Her daughter isn’t much of a breakfast gal, but Giada always manages to make something she is willing to eat.  

Like, who is not going to eat something Giada makes–plus she is the mom.

The Breakfast PLT (Pancetta, Lettuce & Tomato) is one of the coolest looking dishes that I have seen on the show.  It’s a crazy take on the tradition BLT sandwich we all know and love, but this one is served at breakfast.    

I made these this morning before church, and honestly it was so easy to prepare.  I don’t know why I waited so long to share the recipe.  I even bought the pancetta way long ago.  Let me tell you, that “Italian bacon” has a long out-date!  I still have a couple of weeks to use it up.

Breakfast PLT
Write a review
Print
Ingredients
  1. 1 T. whole-grain mustard
  2. 1/4 cup water
  3. 1/2 cup small curd cottage cheese (original recipe calls for 4 oz. fresh goat cheese at room temperature)
  4. 4 mini bagels, split
  5. 2 t. extra-virgin olive oil
  6. 8 thin slices pancetta
  7. 8 small eggs, room temperature (original recipe says quail eggs)
  8. kosher salt and freshly ground black pepper
  9. 2 Roma tomatoes, cut into 1/2-inch slices
  10. 1 cup baby arugula (or romaine or butter lettuce would be good)
Instructions
  1. In a small saucepan over medium heat, bring the mustard and 1/4 cup water to a simmer. Whisk in the cottage or goat cheese until combined. Set aside; it will thicken as it cools.
  2. Toast the bagels until golden brown and crispy. Set aside.
  3. In a medium nonstick skillet, heat 1 t. of the olive oil over medium heat. Add 4 slices of the pancetta and cook until golden brown and crispy on both sides, about 2-3 minutes per side. Drain the pancetta on paper towels. Repeat with remaining pancetta.
  4. Heat the remaining 1 t. of olive oil in a small frying pan over medium-low heat. Crack the eggs, into the pan. If using small eggs, two at a time works. Quail eggs, 4 at a time. Sprinkle with salt and pepper and cook until the whites are set but the yolks are still runny, 2-3 minutes. If you are not using quail eggs you will need to "train" your egg whites so that they won't be too big for the PLT. I just use my spatula and try to corral the whites closer to the yolk. Remove to a plate and repeat with the remaining eggs.
  5. To build the PLT: Spread each bagel half with 1 T. of the cheese sauce. Layer with a slice of pancetta, slice of tomato, and some arugula. Top with the fried egg and a grind of freshly ground black pepper. Serve.
Notes
  1. This makes 8 servings and that is fine if you are serving other foods along with these. If not, this would be more like 4 servings--2 per person.
Adapted from Giada at Home
Mormon Mavens https://www.mormonmavens.com/

Sticky-Buns in Cast Iron

sticky buns in cast iron

Buns of Iron?

Okay, that was pretty lame.  But I couldn’t help it.

I’ve never made sticky buns before but when I saw a recipe making them in a cast iron skillet I knew I had to try it.  I love my cast iron cookware and use it all the time.  I especially love finding recipes where I can bake with it.

I followed the original recipe directions and made 9 large buns, but next time I will make smaller ones.  I think the sticky-to-bun ratio is better that way.  I also used my Thrive Life Country White Dough Mix for the bread.  Use any basic bread dough recipe you like.  Or maybe you love the frozen roll dough!  That’s even easier than using a mix.  Whatever works for you!  My dough mix recipe is for one loaf’s worth of dough.

I used a 9″ square cast iron skillet (my grandmother’s).  So to make it mathematically easy, I’ll divide the dough into 16 equal pieces and do a 4×4 arrangement.

Do you like cast iron?  If so, what’s your favorite piece?

Sticky Buns in Cast Iron
Bread, butter, sugar.....like seriously....do I need to say more?
Write a review
Print
Prep Time
1 hr 20 min
Cook Time
25 min
Prep Time
1 hr 20 min
Cook Time
25 min
Ingredients
  1. The Bun Dough
  2. 1 c. warm water
  3. 2 tbsp. warm water
  4. 2 1/4 tsp. Active Dry Baker's Yeast
  5. 2 tbsp. honey
  6. 3 3/4 c. THRIVE Country White Dough Mix
  7. The Sticky Stuff
  8. 1/2 c. butter, softened
  9. 1/2 c. brown sugar
  10. 1 tsp. Ground Cinnamon
  11. 3 tbsp. honey
  12. 1 pn. salt
  13. 1/4 c. pecan halves
Instructions
  1. Prep the Dough
  2. Add the water, yeast, and honey to the bowl of a stand mixer equipped with the dough hook. Slowly add in the dough mix. Once it's all incorporated, knead in mixer for about 5 minutes.
  3. Spray a medium bowl with cooking spray. Form the dough into a ball and place in the bowl, turning to coat it with the cooking spray. Cover and allow to rise for about 40 minutes.
  4. When dough has doubled in size, punch it down and divide it into 9 pieces (or 16 as mentioned in the description). Set aside while you prep the sticky stuff.
  5. Prep the Sticky Stuff
  6. Combine all but the pecans in a medium bowl and stir well to combine everything.
  7. Spread this onto the bottom and up the sides of the cast iron skillet.
  8. Place the pecan halves evenly over the sticky stuff. (If you want it to be pretty, make sure you have the flatter side of the pecan facing up.)
  9. Dough + Sticky Stuff
  10. Take the dough pieces and roll into balls. Place these evenly over the sticky stuff. Cover and allow to rise about 30 minutes.
  11. Preheat oven to 375 degrees.
  12. Bake the skillet, uncovered, for 20-30 minutes or until rolls are golden and dough is cooked through. Allow to sit for 15 minutes once you remove it from the oven.
  13. Place a large plate upside-down over the skillet and carefully flip so that the rolls release onto the plate. Enjoy!
Notes
  1. Makes 9 large rolls, but you could make smaller rolls. I would make 16 for my square skillet.
Adapted from Rie McClenny
Mormon Mavens https://www.mormonmavens.com/

Tater Tot Breakfast Casserole


It was one of those days when I felt the urge to serve breakfast for supper.  

And so I did.  

Fortunately, I was watching Pioneer Woman while ironing a million white shirts earlier in the day and she was preparing a brunch which looked mighty delicious. I went to the Food Network site and found her show…and this recipe.

Now, she was prepping for a brunch with friends for “the next day” and so she put the recipe together, covered it, and then put it in the fridge overnight.  I didn’t do that, but I did have it in the fridge for about 4 or 5 hours, so it still worked.

It was delicious and it is gone now.  We ate it up pretty quickly.


Due to technical difficulties today, we are using the older format for our recipe.  


Ingredients:

1 16-oz. bag frozen tater tots
Butter for your baking dish
1 T. olive oil
1 lb. spicy bulk breakfast sausage (I used 1 cup Thrive)
1 medium onion, finely diced (who wants to do that?  I used Thrive)
1 cup milk
1/2 cup half-and-half
1/4 t. seasoned salt
1/4 t. cayenne 
4 large eggs
1 red bell pepper, finely diced
1 green bell pepper, finely diced
2 cups grated Cheddar cheese (I used Mexican blend, on hand)
1 cup grated pepper jack cheese (I used regular jack, on hand)
Kosher salt and freshly ground black pepper

Instructions:

  1.  Line up the tater tots in a buttered 9 x 13 baking dish.
  2. Add the olive oil to a large skillet over medium heat.  Add the sausage and onion and cook, breaking the sausage up with a wooden spoon , until browned and cooked through, 8-10 minutes. OR…do what I did and use Thrive foods.  Scoop 2 cups of Sausage Crumbles and about 1/4 cup of already refreshed Thrive chopped onion.  Toast up for a few minutes–seriously, like 4 minutes– in the olive oil.
  3. Set meat aside and let cool a little, then sprinkle over tots.
  4. In a large bowl, mix the milk, half-and-half, seasoned salt, cayenne, eggs, bell peppers and half of each cheese and salt and pepper to taste.  Pour over the tots/sausage mixture, then top with the rest of the cheeses.  Cover with foil and refrigerate overnight or until you need to cook it.
  5. Preheat oven to 350 degrees F.
  6. Bake, covered, for about 25 minutes.  Remove foil and continue to bake until the cheese is brown and bubbly and the casserole is cooked through–about 20-35 minutes.
  7. Cut into squares and serve with sliced tomatoes, grapes or other appropriate sides.


SOURCE:  Ree Drummond, The Pioneer Woman on FoodNetwork.