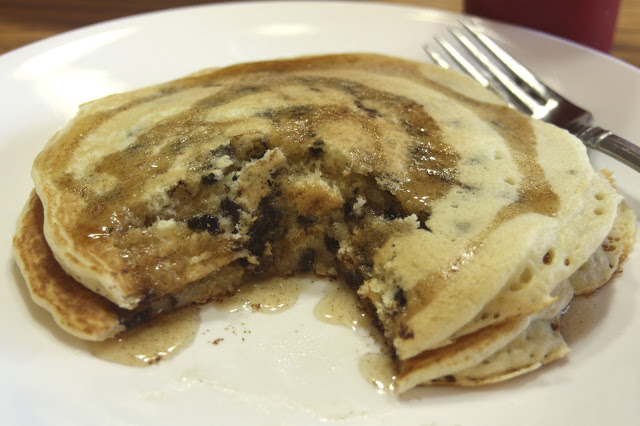
Chocolate Chip Pancakes

These are so tasty that my kids ask for them *almost* every morning! (It couldn’t have anything to do with the chocolate…) The syrup that comes with this recipe is so easy, and SO DELICIOUS! Definitely  one of my favorites!

Pancake Ingredients:

2 Cups all-purpose Flour
1/4 Cup White Sugar
2 Tbsp Baking Powder
1 tsp Salt
2 Eggs
1.5 Cups Milk
1/4 Cup Vegetable Oil (We use Canola.)
1/2 Cup MINI-Chocolate Chips

1. Sift all the dry ingredients together in a Medium-Large Bowl.
2. Combine the wet ingredients together and the add them into the flour mixture.
3. Stir in the Chocolate Chips*.
4. Pour onto a lightly greased hot griddle. Flip over when bubbles form on top; cook until second side is golden brown.

CINNAMON HONEY SYRUP:

Ingredients:
1 Cup Honey
1/2 Cup (1 stick) Margarine or Butter
1 tsp Ground Cinnamon

1. Combine all the ingredients into a 2 cup microwave-safe bowl. (I use my Pyrex Measuring Cup.)
2. Microwave, uncovered, on high until the butter is melted, stirring occasionally until the syrup is hot.

Summer Corn Cakes

Yes.  Another Pinterest Repin.  This one is my SAVORY board cover so I just had to try it.  It’s so pretty.  It’s so yummy.  I will now post the original ingredients, but know that I was able to pull things from food storage and, by rehydrating the freeze-dried corn, I had perfect kernels for this recipe, and my buttermilk was from a mix.  Also, I didn’t have a scallion but I did have a leek, so I substituted that and took out the minced garlic.  Now, there are two different recipes here, one for the corn cakes and one for the Chopped Tomato & Avocado Salsa.  Pay attention and be sure to get all of your ingredients for both recipes.  Pay ATTENTION…I emphasize this because I put the red onion in the salsa instead of the corn cakes because I was trying to watch the Republican National Convention at the same time. 

Corn Cakes Ingredients:
3 ears of corn, shucked
1 cup all-purpose flour
1/2 cup cornmeal
1/4 cup diced red onion
1 teaspoon baking powder
1/2 teaspoon baking soda
Sea salt and freshly ground pepper, to taste
2 tablespoons well-shaken (not stirred) buttermilk (sorry, just had to use that James Bond reference)
2 tablespoons unsalted butter, melted
Canola oil, for frying
1.  Preheat oven to 200 degrees F.  Line a baking sheet with a brown paper bag.
2.  Cut the corn from the cobs into a large bowl.  Scrape the stripped cobs with the back of the knife or spoon to release the juices into the bowl.
3. Place 2 cups of the corn kernels into a food processor. Pulse several times until the corn is slightly pureed but still chunky.  Scrape into the bowl with remaining kernels.
4.  Add flour, cornmeal, onion, basil, baking soda, baking powder, salt and pepper to the corn.  Stir to mix.
5.  Add the eggs, buttermilk, and butter, and stir just to combine–do not overmix.
6.  Place a large skillet over medium heat.  Add just enough canola oil to cover the bottom, and heat until sizzling hot.
7.  Scoop the batter onto the skillet, one heaping tablespoon at a time.  To avoid overcrowding, do in batches of 4 or 5 at a time.  Fry the cakes 1-2 minutes per side, until golden brown.

8.  Drain on the lined baking sheet, and place in the oven to keep warm while cooking the rest of the cakes.  Serve warm with LARGE spoonful of the Chopped Tomato & Avocado Salsa.
Chopped Tomato & Avocado Salsa Ingredients: 
1 large tomato, cored and chopped
1 scallion, trimmed and minced
1/2 jalapeno pepper, cored, seeded and diced
1 tablespoon chopped fresh basil
1 tablespoon chopped fresh cilantro
1 garlic clove, minced
Juice of 1 lime
1 1/2 teaspoons extra-virgin olive oil
1.  Place all ingredients, except avocado, in a bowl and stir to mix.  Refrigerate in an airtight container until ready to serve (for up to 2 days).
2.  Just before serving, add the avocado and mix gently.

Source:  Ezra Pound Cake

“Healthy” Chocolate Sauce

A few weeks ago my husband came out of the kitchen sporting the evil scientist laugh.  “MWAHAHAHAHA!” What had he created now? Healthy chocolate sauce!  I realize this may not be a new concept to the world (according to Google), but do you think my husband would research recipes online? …I don’t think so.  He did this all-by-him-self.

Get this: It’s easy  
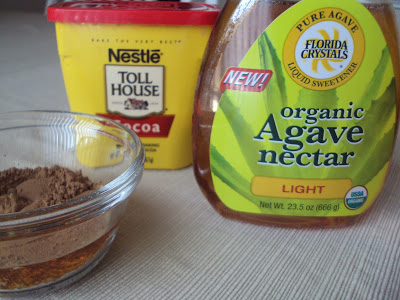
2 parts Cocoa Powder
3 parts Agave Nectar 
Mix the parts together…
keep mixing…keep mixing…that’s right, you’re getting there. 
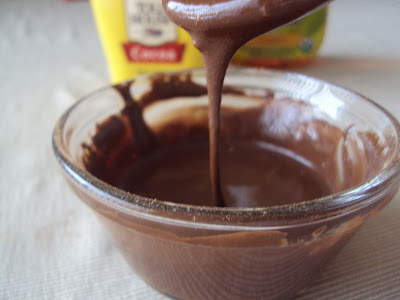
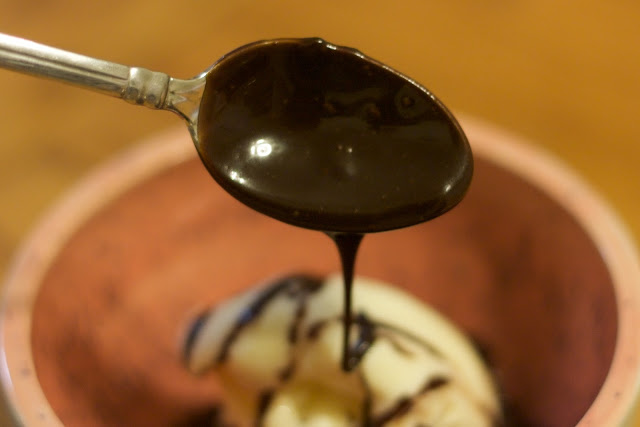
And finally! The Agave bursts through and you have a lovely sauce.  
If this is too “dark” for your taste, just add more Agave.

How do you use it?
Chocolate Milk
Add a dash of salt a splash of vanilla for Hot Chocolate
Drizzle on pancakes, cakes, cookies, pies brownies, etc…
What will you use it for?  Please leave comments. I would LOVE to know!
If Agave Nectar is new to you. Check out some really interesting info HERE about it.  Long story short: It’s better for you than sugar in almost any form.

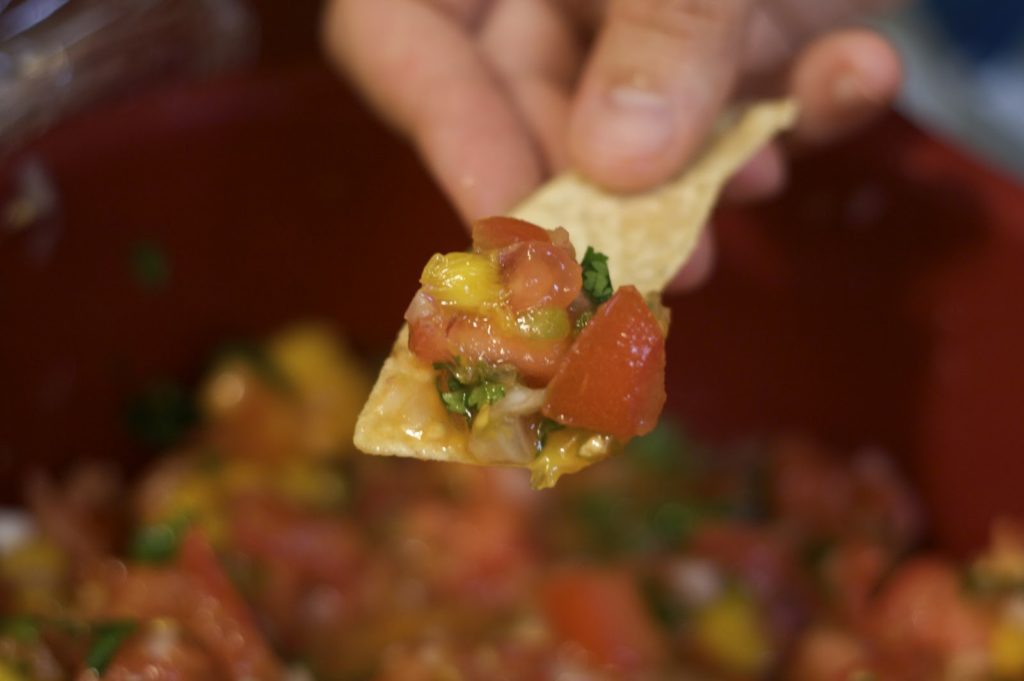
Mango Salsa

Fresh homemade salsa in the summer? YES, PLEASE! How can you resist those veggies?? (fruit…if we are technical.)

Oh. My. Goodness.

Ingredients:
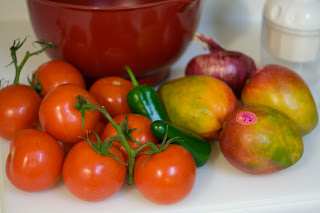
8-10 Medium sized garden tomatoes
1 Red Onion
3 Mangos*
0 – 3 Jalapeno peppers
Fresh Cilantro, chopped, to taste
1 Tbsp Salt (or to taste)

1. Chop your tomatoes and onion up. Mix them in a Large bowl.
2. Dice your mangos and add them to the mixture. Here is a great video on how to dice a mango. We learned the checkerboard method when we lived in the Caribbean.


3. Deseed (or not) your Jalapenos and dice them up. I used three Medium sized jalapenos, got every seed out of each one, and our salsa wasn’t hot at all. But if you’ve ever experienced jalapenos–you can’t bank on them. 🙂 I use surgical gloves to deseed and I don’t take the gloves off until I’m finished handling the pepper, because only an idiot would cut up jalapenos, wash her hands and then harmlessly scratch an itch by her eye, right? The burning sensation is harmless. (Oy! Can you hear the sarcasm drip??)
4. Using scissors, cut the leaves of fresh cilantro and add them to the mix. We really love cilantro so we put in quite a bit–maybe 1/3 of a bunch.
5. Stir in the salt to taste and serve with your favorite chips!

HAPPY SUMMER!

Source: An Original from watching many people make many different types of salsa.


~Kara

Hot Fudge Sundae Sauce

I may have mentioned before that I come from a family of sweet-tooths…sweet-teeth…whatever. You can blame my mother (and her mother before her) for my appreciation of Hot Fudge Sundaes.

A sweet lady in Colorado gave me this recipe for Hot Fudge Sundae Sauce after I begged her for it when I tasted its goodness at a Relief Society meeting. It’s so easy to make and 5,000 times better* than that microwavable junk you can buy at the store (no offense, Microwavable Junk!). Now, that’s what I’m talkin’ about!

Ingredients:

1/2 C Karo Light Corn Syrup
1/2 C Evaporated Milk (not Sweet and Condensed!)
2 Tbsp Water
2 C Semi-Sweet Chocolate Chips
1 tsp Vanilla

1. In a medium-sized sauce pan, combine Karo syrup, evaporated milk, and water. Stir over medium heat until it just comes to a boil.
2. Remove from heat and immediately stir in the chocolate chips until smooth.
3. Stir in vanilla.

Yield: About 1 pint

This picture was taken after we and another family dipped into it for dessert, so the amount you see in the jar is not the full amount that was made.

The sauce stores very well in the fridge for a long time. Warm it up in the microwave or over the stove when you’re ready to use it again.

Source: B. Buss, Greeley, CO

*Have I ever mentioned that I may exaggerate a bit? Yeah, I’m an exaggerator. But in my defense, it is better than store bought! 5,000 times better? That’s for you to decide.

~Kara

Spinach-Artichoke Dip

A party favorite!
Ingredients:
1 8-oz. block cream cheese
1 10-oz. box frozen cut or chopped spinach, thawed (you can also use the majority of a 16-oz. bag)
1 12-oz. jar artichoke hearts, drained
3/4 Cup sour cream
1 Cup grated mozzarella cheese (original recipe called for cheddar; I used a combination of Monterey jack and cheddar b/c it’s what I had)
1/2 tsp. kosher salt
1/4 tsp. black pepper
1. Preheat oven to 400 degrees Fahrenheit.
2. Soften the cream cheese (I think I micro-waved mine for 30 seconds). Whip the cream cheese with a mixer.
3. Squeeze the spinach between paper towels to remove excess moisture and then add it to your mixing bowl with the cream cheese.
4. Roughly chop the artichoke hearts; add the artichoke, sour cream, and cheese to the mixing bowl. Season with salt and pepper. Mix together.
5. Scrape the mixture into a small oven-safe baking dish. Bake until lightly golden and heated through, about 15 minutes.
6. Serve warm with pita chips or bread.

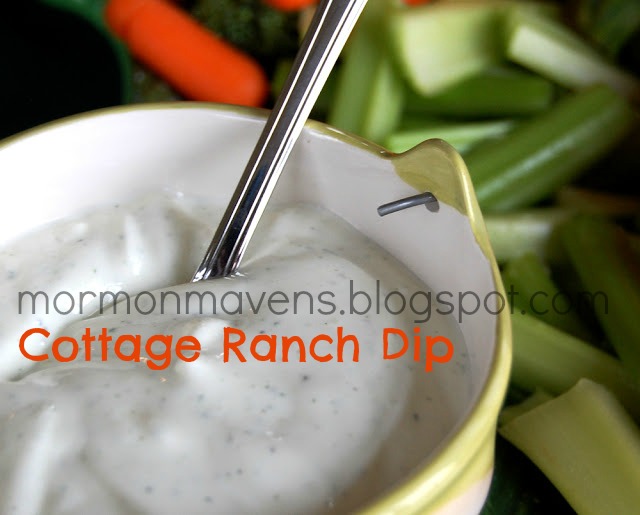
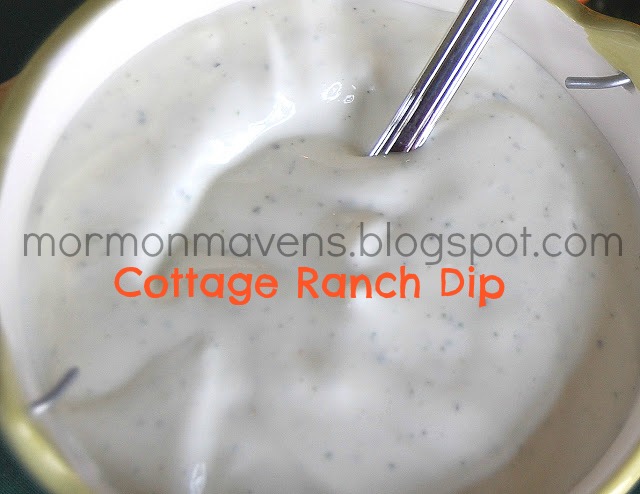
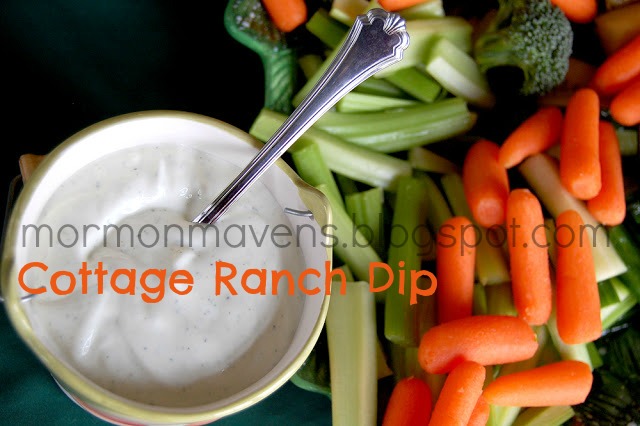
Cottage Ranch Dip

In an attempt to eat healthier and also to sneak some more protein in my diet, I came up with the recipe for veggie dip.  It’s easy and even cottage cheese haters (like my husband) will be fooled that it’s not a traditional fatty dip.

It helps tremendously to have a Magic Bullet-type blender thingy, but you can use a regular blender too.

Ingredients:
16-ounce container small curd cottage cheese (lowfat)
1 envelop ranch dip or dressing mix (I used Hidden Valley Harvest Dill Dips Mix)
sour cream to taste (I used about 1/4 cup)
milk to thin

1.  Place ingredients in a blender, adding milk to thin to the desired consistency.  (With the Magic Bullet type blender, you may have to place half the cottage cheese in, blend, then add the rest, and blend.)
2.  Refrigerate for a few hours for flavors to blend.  Serve with your choice of veggies.

Makes about 2 1/4 cups

Source:  a Julie original

Sweetened Whipped Cream

Is that a black and white photograph of food? Why, yes, it is. Because whipped cream is white, anyway.

My husband has recently had a hankering for strawberry shortcake. So at Food Lion today, I was going to buy some whipped cream in a tub from the frozen section–but then I looked at the ingredients. Cream was not one of them. In fact, the main ingredient was water. So I decided I’d whip my own cream.

Ingredients:
1 C heavy whipping cream
3 T confectioners’ sugar
1/2 t vanilla extract
1. Chill a small mixing bowl and beaters in the refrigerator ahead of time.
2. Using your chilled bowl and beaters, beat cream until it begins to thicken. Add confectioners’ sugar and vanilla; beat until soft peaks form. Store in the refrigerator.
Note: Do not overwhip your cream or it will start becoming runny.

Strawberry Sauce

Yummerz…and it can do so many things…
Ingredients:
1 pint (which is 2 C or 32 oz.) strawberries
1/3 C white sugar
1 t almond or vanilla extract
1. Wash strawberries and remove stems.
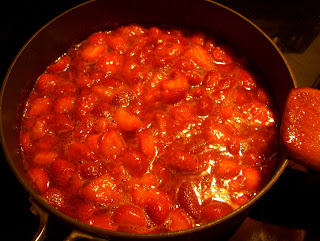
2. Combine berries, sugar, and extract in medium saucepan over medium heat. Using a wooden spoon, constantly stir/break up the strawberries. Allow to simmer for five minutes as you continue to stir and break up the berries.
3. Once it’s been five minutes, remove from heat and allow to cool enough to transfer mixture to blender. Pulse to desired consistency.
I didn’t put this batch in the blender because I was making it for use in strawberry shortcake, and my husband likes the chunks. But other times, when I use the blender to truly make it a sauce, I like to use it for strawberry lemonade/limeade. See the source for some other usage ideas and for a picture of it with a thinner consistency.
Source: Kate from Our Best Bites

Homemade Pumpkin Butter

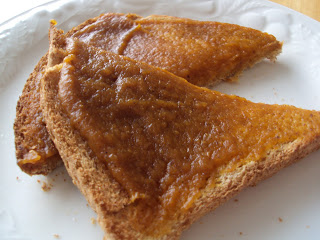
This is one of my favorite fall flavors!  Pumpkin with all of the spices.  It’s pretty much pumpkin pie that you can spread on toast or pancakes and stir into your oatmeal.  This is for a large batch that will fill about 15 freezer jam jars (which is the recommended jarring method). Check out THIS link for more info.  
Ingredients:  
2- 29oz cans pumpkin puree
4 c apple juice or cider
3 c white sugar
4tsp ground ginger
1tsp ground cloves
1tsp ground nutmeg
4tsp cinnamon
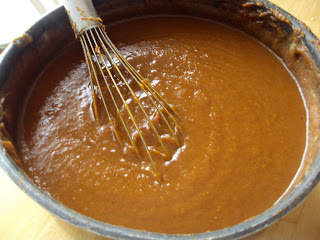
  1. Combine all ingredients in a large sauce pan.  Stir well. 
  2. Bring the mixture to a boil. Keep stirring.  Constantly.  Or it will bubble and spit pumpkin at you!
  3. Lower heat and simmer (while stirring) for about 30 min or until it reaches the desired consistency. 
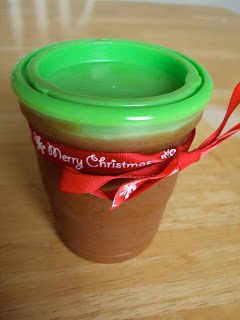
  4. Cool for about 10 minutes before transferring to freezer jam jars.  Then cool another 10-20 minutes before you put the lids on.  
  5. Refrigerate or freeze.  Tie a cute ribbon or something crafty to it and give it as a gift!  
HAPPY HOLIDAYS!