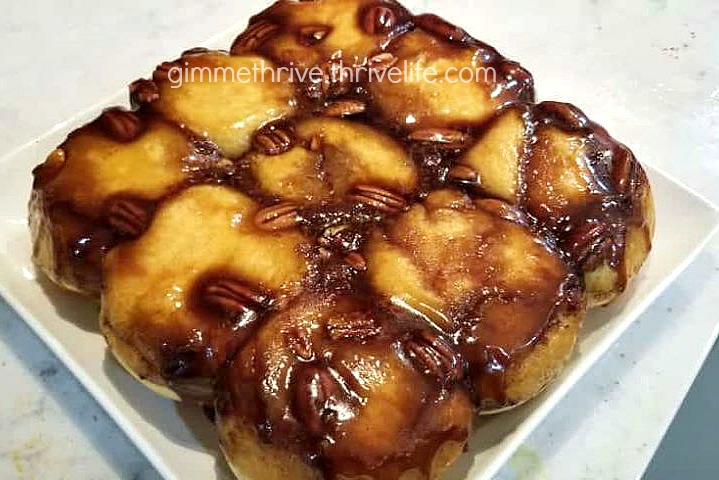
Sticky-Buns in Cast Iron

sticky buns in cast iron

Buns of Iron?

Okay, that was pretty lame.  But I couldn’t help it.

I’ve never made sticky buns before but when I saw a recipe making them in a cast iron skillet I knew I had to try it.  I love my cast iron cookware and use it all the time.  I especially love finding recipes where I can bake with it.

I followed the original recipe directions and made 9 large buns, but next time I will make smaller ones.  I think the sticky-to-bun ratio is better that way.  I also used my Thrive Life Country White Dough Mix for the bread.  Use any basic bread dough recipe you like.  Or maybe you love the frozen roll dough!  That’s even easier than using a mix.  Whatever works for you!  My dough mix recipe is for one loaf’s worth of dough.

I used a 9″ square cast iron skillet (my grandmother’s).  So to make it mathematically easy, I’ll divide the dough into 16 equal pieces and do a 4×4 arrangement.

Do you like cast iron?  If so, what’s your favorite piece?

Sticky Buns in Cast Iron
Bread, butter, sugar.....like seriously....do I need to say more?
Write a review
Print
Prep Time
1 hr 20 min
Cook Time
25 min
Prep Time
1 hr 20 min
Cook Time
25 min
Ingredients
  1. The Bun Dough
  2. 1 c. warm water
  3. 2 tbsp. warm water
  4. 2 1/4 tsp. Active Dry Baker's Yeast
  5. 2 tbsp. honey
  6. 3 3/4 c. THRIVE Country White Dough Mix
  7. The Sticky Stuff
  8. 1/2 c. butter, softened
  9. 1/2 c. brown sugar
  10. 1 tsp. Ground Cinnamon
  11. 3 tbsp. honey
  12. 1 pn. salt
  13. 1/4 c. pecan halves
Instructions
  1. Prep the Dough
  2. Add the water, yeast, and honey to the bowl of a stand mixer equipped with the dough hook. Slowly add in the dough mix. Once it's all incorporated, knead in mixer for about 5 minutes.
  3. Spray a medium bowl with cooking spray. Form the dough into a ball and place in the bowl, turning to coat it with the cooking spray. Cover and allow to rise for about 40 minutes.
  4. When dough has doubled in size, punch it down and divide it into 9 pieces (or 16 as mentioned in the description). Set aside while you prep the sticky stuff.
  5. Prep the Sticky Stuff
  6. Combine all but the pecans in a medium bowl and stir well to combine everything.
  7. Spread this onto the bottom and up the sides of the cast iron skillet.
  8. Place the pecan halves evenly over the sticky stuff. (If you want it to be pretty, make sure you have the flatter side of the pecan facing up.)
  9. Dough + Sticky Stuff
  10. Take the dough pieces and roll into balls. Place these evenly over the sticky stuff. Cover and allow to rise about 30 minutes.
  11. Preheat oven to 375 degrees.
  12. Bake the skillet, uncovered, for 20-30 minutes or until rolls are golden and dough is cooked through. Allow to sit for 15 minutes once you remove it from the oven.
  13. Place a large plate upside-down over the skillet and carefully flip so that the rolls release onto the plate. Enjoy!
Notes
  1. Makes 9 large rolls, but you could make smaller rolls. I would make 16 for my square skillet.
Adapted from Rie McClenny
Mormon Mavens https://www.mormonmavens.com/

Tiger Butter Fudge

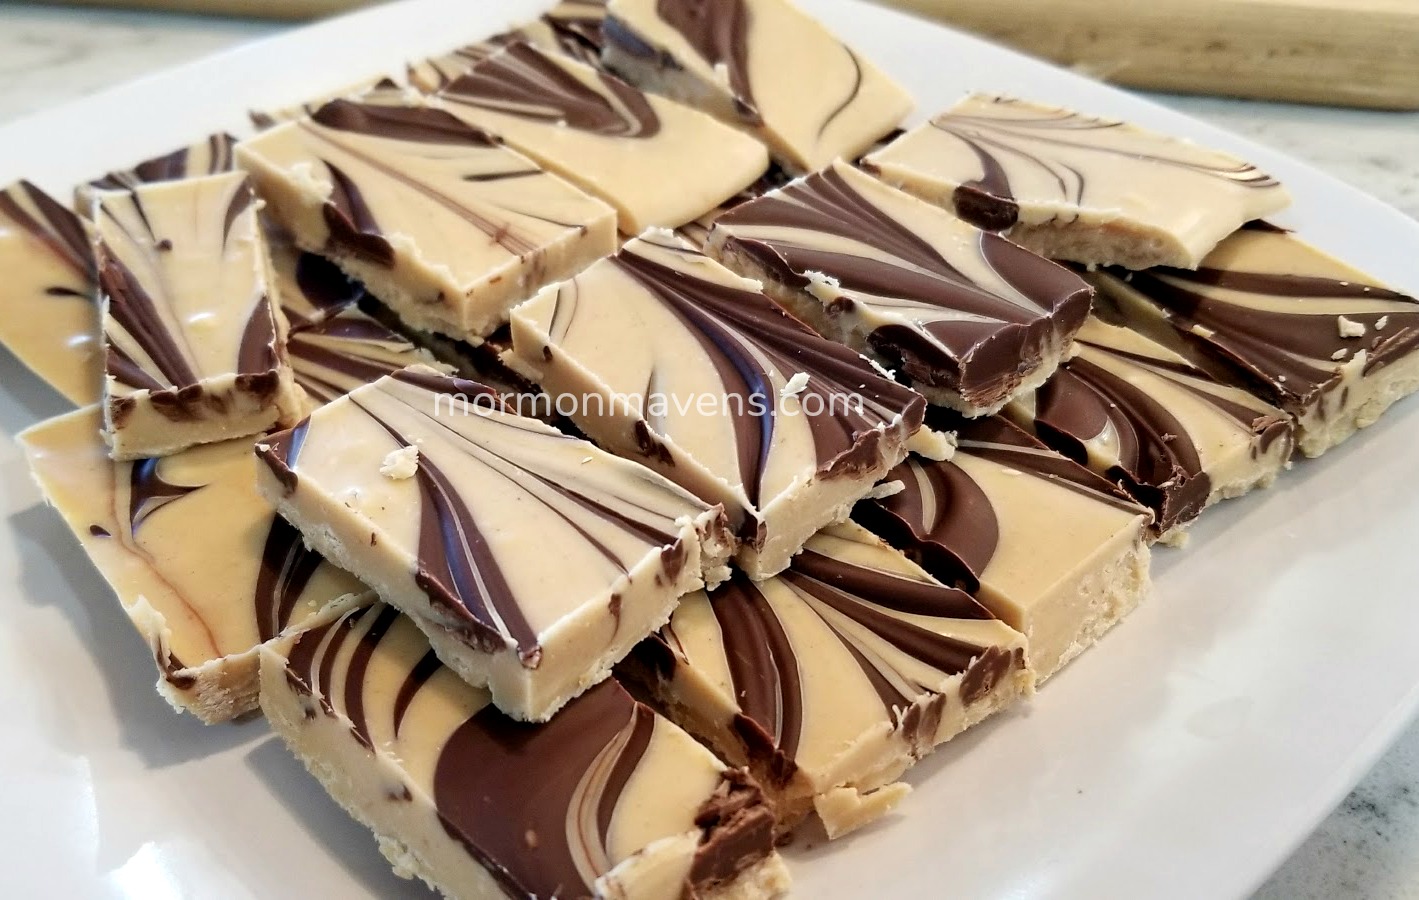
Ever need to make a treat to take to an event but don’t really want to go to the trouble?  Or maybe you just want a treat for yourself?

With only three ingredients, this recipe is a winner and you’ll be toting/indulging in this treat in no time!

tiger butter fudge

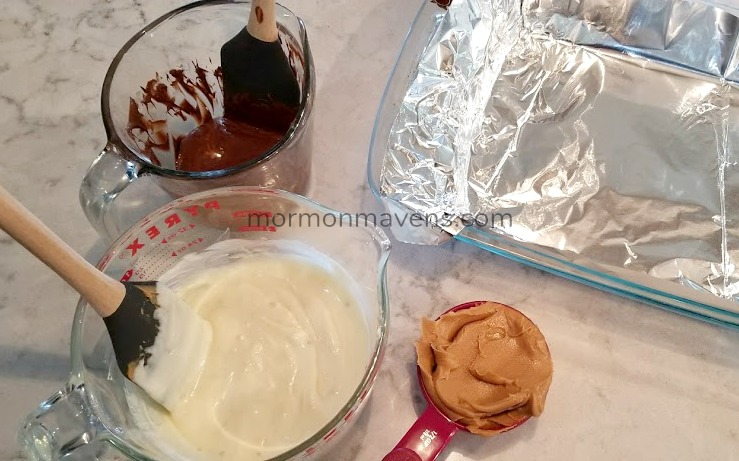
tiger butter fudge prep

Chocolates are melted, peanut butter is about to go into the white chocolate, and the pan is ready.

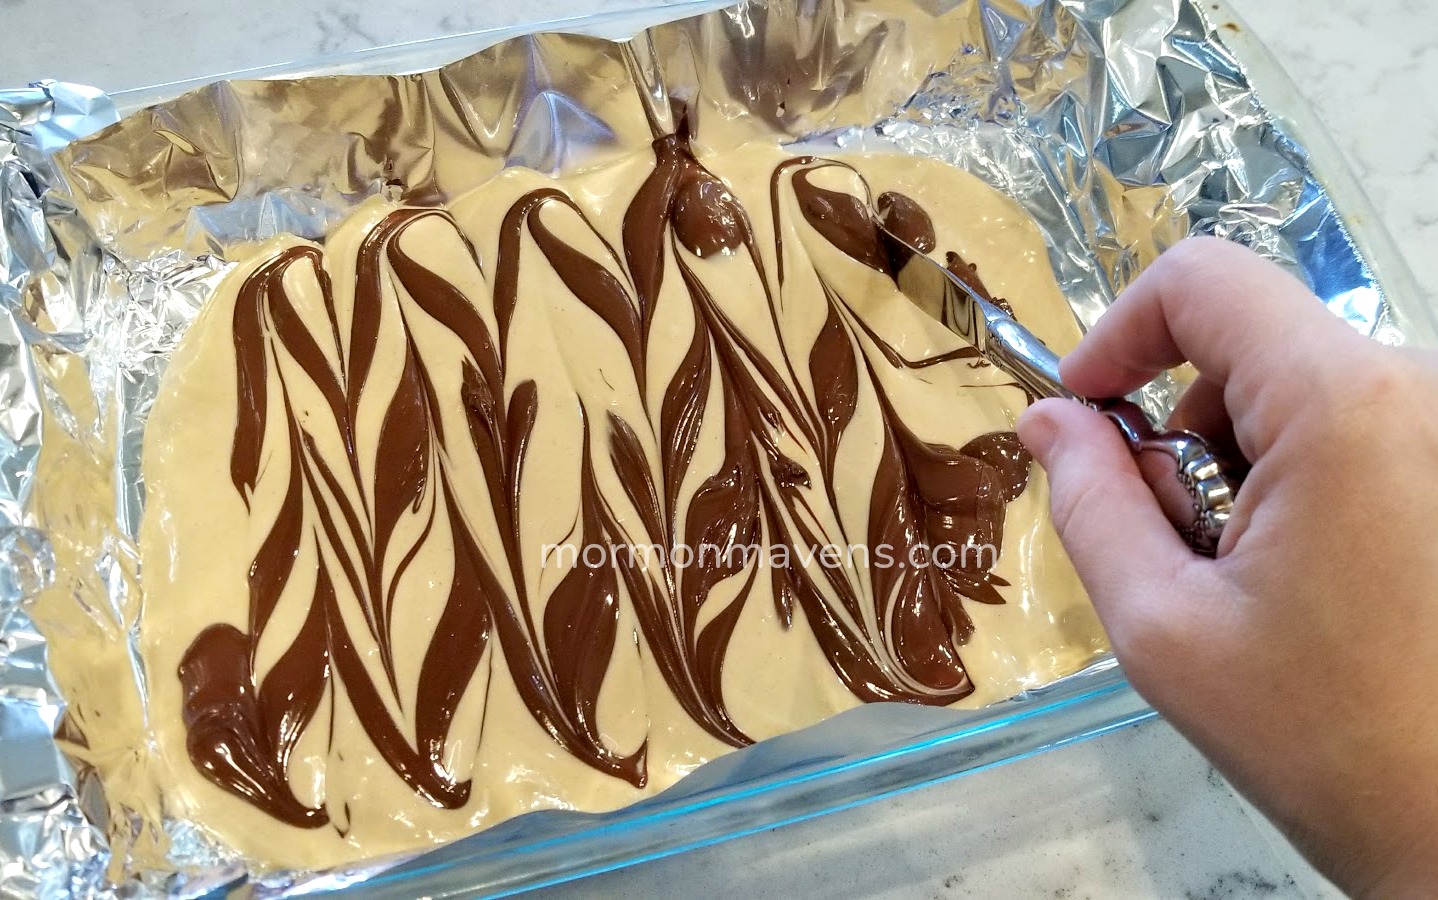
This is the fun part!

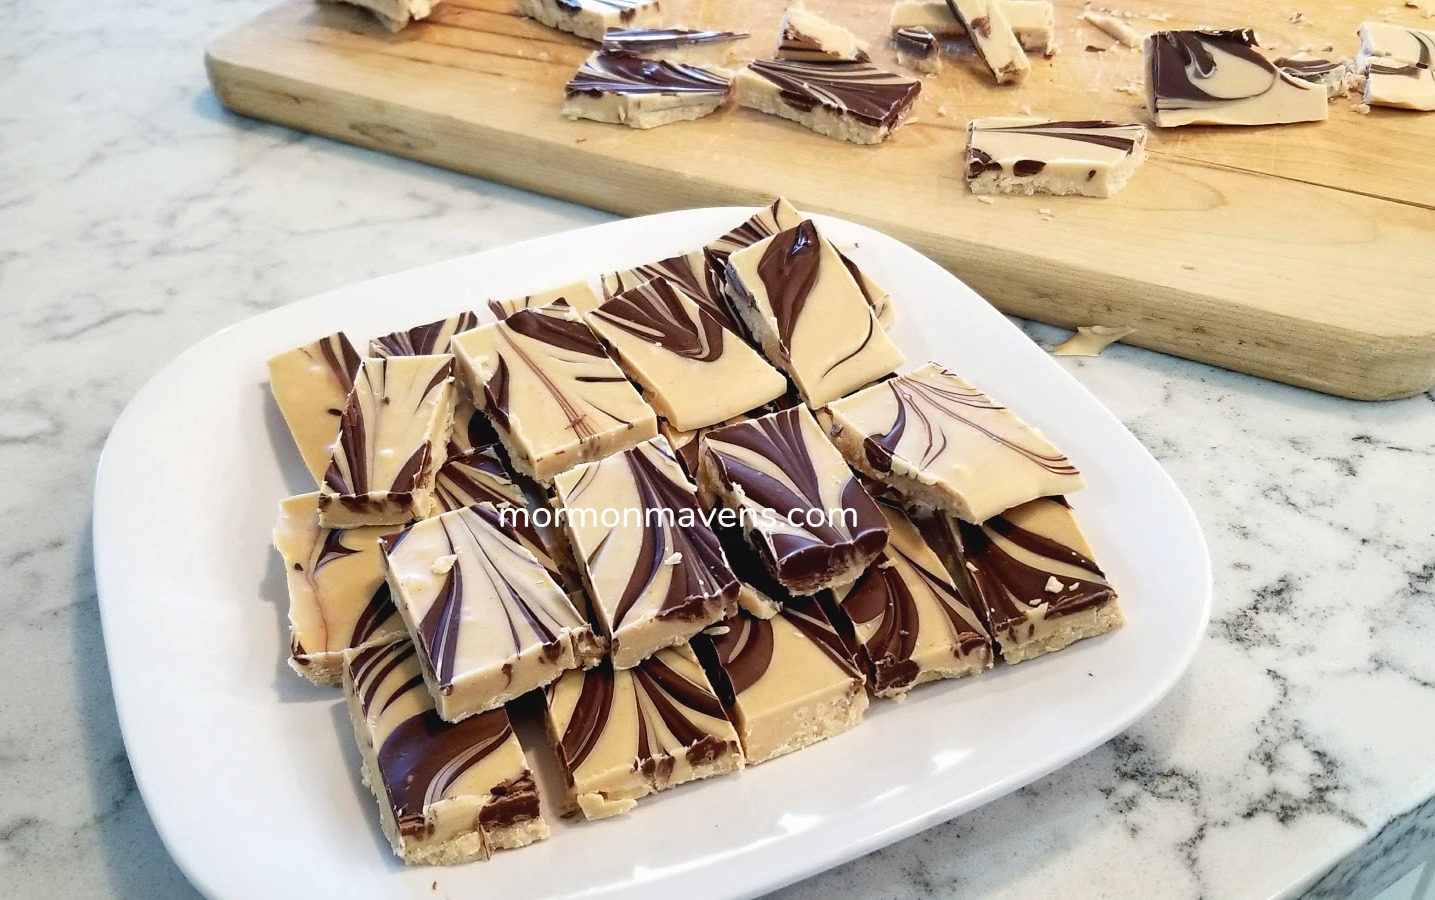
tiger butter fudge

Easy recipe…..peanut butter and chocolate….pretty…..WIN!

Tiger Butter Fudge
With only three ingredients, this recipe is one you can whip up in no time.
Write a review
Print
Prep Time
5 min
Prep Time
5 min
Ingredients
  1. 1 (12 oz) bag of white chocolate chips
  2. 1/2 cup creamy peanut butter
  3. 1/2 cup semisweet chocolate chips
Instructions
  1. Line a 9x13 pan with aluminum foil so that when you are ready to cut and serve, you can easily lift out the fudge.
  2. Place the semisweet chips into a microwave-safe bowl and microwave for 1 minute. Remove and stir. Continue to melt in microwave in 30 second increments until the chips are melted. Set aside.
  3. Repeat this process in a different bowl with the white chocolate chips. Stir peanut butter into the melted white chocolate.
  4. Pour the white chocolate/peanut butter mixture into the pan. Don't worry about spreading it to the edge, just let it spread as far as it will on its own.
  5. Use a spoon or spatula to drop the semisweet chocolate onto the white chocolate mixture in rough lines.
  6. Using a butter knife, run through the fudge in the opposite direction of the semisweet lines, making a marbled pattern. Do this until you get the look you like!
  7. Allow to set at room temperature, or place it in the fridge to set quickly. Lift out the foil and place on a cutting board; cut in pieces.
Mormon Mavens https://www.mormonmavens.com/

Nutella Peanut Butter Cookies

Anyone who knows my family knows that we love our peanut butter.  I mean, we buy the giant 5-pound Peter Pan canisters at Sam’s, for cryin’ out loud.  

Nutella?  Well, we may or may not have been known to just grab some by the spoonful.  

So combining the two was sure to be a hit!

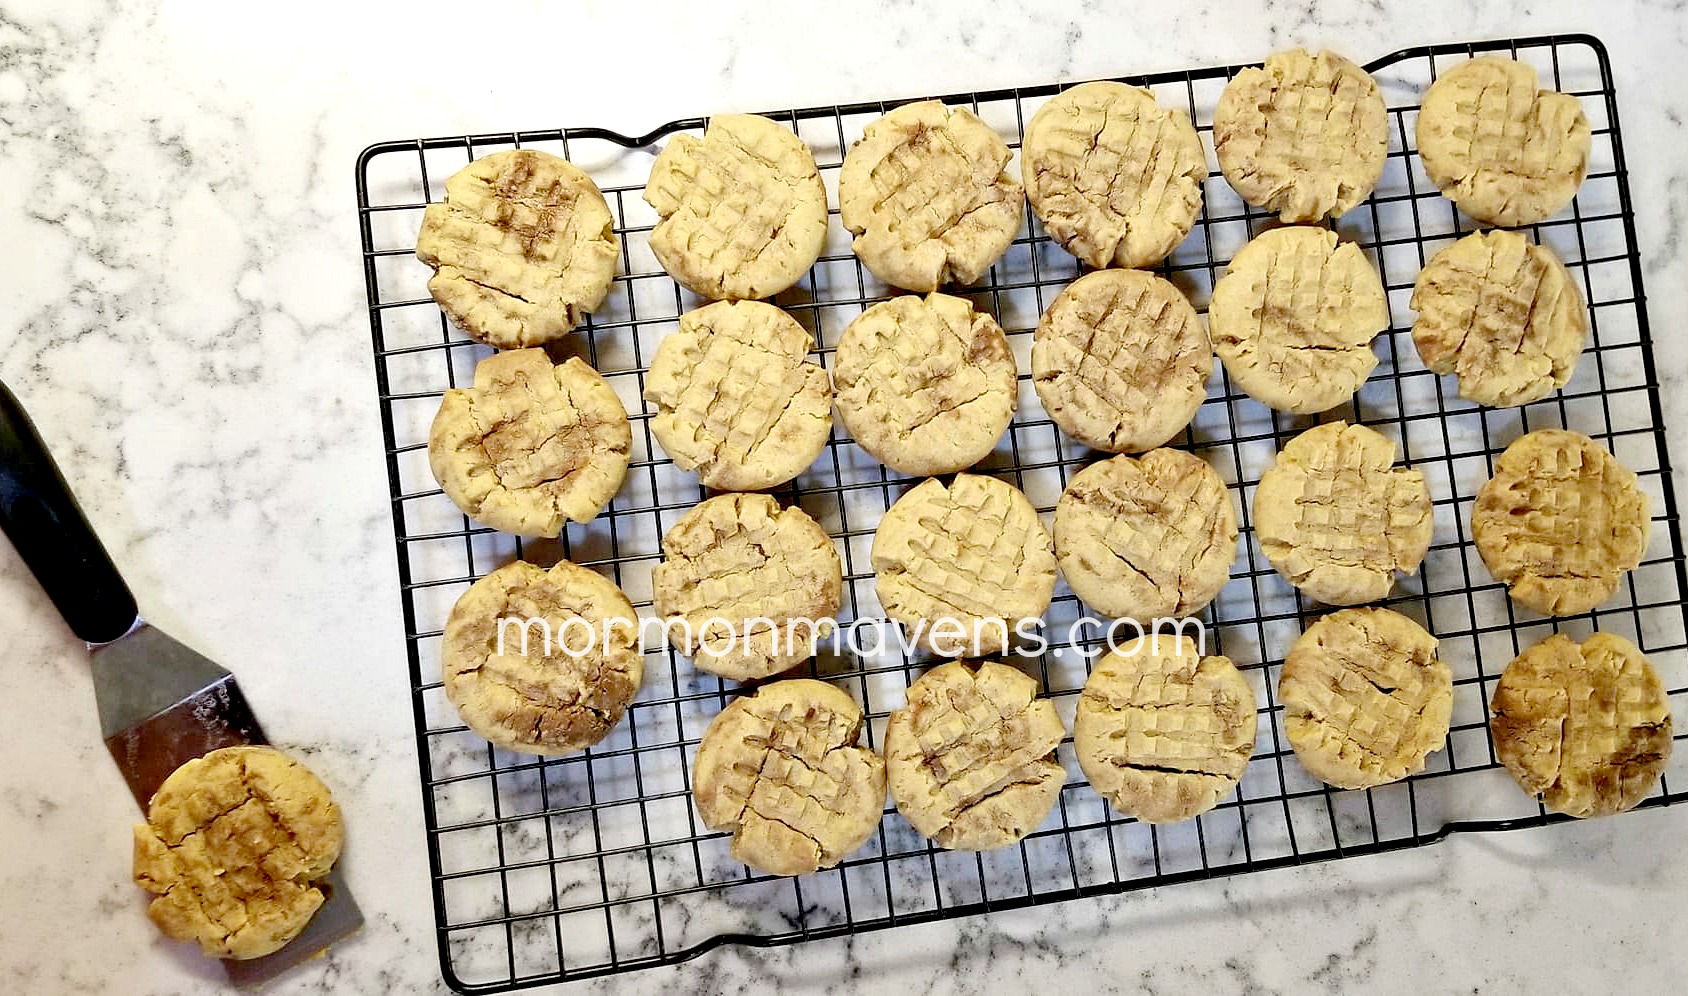
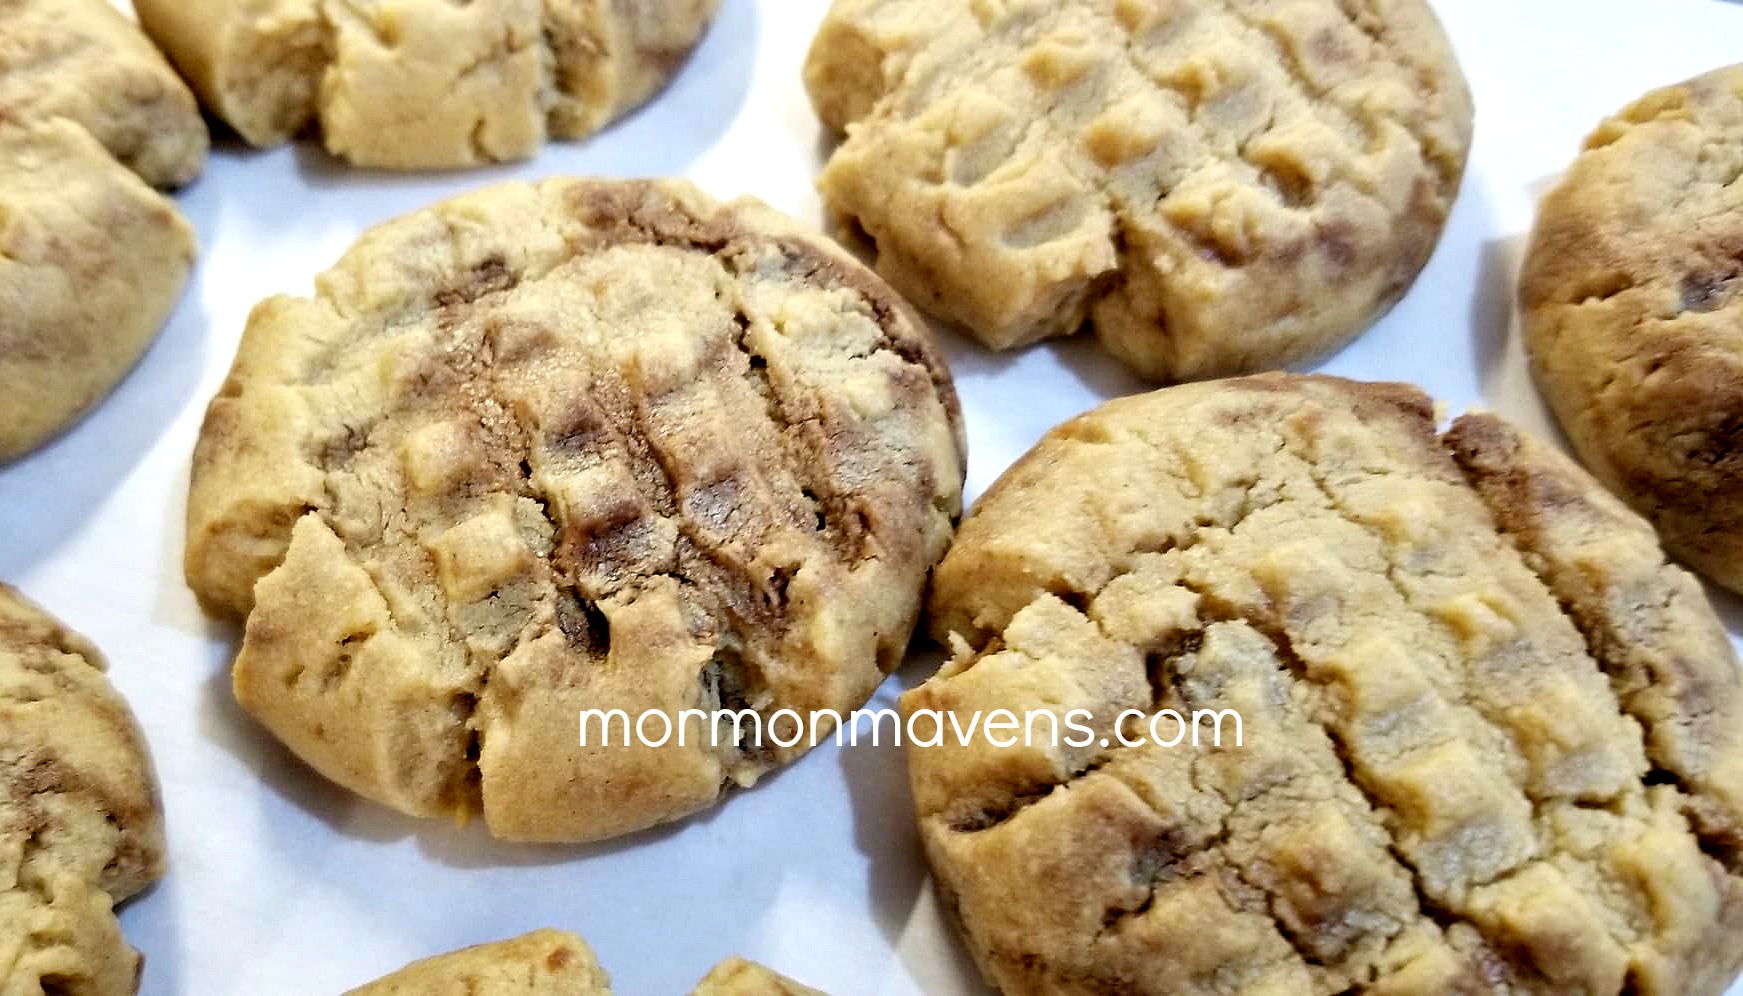
nutella peanut butter cookies

I think what I love most about these cookies, though, is the texture.  They have this wonderful, melt-in-your-mouth-ness. 

Heavenly.

nutella peanut butter cookies

Nutella Peanut Butter Cookies
Yields 2
An easy recipe with a great texture!
Write a review
Print
Prep Time
30 min
Cook Time
15 min
Total Time
45 min
Prep Time
30 min
Cook Time
15 min
Total Time
45 min
Ingredients
  1. 1/2 cup butter, softened
  2. 3/4 cup creamy peanut butter
  3. 1/2 cup sugar
  4. 1/2 cup brown sugar, packed
  5. 1 egg
  6. 1/2 tsp. vanilla
  7. 1 3/4 cup all-purpose flour
  8. 3/4 tsp. baking soda
  9. 1/4 tsp. salt
  10. 1/3 cup Nutella
Instructions
  1. Cream the butter, peanut butter, and sugars in a mixer for several minutes until light and fluffy. Add in the egg and vanilla and mix till well-combined.
  2. In a separate bowl, combine the flour, baking soda, and salt and whisk together.
  3. With the mixer on low, slowly add the flour mixture until it just barely comes together.
  4. Scoop the Nutella into a microwave-safe bowl and nuke it for about 30 seconds. Drizzle this over the cookie dough and fold/cut in the Nutella just to the point where the dough is marbled.
  5. Cover the dough and place in the fridge to chill for 15 minutes. Preheat the oven to 350 degrees.
  6. Remove the dough from the fridge and form into balls. Place about an inch apart on a cookie sheet (I used parchment paper on mine for easy clean up!). Use a fork to make criss-cross marks, gently pressing the balls down to about half their "starting" height.
  7. Bake for 12-15 minutes, but keep an eye on them. You only want them to bake until the edges are just barely starting to turn a light brown. Allow them to cool for a few minutes, then place them on a cooling rack to finish cooling.
Notes
  1. The original recipe from Six Sisters Stuff recommended 8-10 minutes for baking, but this was not nearly long enough in my oven.
Mormon Mavens https://www.mormonmavens.com/

Strawberry Pretzel Bark

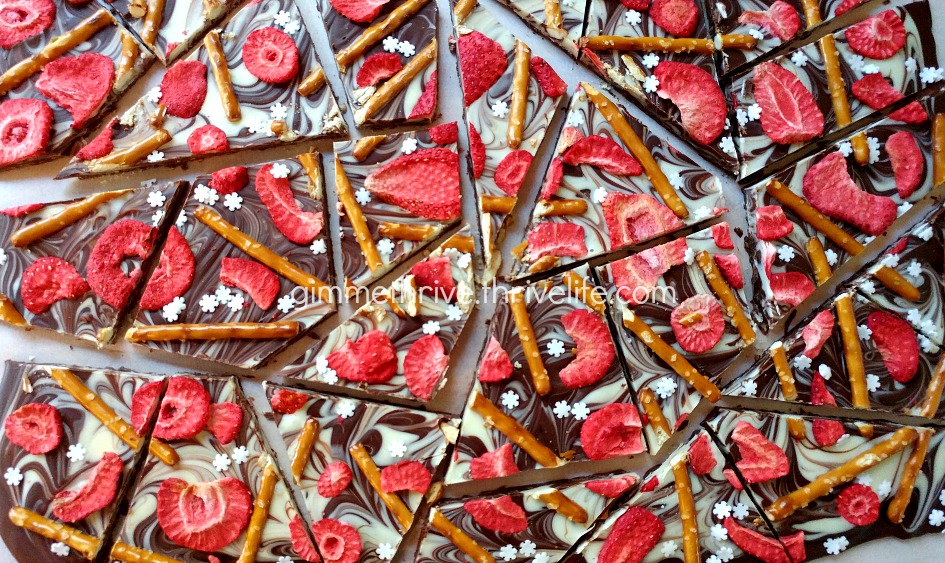
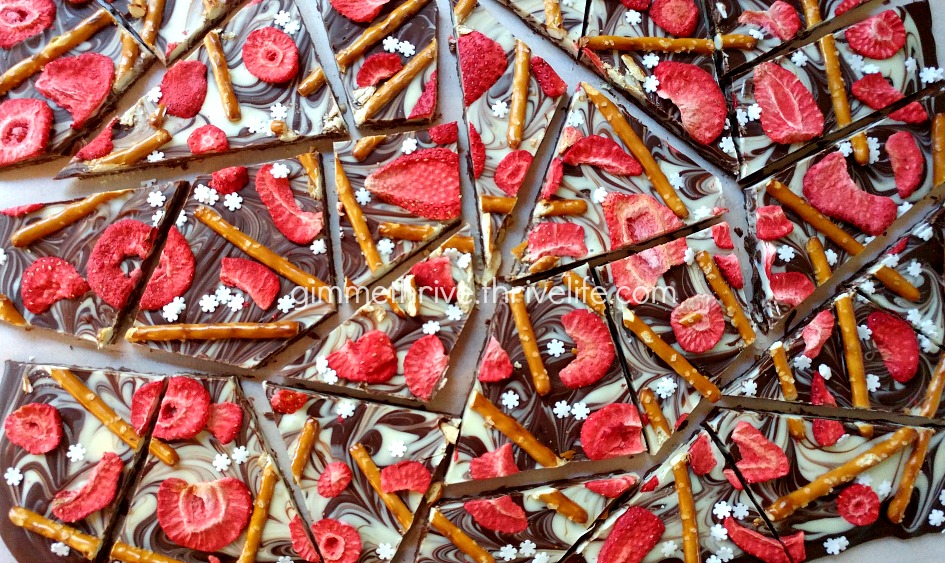
I love quick and easy recipes.  Especially when they look impressive!

This beautiful, swirly chocolate treat is a fun way to enjoy a little decadence–you could even give this as a gift!  Just remember to keep it cold as the chocolate warms easily to the touch and the freeze dried strawberries will have a better texture cold.

pretzel-bark

(this recipe is also shared in my Thrive Life recipes….hence my Thrive website url)

Strawberry Pretzel Bark
Easy but elegant, sweet and salty.
Write a review
Print
Prep Time
5 min
Cook Time
5 min
Total Time
10 min
Prep Time
5 min
Cook Time
5 min
Total Time
10 min
Ingredients
  1. 12 ounces semisweet chocolate chips
  2. 8 ounces white chocolate for baking (could also use vanilla candy melts)
  3. 1 cup freeze dried strawberry slices (I used Thrive, of course!)
  4. 1/2 cup salted pretzel sticks
  5. sprinkles of your choice
Instructions
  1. Line a baking sheet with waxed paper or parchment paper.
  2. Place the chocolate chips in a microwave safe bowl and melt for 30 seconds at a time, stirring after each time, until the chocolate is smooth and melted completely.
  3. Pour 3/4 of the chocolate onto the paper lined baking sheet. Use an offset spatula to spread the chocolate into a thin, even layer so that it ends up in a rectangle about 9"x 12".
  4. Melt the white chocolate in the microwave in the same way you did the chocolate chips. Drop by spoonfuls onto the chocolate rectangle. Use the remaining melted chocolate chips to drop spoonfuls over top of the white chocolate spoonfuls. Swirl with a toothpick.
  5. Immediately place the pretzel sticks and strawberry slices on the surface, pressing down lightly.
  6. Refrigerate until set. Slide the bark with the paper onto a cutting surface and cut the bark into pieces. Serve right away, or store in the fridge in a covered container.
Notes
  1. You can use different freeze dried fruits--blueberries, raspberries, cranberries. All sorts of combos! And if you like it a little saltier, sprinkle on some sea salt too.
Adapted from Five Heart Home
Mormon Mavens https://www.mormonmavens.com/

Easy Toffee

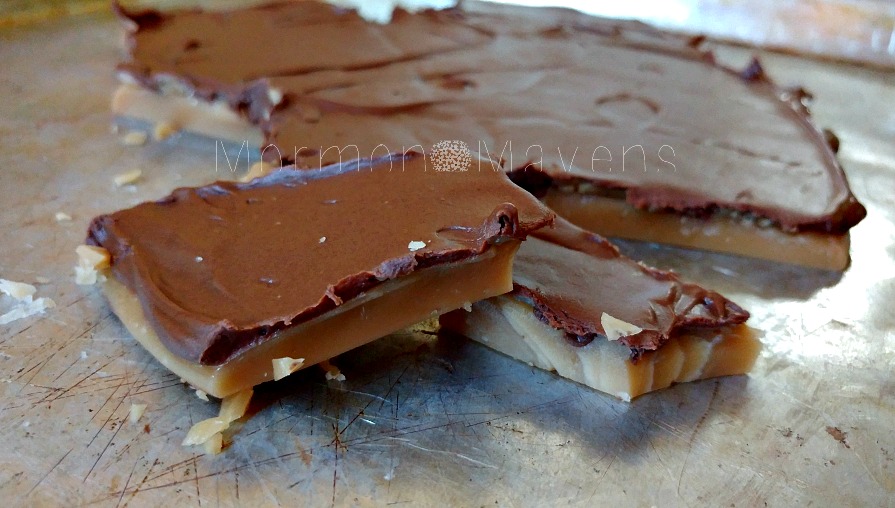
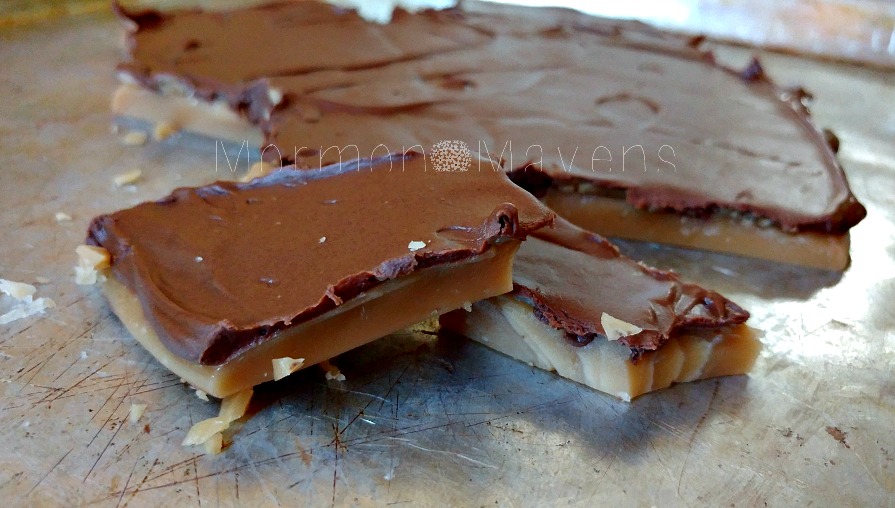
toffeeI have a friend who makes THE most amazing toffee.  

Seriously.  It’s total food crack.

And as much as I’ve always thought I would like to know her secret recipe, I actually kinda wish I hadn’t found this recipe (which is super close to hers, although I will always prefer hers!).  

Why?

Because I can’t stop eating it when I make it!

I made three batches to test it in different ways and each time I ate until I was sick!  I seriously have to watch myself around this stuff.

And I’m so happy that this recipe does NOT involve a candy thermometer.  I really hate those things.


toffee-collage

from left to right: just starting, all melted and boiling, beginning to thicken, the right color!, after the vanilla and ready to pour


Easy Toffee
A little salt gives this delicious toffee a beautiful flavor.
Write a review
Print
Prep Time
5 min
Prep Time
5 min
Ingredients
  1. 1 cup butter
  2. 1 cup sugar
  3. 5 Tbsp. water
  4. 1/2 tsp. kosher salt
  5. 2 tsp. vanilla
  6. 1 cup milk chocolate chips
Instructions
  1. Place a baking sheet on top of several towels or a wooden cutting board.
  2. In a cast iron skillet, melt the butter with the sugar and water. Once the butter is melted, adjust the heat until there is a consistent boil. Stir CONSTANTLY.
  3. Continue to adjust heat and stir for 10-15 minutes or until the mixture is caramel colored. Remove from heat.
  4. Add the salt and vanilla and stir well.
  5. Immediately pour onto the baking sheet.
  6. Wait a couple of minutes and then pour the chocolate chips evenly over the top. Allow the chips to melt completely, then spread the chocolate evenly with an offset spatula.
  7. Allow the chocolate to set completely before cutting/breaking up the toffee.
Notes
  1. You need the towels or wooden cutting board as a protection for your countertop. The toffee will make the baking sheet VERY hot!
  2. I tried this twice with milk chocolate block and could never get it to melt smoothly. I highly recommend using milk chocolate chips, which are formulated differently from block chocolate. They melt way better!
Mormon Mavens https://www.mormonmavens.com/

Traditions & Popcorn Balls

traditions-popcorn-balls


Traditions have meant a lot to me for as long as I can remember, but I haven’t always been that great at starting continuing them.  I can sure start one, but it’s the hardest thing for me to continue.  I remember a few from my childhood–oyster stew for Christmas Eve (for years we did this in our family until one day we realized that only one or two of us even liked it that much), opening gifts on Christmas Eve (still do that one!)—Trick or Treating at Halloween in the neighborhood with costumes from Mom’s Costume Box, etc.   This time of year really gets my mind spinning on what traditions my family expects on Christmas Eve–full from scratch Mexican meal, opening gifts. doing stockings, EVEN FOR THE ADULTS–and other things like decorating for Fall (my favorite season).  Hmmm….that’s not very many traditions.  I need some more.  

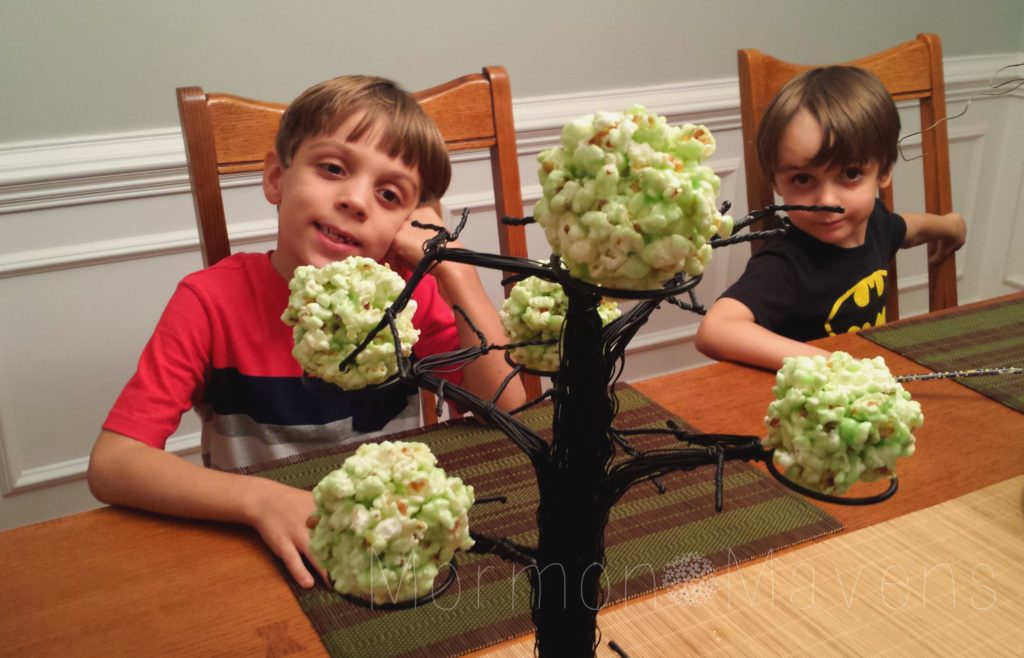
So a couple of days ago I was at the store picking up some things for dinner and I realized that my grandsons would be at the house that day and I needed to give them their Halloween treats!  I am trying to start that tradition with them, since I am not with them for the Trick or Treating.  So I grabbed a couple of different small bags of candy and I was trying to think of something else I could do that would be slightly healthy and I remembered something my Mom did for us when we were younger–homemade popcorn balls!  I loved those and did them a few times when my girls were little.  I knew it was time for me to start that tradition with my grandkids, so I picked up some microwave popcorn, some orange and green Jell-O and some tiny marshmallows, some Halloween goodie bags and pencils.

It was so much fun to share those popcorn balls with my boys!

Traditions are fun and bonding and build great relationships in your family.  So today, think about some traditions that you are already doing and some new ones that you can add.  And they don’t have to be built around holidays.  Some of the best are things you do together randomly that the kids consider as traditions, because they will certainly remind you to do them again!

I know it’s Mormon Morsel Sunday, but how about I share my Marshmallow Popcorn Ball recipe with you today?  Maybe you can make some for your Trick or Treaters…

Marshmallow Popcorn Balls
Yields 12
Write a review
Print
Ingredients
  1. 6 T. butter
  2. 3 cups tiny marshmallows
  3. 1/2 of a 3-oz. pkg of Jell-O, in flavor of choice (3 T.)
  4. 3 quarts unsalted popped corn
Instructions
  1. Place popped corn in a large bowl and set aside.
  2. In medium pan, melt butter over medium heat. Add marshmallow, stirring until melted.
  3. Blend in Jell-O, and pour over popcorn, mixing well.
  4. With buttered hands, form popcorn into balls.
Notes
  1. Have fun with different colors of Jell-O, depending on the occasion. Hey, let the kids help make the popcorn balls--you shouldn't have ALL the fun!
Mormon Mavens https://www.mormonmavens.com/

Fresh Peach Preserves

I don’t can often, but when I do…….I love to make these Fresh Peach Preserves.  So good.  And really easy.  I got this recipe back in maybe 1994 from a good friend who shared it with me when I had a 1/2 bushel box of peaches and needed to do something with them–like right then.  Since then, if I ever have the good fortune to have some totally sweet awesome peaches in bulk, this is my go-to recipe. I don’t even bother freezing any.

Ingredients:
5 cups well mashed peaches
1 cup crushed pineapple (with juice)
10-15 chopped Maraschino cherries
1 tsp. Fruit Fresh
2 pkgs. Sure-Gel
1 tbsp. lemon juice
1/2 t. butter
5 cups sugar

1.  Combine first 6 ingredients in a large saucepan.  Add the butter and bring to a full rolling boil, stirring constantly.

2.  Add sugar quickly.  Return to full boil and boil for 5 minutes, stirring constantly.

3.  Immediately fill CLEAN jars and put lids and rings on.  Hand-tighten rings.*

4.  Invert jars for 5 minutes, then return to normal position.

5.  Have fun hearing the lids POP as they seal at random moments.

6.  Give out to your “framily”. Keep some for yourself.

YIELD–about 10 1/2-pint jars. 

Source:  Pat Sorenson via Tonya Shepherd Sorenson.

*  If you have never canned  before, be sure to check out instructions on Google or go to the Ball Canning website for tutorials.

How To Make Melissa’s Yummy Cinnamon Rolls – Photo Tutorial

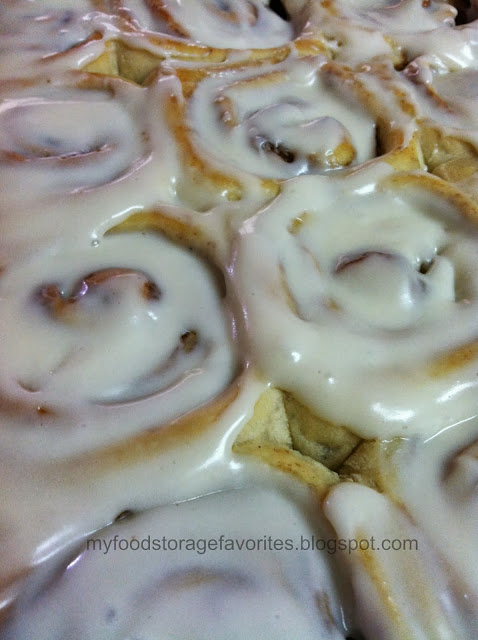
I originally posted this on my own blog, but wanted to share it here also since so many people are enjoying this recipe! Perfect for Christmas morning, or to take to Christmas parties! I promise they are easy to make, and they are sooooo delicious! 

Cinnamon Rolls


(I know this picture is obnoxiously large, but I wanted you to be able to get up close and personal with these cinnamon rolls. ha! ha!)


1. Start with the 30 Minute Roll Recipe
Note: This recipe makes about 50 cinnamon rolls! You might want to half the recipe!


Mix and rest 10 minutes:
3 ½ cups warm water                          
¾ cup sugar (OR 1/2 cup honey)
1 cup oil                                                
6 TBSP Yeast (Less yeast may be used, but rising time will be longer)

Add:
1 TBSP Salt                                          
3 eggs (can use egg powder and water)
10 ½ cups flour (wheat flour turns out really light and fluffy)
Mix in mixer or knead. Shape into rolls. Raise 10 minutes. *Bake at 425° for 10-12 minutes or until done. 

2. Here’s How to “Shape into Rolls”
Cut dough in half. Roll out one of the sections into a rectangle about ¼ inch thick (or so!) Spread soft or melted butter over the dough. Spread a mixture of brown sugar and cinnamon over the butter. (I use about 4 cups of brown sugar to 3-4 TBSP of cinnamon. I go heavy on the cinnamon and never really measure. I just dump it in until it taste the way I want it to.) Roll up. Cut into 1 inch sections and place on cookie sheet. Let rise for about 10 minutes or so. Repeat with other section of dough, or just make them into dinner rolls.

*I prefer to bake them at 375 degrees until they are starting to lightly brown and dough is done in the middle. Take out of oven and let cool for about 5 minutes or so. Spread on or drizzle on the frosting.

Photo Tutorial:

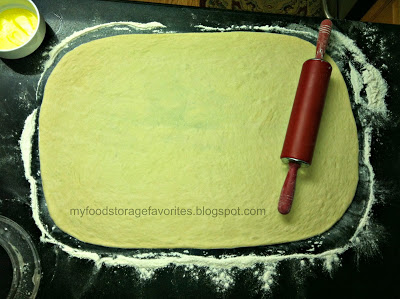
Start off by shaping the dough roughly into a rectangle.
Cinnamon Rolls
Roll out the dough about 1/4″ thick. This will take practice.
Roll out dough
Spread soft or melted butter over dough. 
Spread on the Butter
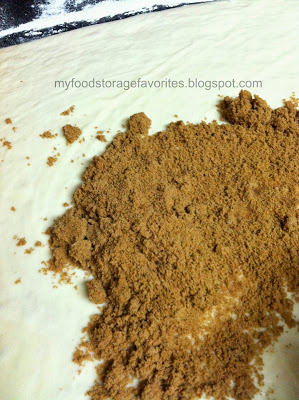
Put cinnamon sugar on the dough.
Cinnamon Sugar
Spread it out smoothly – feel free to use your hands.
Spread out Cinnamon Sugar
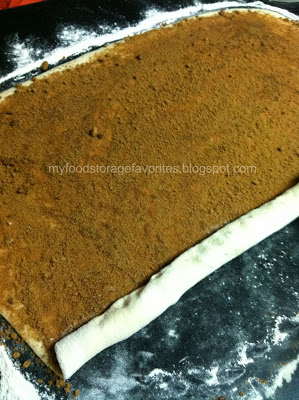
Roll up the dough.
Roll up the dough
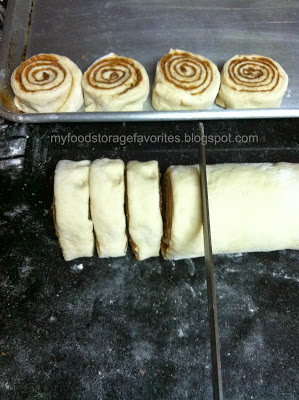
Cut into 1 inch slices.
Cut the dough
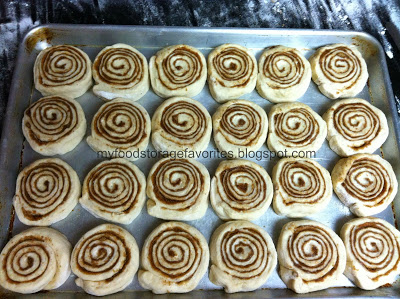
Place them neatly on a cookie sheet and let them rise. This is a “jelly roll pan”, which is half of a sheet cake. You can put them on smaller pans that just hold 12 cinnamon rolls.
Let them rise
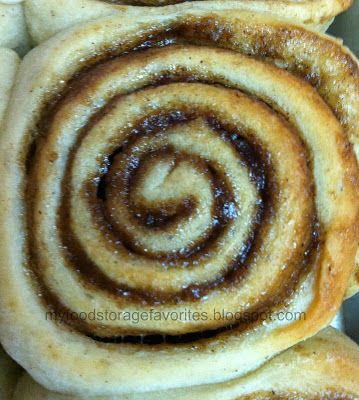
Bake them in the oven and look how beautiful they are!
Bake in oven
Oh. My. Yumminess!
The best cinnamon rolls
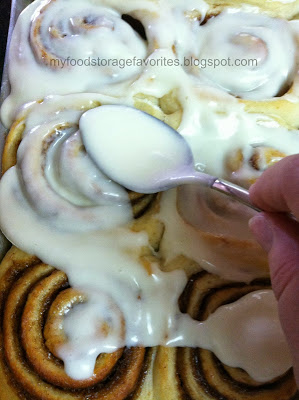
Spread on your cream cheese frosting. (Recipe below)
Spread on Frosting
I wish you could smell these and taste them! Make some! YUM!!!! 
The best cinnamon rolls

3. Here’s How to Make the Frosting
Okay, I have to admit that I never measure! But here is an estimate….Soften about 8 oz of cream cheese and 3 tablespoon of butter in a large plastic bowl. Add 3-4 cups powdered sugar, 1 teaspoon of vanilla extract, and a few (maybe 4??) tablespoons of milk. Mix with hand mixer…you may need to add more milk or powdered sugar to get the right consistency you like. I like it kinda thin like a cake batter, not thick like cake icing.

4. Enjoy!

Eat immediately with a glass of milk and enjoy! They are good for a few days, but you will want to warm them up for about 8 seconds in the microwave!

Banana Bread

I am back…I have been so sick but am finally feeling better.  It feels good to cook again.  This is my favorite Banana Bread recipe.  It is moist, cuts without crumbling, and has the yummiest crust (as shown in the picture).  Enjoy!

6 ripe mashed bananas
3 1/2 c. sugar
4 beaten eggs
1 c. oil
1/2 c. sour cream
2 t. vanilla

Mix above ingredients together well.  In another bowl mix together the following ingredients:

4 c. flour
1 1/2 t. salt
2 1/2 t. soda

Mix together the dry and wet ingredients and pour into 3 greased regular size loaf pans.  Bake at 325 for 1 hour.

Source: Katie Palmer

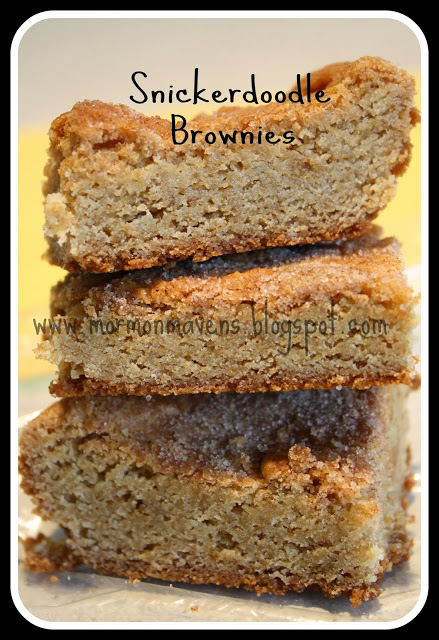
Snickerdoodle Brownies

 
So, you should know, that unless you are prepared to pretty much eat the whole pan of these you might not want to make this recipe! You think I’m kidding!? These have the perfect texture, a little chewy and just the right amount of sweet. This is definitely going down as a family favorite! I did find this recipe on “pin-interest”. (That’s how my mom pronounces it. LOL!) This is a great fall dessert. The cinnamon and sugar are warm and cozy.
 
Recipe:

 2 2/3 cups all-purpose flour
2 teaspoons baking powder
1 teaspoon salt
2 cups packed brown sugar
1 cup butter, at room temperature
2 eggs, at room temperature
1 Tablespoon vanilla
2 Tablespoons white sugar
2 teaspoons ground cinnamon

Preheat oven to 350 degrees. Lightly grease a 9 x 13 inch baking pan.

Get out three separate bowls.
1-In a medium bowl, whisk together the flour, baking powder, salt and set that aside.
2-In  small bowl combine the white sugar and cinnamon, and set that aside.
3- n a large bowl, mix together the butter, brown sugar, eggs and vanilla until smooth. Add the flour mixture to the egg mixture and beat until well blended.
Spread the mixture into the 9×13 baking dish.

Sprinkle the sugar cinnamon mixture evenly over the batter.

Bake for 25-30 minute or until it springs back at touch.
Let the brownies cool on a wire rack for a bit and serve.
 
 
original recipe from Dozen Flours