I was thinking of giving you a recipe for a diet soup that I love, but then I thought that everyone should know how to make a delicious homemade pot pie for those days that you need a little comfort food! The diet soup can wait for another day!
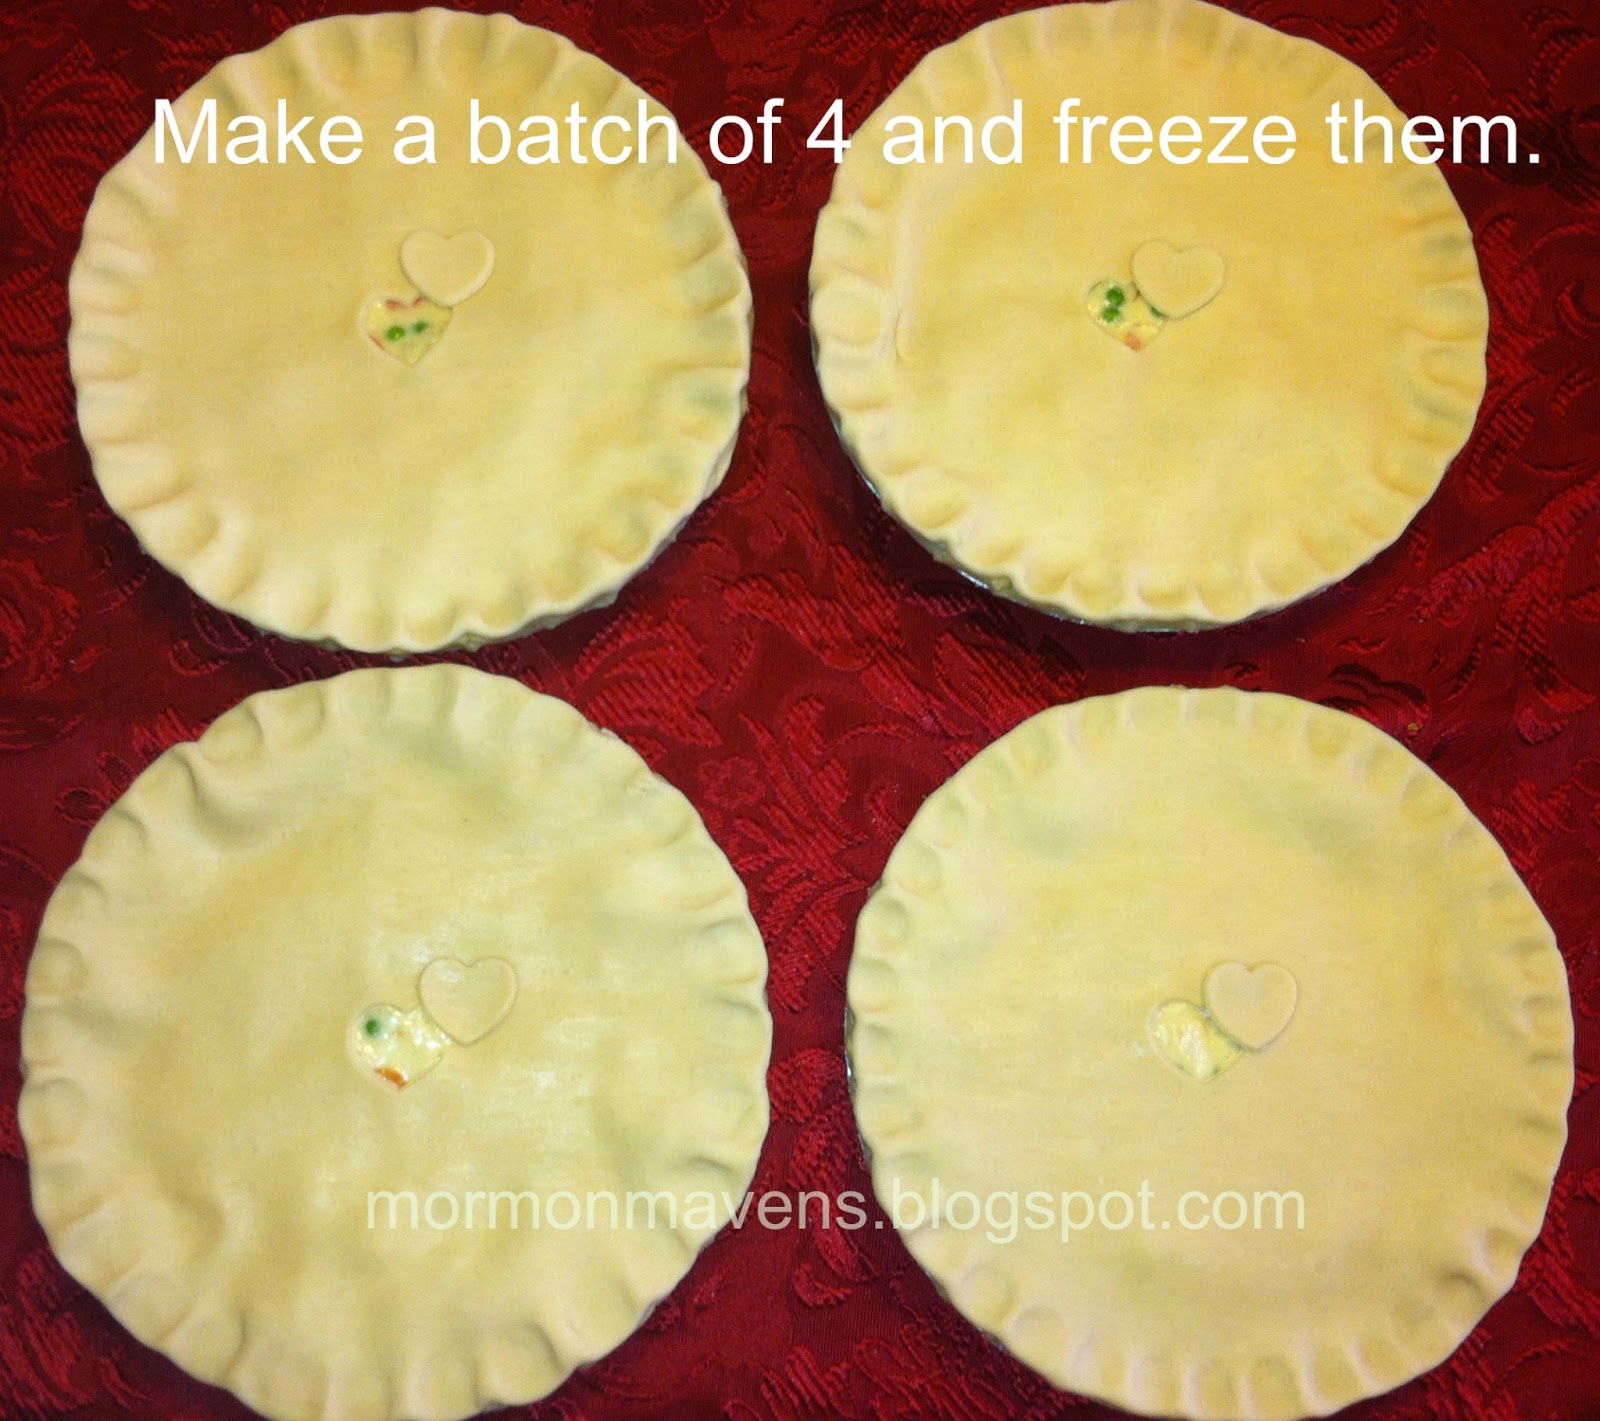
I make these in batches of 4 and freeze them, and then I have something quick to pull out of the oven for dinner on a busy day. My kids LOVE these! People ask me how many one will feed, and here is my answer: It will feed me 7-8 servings, but it will feed my son Curtis, who is 16, only 2 servings. It would definitely feed 4 really hungry normal people who are not teenage boys. (smile).
Homemade Chicken Pot Pies
Ingredients:
4 frozen pie shells (or you can make homemade crust)
4 cups cooked, diced chicken
1 large can cream of chicken soup (or 2 small cans – about 20 oz)
1 8 oz package cream cheese, softened
1 1/2 cups baby carrots cut into slices
1 cup frozen peas
1/4 cup (or more) diced onions
4 cups potatoes, diced
1 can of corn (or some frozen corn)
2 chicken bouillon cubes (or 1 if you like less salt)
2 boxes of roll out top crust (This will give you 4 top crusts) I recommend Pillsbury brand – or you can make homemade
1/2 cup flour and 1/2 cup water
1/2 tsp of Poultry Seasoning (or a little Thyme, Oregano and Sage)
Salt and pepper to taste
Directions:
1. Put the diced potatoes, carrots and onions in a pot. Cover with water. Add the bouillon cube and some salt and pepper. Bring to a boil and cook until the potatoes are done…but not mushy and falling apart.
2. In a small bowl, add 1/2 cup flour to 1/2 cup of water and mix with a fork until smooth. Pour this slowly into boiling pot of vegetables while stirring briskly. This will thicken the water that the vegetables are cooking in. Turn off heat and let it cool down a bit.
3. In a large mixing bowl, beat the cream cheese until smooth with a hand mixer. Add in the cream of chicken soup and poultry seasoning. Mix until well blended. Add the chicken, corn, peas, and the cooked potato/carrot/onion mixture. Mix all ingredients together until well blended.
4. Add this delicious mixture to the pie shells, dividing mixture evenly between the 4 pie shells.
5. Roll out your crust onto the counter. (Cut a heart in the center for a vent hole if you would like – it’s so cute!) Place the crust on top of the pie. Fold under the extra crust as neatly as possible around the edges. Then pinch the edge of the crust to seal. If you have no idea how to to that, look up a tutorial. It is so hard to explain in words. But it is easy to do, and everyone has their own way of making their crust edge pretty.
6. If you did not cut a heart into the center of the crust, cut a few vent holes into the top crust. Just take a knife and make a few small cuts.
7. At this point, I put a square of wax paper on top of the pie, then cover with foil and put in the freezer. I suppose you could skip the wax paper if you don’t have any.
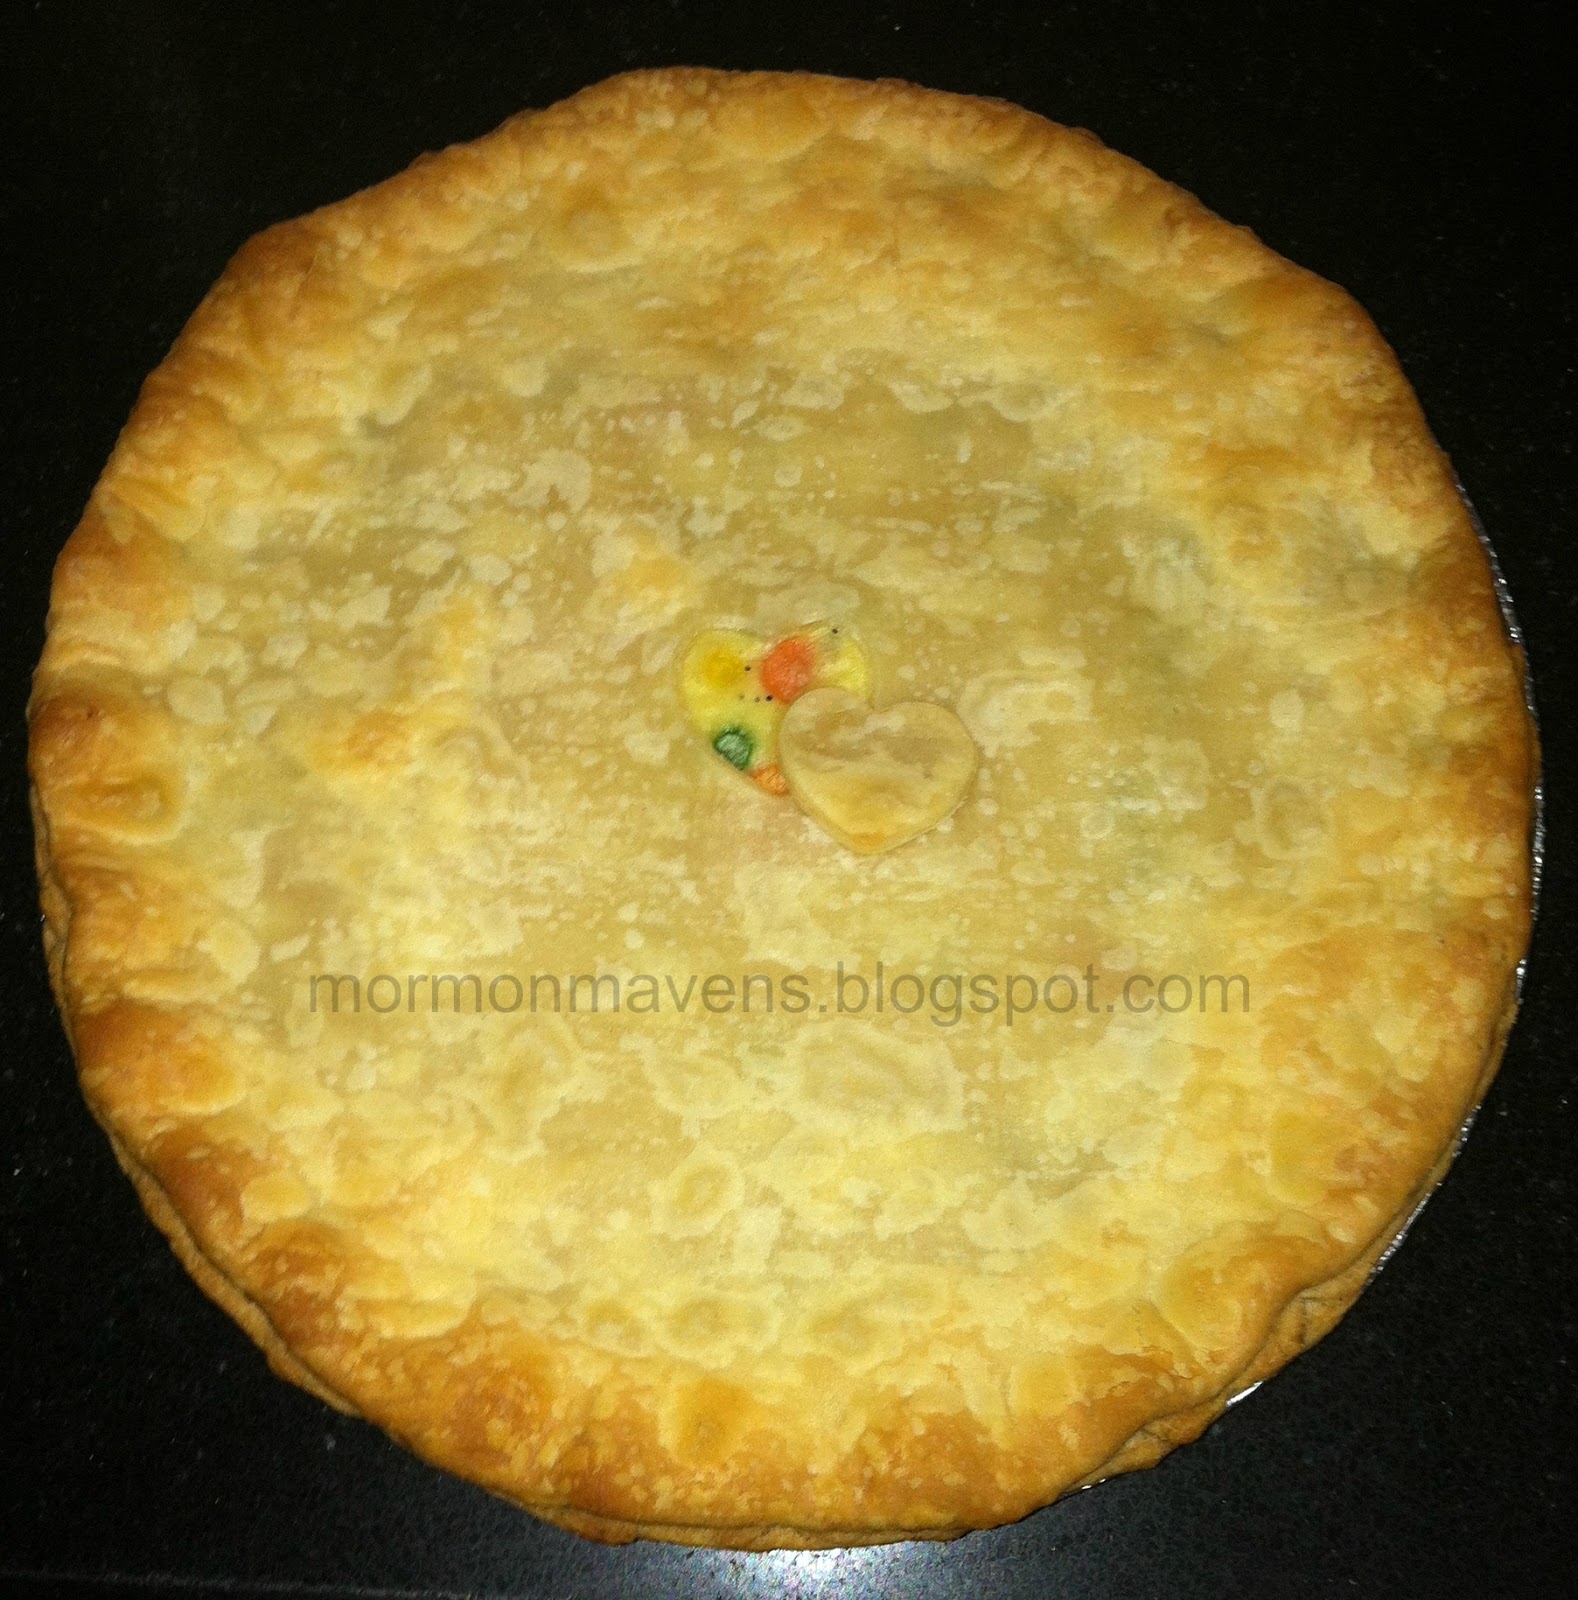
8. If you want to bake one right away, bake it at 375 degrees for 30 – 45 minutes, depending on how dark you like your crust.
9. When baking from frozen, bake at 350 degrees for 1 hour and 15 minutes.
YOU ARE GOING TO LOVE THESE CHICKEN POT PIES!
Notes:
1. Kids love to help make these! And they love eating them too!
2. These are perfect to have on hand when you need to take someone a dinner, or when you forgot to plan dinner for your own family.
3. We made these for a fund raiser at church to help earn money for girls camp. We sold LOTS of them and people liked them very much!
Source: Adapted from my friend Becky Robinson, Rock Hill, SC.