How to Make Coconut Oil Popcorn on the Stovetop

finished coconut oil popcorn

Ever since we found this way to make popcorn, I don’t think we’ve bothered to every buy microwave popcorn again!  My kids and I watched an episode of Good Eats (the original series….can’t wait to see what Alton Brown has in store with his newest episodes…so glad it’s back!) and were intrigued with the idea of making popcorn on the stovetop.  I grew up having popcorn made this way but with vegetable oil and in a heavy saucepan.  This way is much better, tastier, and yields a LOT more popcorn per batch if you have a big bowl.

So, first of all, you are going to need a stainless steel bowl.  Don’t know if your bowl is stainless?  Read more here about how to tell. I happen to have a hand-me-down bowl from my mother that holds about 11 quarts.  But the size here doesn’t matter, it’s the method you need to know.  The amounts can adjust easily to the size of your bowl.  Just tonight, I used my big bowl but didn’t use as much coconut oil and popcorn, so it made a small batch.  With this large bowl, I have the option of going big or small.

Here’s how you do it…..and sorry I don’t have pics of every step, but it’s very simple.  And, I do have a video at the end that my daughter recorded that should be very helpful for you!

What you need:  stainless steel bowl, coconut oil, popcorn kernels, aluminum foil (heavy duty is best), small paring knife or ice pick, oven mitts of hot pads

Step 1–Lay out your aluminum foil.  For my bowl I need two sheets several inches wider than my bowl is across.  I overlap these two sheets on their long sides and fold that overlap over twice.  This will cover the bowl during popping.

Step 2–Set the stainless steel bowl on the appropriate sized burner.  The bottom of the bowl is what is making contact with the stovetop, so don’t pick a burner that’s bigger than the bowl bottom.  Turn the burner on low.  Immediately spoon in some coconut oil.  For a full bowl of popcorn, I melt enough coconut oil to completely cover the bottom of my bowl to a depth of about a popcorn kernel.

coconut oil in the bowl

Step 3–Once the coconut oil is almost completely melted, pour in your popcorn kernels until all the coconut oil is taken up by kernels.  You know, no puddling of extra oil.

coconut oil and kernels in the bowl

Step 4–Immediately lay the foil sheets (that have been folded together in the middle) over the top of the bowl and scrunch the foil around the edges of the bowl to secure it well.  Use your paring knife or ice pick to carefully cut 6-8 holes across the surface of the foil to allow some steam to escape.  Don’t make these too big as some oil splattering can occur.

Step 5–Turn the heat up to medium.  With oven mitts on (or holding hot pads) grasp the sides of the bowl and shimmy it back and forth over the burner.  Turn the bowl a quarter turn every so often and continue shimmying it until all the kernels have popped or till the popping sounds have slowed down a lot.  Turn off burn and move bowl to another spot on the stovetop.

Step 6–Carefully remove the foil covering (steam will escape) and set it aside.  Salt the popcorn, then use a wooden spoon or heat-proof scraper to turn the popcorn to distribute the salt evenly.  Repeat if necessary until it’s salted to your liking.  Serve!  Just remember that the bowl stays hot for a while so be careful.

Bruschetta

Though this simple but satisfying snacketizer is best served with homegrown tomatoes, store-bought and out of season tomatoes still produce good results.  I don’t have any amounts listed….hope that’s copacetic with you.  Just adjust the amounts according to what YOU like.

Ingredients:
fresh tomatoes, diced
onion, diced (optional…I don’t like raw onion so I leave it out)
basil (fresh or dried)
garlic powder
salt
pepper
olive oil
red wine vinegar
baguettes, sliced 1/2-3/4″ thick
fresh parmesan cheese, grated

1.  Preheat oven to 400 degrees.  Place baguette slices on cookie sheet.  Drizzle lightly with olive oil.  Sprinkle with salt and pepper.  Bake for 8 to 12 minutes, or until edges are golden and middles feel like they’re starting to get crunchy.
2.  In a bowl, combine tomatoes and onions.  Add your basil (see notes below), garlic powder, and salt to taste (don’t over salt…you can always add more later).  Drizzle a little olive oil over it.  Then sprinkle on the red wine vinegar. Stir to combine.

How I Like to Eat It:
Okay….here we go.  Grab a toasted baguette slice.  Sprinkle on the grated cheese that I insisted you grate by hand.  Spoon the tomato mixture on top (yes, it is messy and you had better be doing this over a plate).  Sprinkle a little bit of salt over the top.  Now, take a crunchy bite and enjoy!

Notes:

    • Tomatoes–use whatever tomatoes look the most ripe and tasty.  
    • Basil–if you have fresh that’s great…simply chiffonade to get the right amount (use more with fresh).  If using dry, sprinkle in a bit at a time until you get the right taste.  Here’s a video on how to chiffonade fresh basil:

  • Garlic Powder–yes, you can use fresh, but I don’t like to bite into raw garlic so I use the powder. 
  • Olive Oil–I just put in enough so that I can tell each piece of tomato is bathed but not swimming in it.
  • Red Wine Vinegar–I love this!  I put in more vinegar than oil, but I still don’t have the whole thing swimming in it.
  • Baguettes–if you can help it, don’t buy the ones that are really flat on top.  When you slice it, you are creating a little bread plate for your tomatoes so a flat baguette will make for a narrow plate.  Find the roundest ones you can.
  • Parmesan Cheese–I really must insist <wink> that you buy the lovely triangular cheese and grate it on the large holes using your cheese grater.  The powdered stuff in a can will NOT give you the same tasty results.
Source:  Honestly, I have no idea.  I’ve been making this for years!  But I have no idea where I got it from.
 
Originally posted on April 15, 2013.

Santa Hat Party Mix

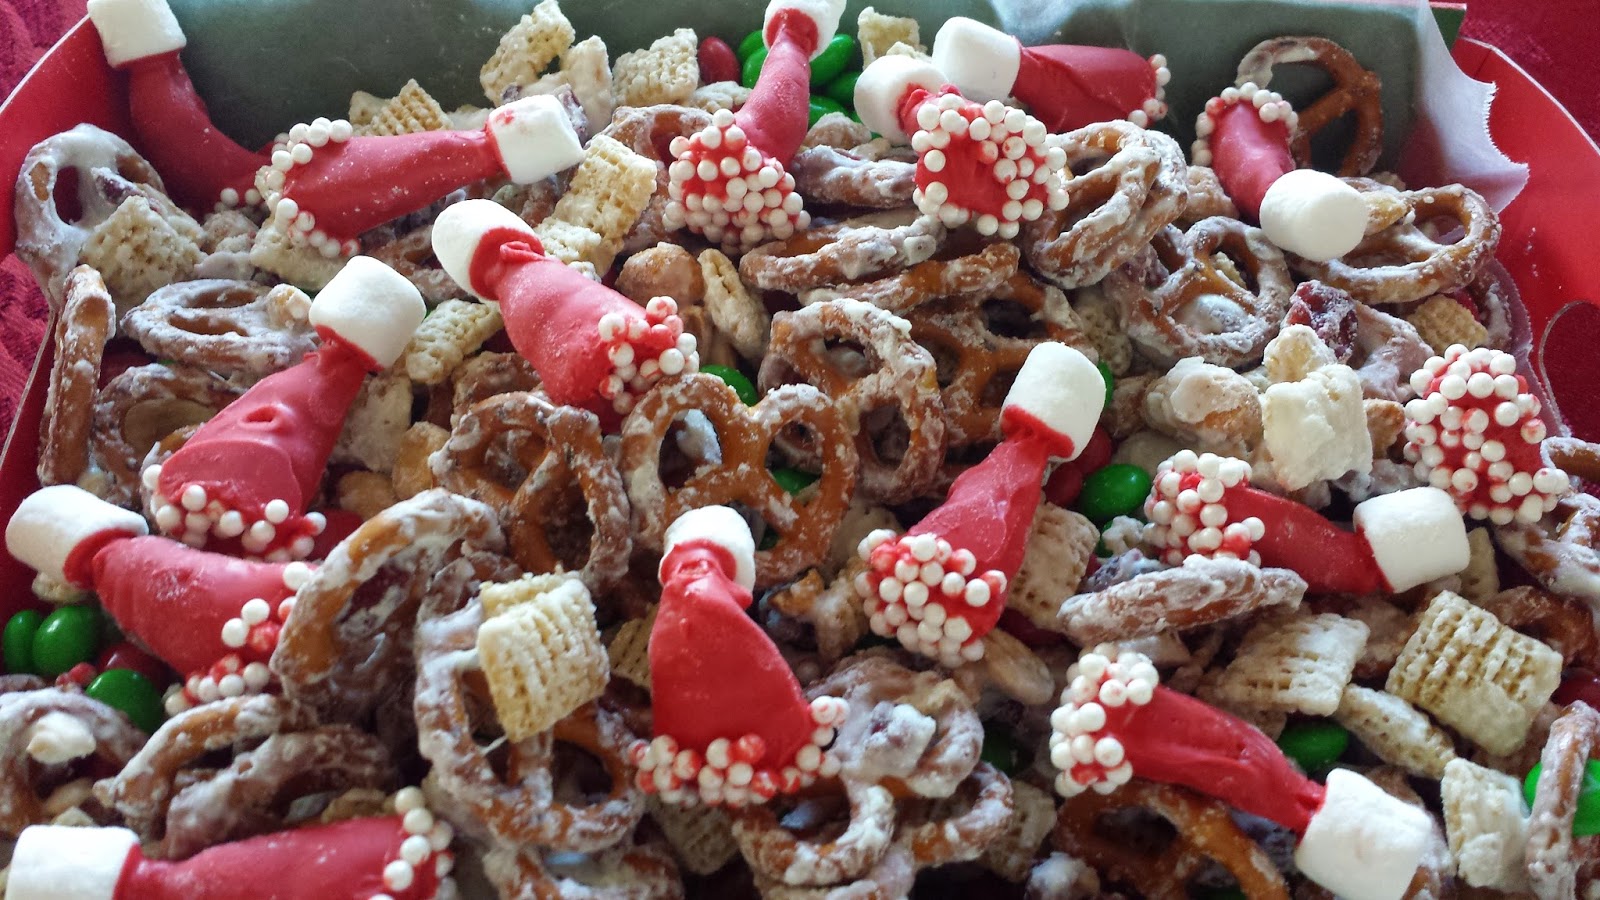
This recipe was originally published on December 16, 2014.  It is such a fun and tasty looking Christmas treat that we thought we would bring it back.  Hats off to Amy for sharing it! (pun intended)

This is so yummy and fun to make and to eat!  You’ll definitely want to take it to one of the many Christmas parties of the season.

Ingredients:

Santa Hats

  • Bugles
  • Red melting disks
  • mini marshmallows
  • white sprinkles (nonpareils)

Snack Mix

  • 3 c. mini pretzels
  • 1/2 c. craisins
  • 1 c. salted dry roasted peanuts
  • 2 c. Rice Chex
  • 2 c. holiday colored M&M’s
  • 8 oz. white chocolate for metling

How to Make

 
Santa Hats
 
1.  Melt the candy melts, along with a tablespoon of shortening (to help thin the melted candy), in 30 second intervals on half power in your microwave until melted.
2.  Immediately start dipping.
3.  Let them set up for 10 minutes or so on parchment or wax paper.
4.  When they are set, remelt the red candy disks (if necessary) and dip just the bottoms (the large part of the Bugle) into the white sprinkles.
5.  Then flip it over and dip the top in the melted candy and press a mini marshmallow on top.
6.  Let dry on wax paper.
 
Snack Mix
1.  Spread all your ingredients, EXCEPT M&M’s and Santa Hats, out on a baking sheet lined with parchment or wax paper.
2.  Melt your white chocolate according to package directions and drizzle over the pretzel mix.  Transfer to a large bowl.
3.  When chocolate is set, sprinkle M&M’s and Bugle Santa Hats over the mix.
 
Source:  cookiesandcups.com


Crunchy Cinnamon Ebelskivers


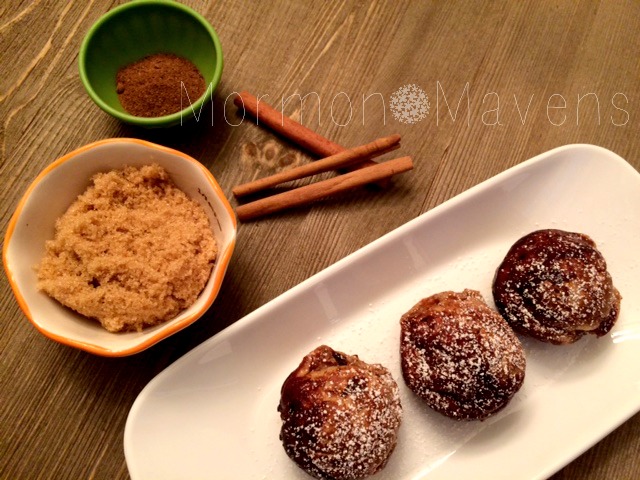
Ebelskivers (pronounced “able-skeevers”) are snacks or desserts–hailing from Denmark–traditionally served during holidays and celebrations.  These puffy, sphere-shaped pancakes can be served in a variety of ways, from sweet to savory, and can include toppings and/or fillings.  I have tried them only a couple of times in my kitchen and each time I learn a little something new about how to prepare them.  

I am still learning how to NOT cook them so long, and maybe someday when I have a gas range again–instead of an electric or ceramic cook top–I will be able to better control the heat and not overcook so many!  But I did manage to salvage a few for the post today and I hope you will give me some grace and try the recipe even if you don’t they they look all that awesome.  I plan to keep honing my ebelskiver skills, so one day you might just see something amazing!

The only necessary tool is a seven-welled pan that forms the pancake’s cool shape.  You can use wooden skewers to turn them or purchase special ebelskiver turners–yes I did–which help flip these babies nicely.  I also have a really cool ebelskiver cookbook and that is where I got the recipe that I am sharing with you today.  According to the cookbook, the brown sugar and butter that ends up as the topping should crack brulee-style with every bite.  Still waiting on that!

Crunchy Cinnamon Ebelskivers
Write a review
Print
Ingredients
  1. 1 cup all-purpose flour
  2. 1 1/2 t. sugar
  3. 1/2 t. baking powder
  4. 1/4 t. salt
  5. 2 large eggs, separated
  6. 1 cup whole milk
  7. 3 T. unsalted butter, melted and slightly cooled,divided
  8. 2 t. ground cinnamon
  9. 1/4 t. nutmeg
  10. 3 1/2 T. light brown sugar
Instructions
  1. In a large bowl, whisk together the flour, sugar, baking powder, salt, cinnamon, and nutmeg.
  2. In a small bowl, lightly whisk the egg yolks, then whisk in the milk and 2 T. of the melted butter.
  3. Add the yolk mixture to the flour mixture and, using a wooden spoon, stir until well-blended--batter will be lumpy.
  4. In a clean bowl, using an electric mixer on high speed, beat the egg whites until stiff--but not dry--peaks form. To lighten the batter, use a rubber spatula and gently fold 1/3 of the egg whites into the batter, then fold in the rest of the egg whites just until no white streaks remain.
Notes
  1. Cooking Tip: You might want to cook these on a little lower temperature if your stove tends to cook things a little too hot. Trust me on this.
Adapted from Ebelskivers: Filled Pancakes and Other Mouthwatering Miniatures
Mormon Mavens https://www.mormonmavens.com/

Easy Queso Blanco

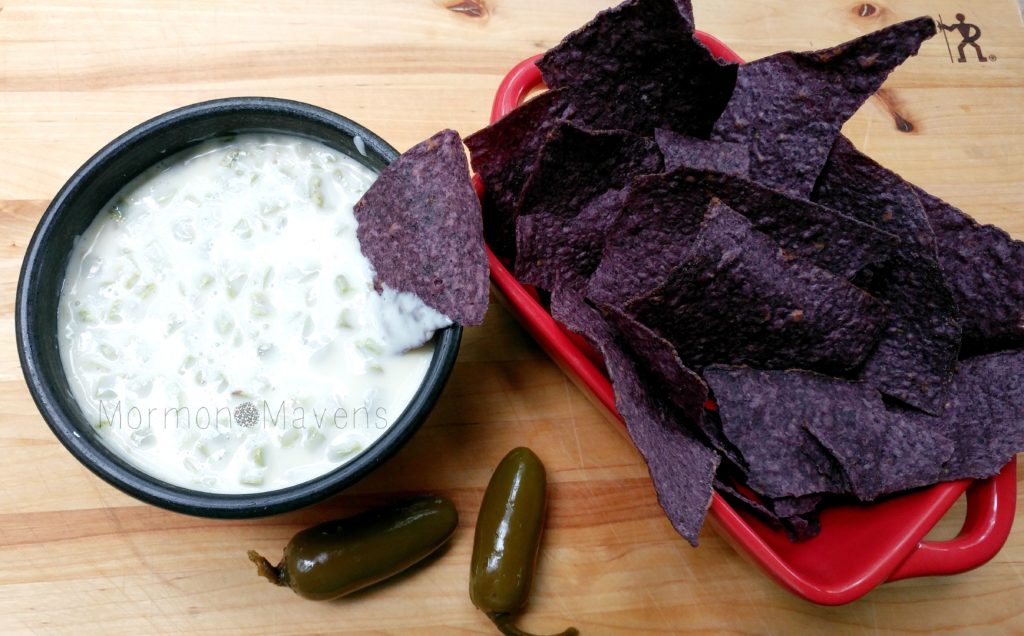
queso blanco

Sometimes you just need some oozing, melty cheese.

Now, to get this one right and achieve oozing, melty nirvana you really do have to use White American cheese.  

Wanna know how I know that?  

Failed attempt.  That’s how I know that.  I tried subbing Monterey Jack and queso fresca and ended up with a big ol’ blob of seized cheese curd.  Even after a trip to the blender, it just couldn’t be saved.  

Time of death: five minutes before I ran to the store to get the good stuff.

Using the microwave makes this a super easy dish.  I mean, you can really do this in less than 10 minutes, you know?  

And it’s a crowd pleaser.  

Wanna know how I know that?  

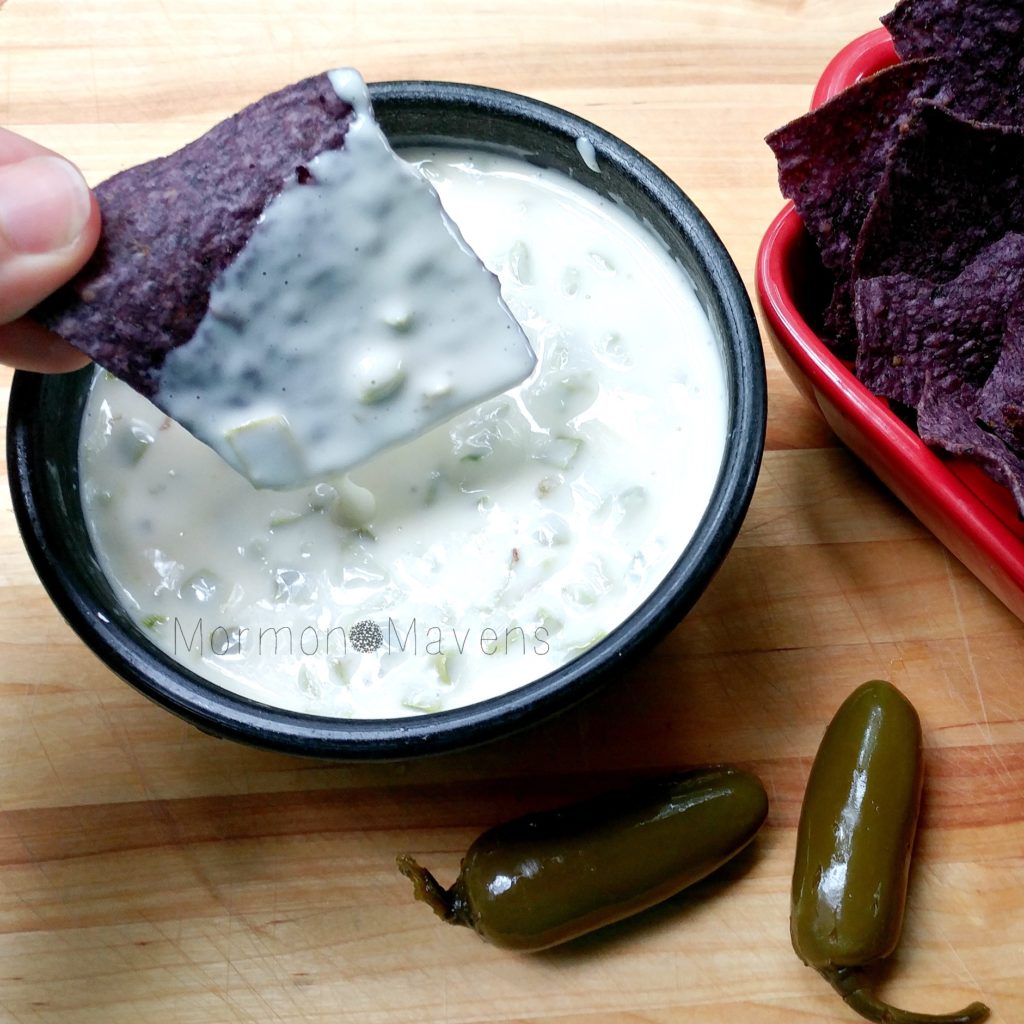
Successful attempt.  That’s how I know that.  Multiple children crowded around dripping oozing, melty nirvana all over my kitchen counters.

Yep.  Sometimes you just need some oozing, melty cheese.  And maybe an ice-cold Dr. Pepper to wash it down with. 😉

Easy Queso Blanco
Oozing, melty cheese nirvana. From the microwave--easy!
Write a review
Print
Prep Time
5 min
Cook Time
5 min
Total Time
10 min
Prep Time
5 min
Cook Time
5 min
Total Time
10 min
Ingredients
  1. 1.25 pounds of White American Cheese
  2. 2/3 cup whole milk
  3. 1/2 cup cold water
  4. 1/4 cup diced green chilies
  5. 2 pickled jalapenos, chopped
  6. 1 Tbsp. pickled jalapeno juice
Instructions
  1. Cut the cheese (ha ha ha......sorry) into 1" cubes and place into a large microwave-safe bowl with the milk and water.
  2. Microwave on high for 5 minutes, stopping two to three times to stir the melting mixture.
  3. Use a whisk to incorporate the melted cheese fully into the milk/water.
  4. Add the remaining ingredients, stirring well to combine.
Notes
  1. White American cheese can be purchased at the deli counter. My grocery store only had Boar's Head brand, but it was super tasty.
  2. I had never heard of pickled jalapenos before! But there they were, right in the Hispanic food aisle. I had to hunt a little bit, but I found one brand--La Costena.
  3. You can serve this as a dip OR as a sauce for a Mexican dish.
  4. Store any leftovers in the fridge and simply reheat in the microwave 30 seconds at a time, stirring well, until it's heated through.
Mormon Mavens https://www.mormonmavens.com/

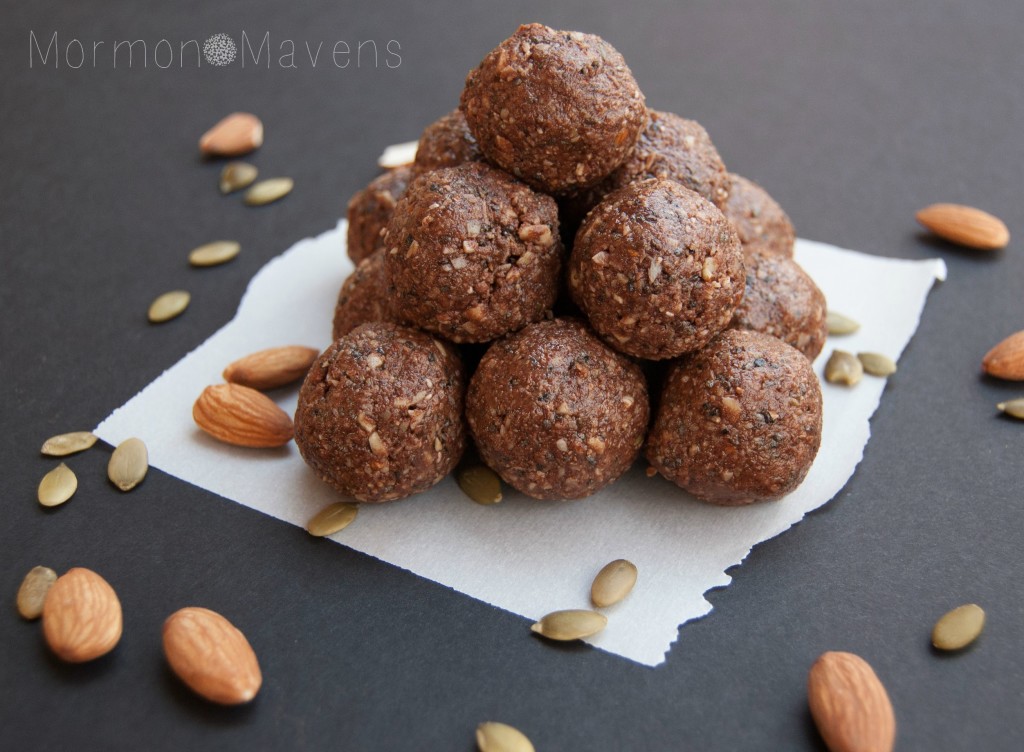
Chocolate Bombs

It’s the afternoon.  You’re dragging.  And you’re hungry.  “Is there still ice cream in the freezer?” you think to yourself.  “Wait, no, there’s a bag of chips in the pantry!”  Or maybe you’re at the office and there’s leftover birthday cake in the break room.  Or donuts.  Or both!

Let me introduce you to my secret weapon against those junk food temptations.  I wage war on those moments with this recipe in my arsenal.  I call them….(pause for dramatic effect)…..Chocolate Bombs!

Ever since I found this recipe from The Gabriel Method E-Cookbook, it’s been my go-to for fighting hunger and snack attacks with a healthy and filling alternative.  One of my most vulnerable times for hunger is Sundays.  I try to eat something right before I leave, but by the time I get home after church (which is three hours long) I am ready to eat the front door!  Armed with a few of these tucked away in my purse or waiting for me in the car, I soothe the hunger beast during the twenty minute drive home.

You could make a breakfast of these if you like; or just snack on them when you need a pick me up or have an afternoon snack attack.  I always have a big glass of water (or water bottle) on hand with these as they are quite the mouthful!

It’s the afternoon.  You’re dragging.  And you’re hungry.  “Chocolate bombs to the rescue!” you shout triumphantly.

chocolate bombs 2

Chocolate Bombs
Yields 10
Tasty, filling, healthy snack treats
Write a review
Print
Prep Time
10 min
Prep Time
10 min
Ingredients
  1. 1/3 cup almonds
  2. 1 Tbsp chia seeds
  3. 1 Tbsp pumpkin seeds
  4. unsweetened coconut (to taste)
  5. 1 tsp. sesame seeds
  6. 4 tsp raw cacao
  7. 3 Tbsp almond butter
  8. 2 Tbsp coconut palm sugar
  9. 1 Tbsp raw cashew butter
  10. 5-10 drops liquid stevia
  11. 1 tsp cinnamon
Instructions
  1. Place all the ingredients in a food processor and process until the almonds are in very small pieces.
  2. Check the consistency by taking a small amount of the mixture and forming it into a ball. If it's too crumbly, add more almond or cashew butter in small amounts and process again. Once it will form a ball, you've gotten it right!
  3. Using your hand or a small cookie scoop, take out tablespoonfuls of the mixture, squeeze if necessary, and roll into a ball in your hands.
  4. Eat immediately or store in the fridge in an airtight container.
Notes
  1. The original recipe calls for Tahini in place of cashew butter. Not a Tahini fan, so I subbed. The original also called for a teaspoon of stevia but I only had liquid. For the cacao I increased the amount from 3 teaspoons in the original, to 4.
  2. How much coconut you say? I'm a coconut lover, so I would guess I add 1/4 cup. This will affect how much extra nut butter you need to add at the end (if any).
  3. I love these. So when I make them, I triple the batch. Tripling just fits the mixture in my Ninja food processor
Adapted from The Gabriel Method E-Cookbook
Mormon Mavens https://www.mormonmavens.com/

Spinach Chips

A while back I posted a recipe for Kale Chips.  I never even considered that you could use another type of green but I like these Spinach Chips even better than the kale!  If you can find curly spinach it will probably be even easier, but the baby spinach leaves are great.  Just make sure you put them in a single layer not touching each other.  And take it easy on the salt–these are really easy to overseason.

Ingredients:
2 cups fresh spinach leaves
2 Tbsp. extra virgin olive oil
Italian seasoning, to taste
salt, to taste

1.  Preheat oven to 325 degrees.  Line a large baking sheet with foil.
2.  Put the spinach leaves in a large bowl.  Drizzle olive oil over leaves and gently toss with your hand to evenly coat the leaves.  Sprinkle with Italian seasoning and salt and toss.
3.  Arrange the leaves in a single layer not touching each other.  Bake for 8-12 minutes or until leaves are crispy.  Take from oven and allow to cool for 2 minutes.  Use a spatula to remove from foil.

Source:  Divas Can Cook

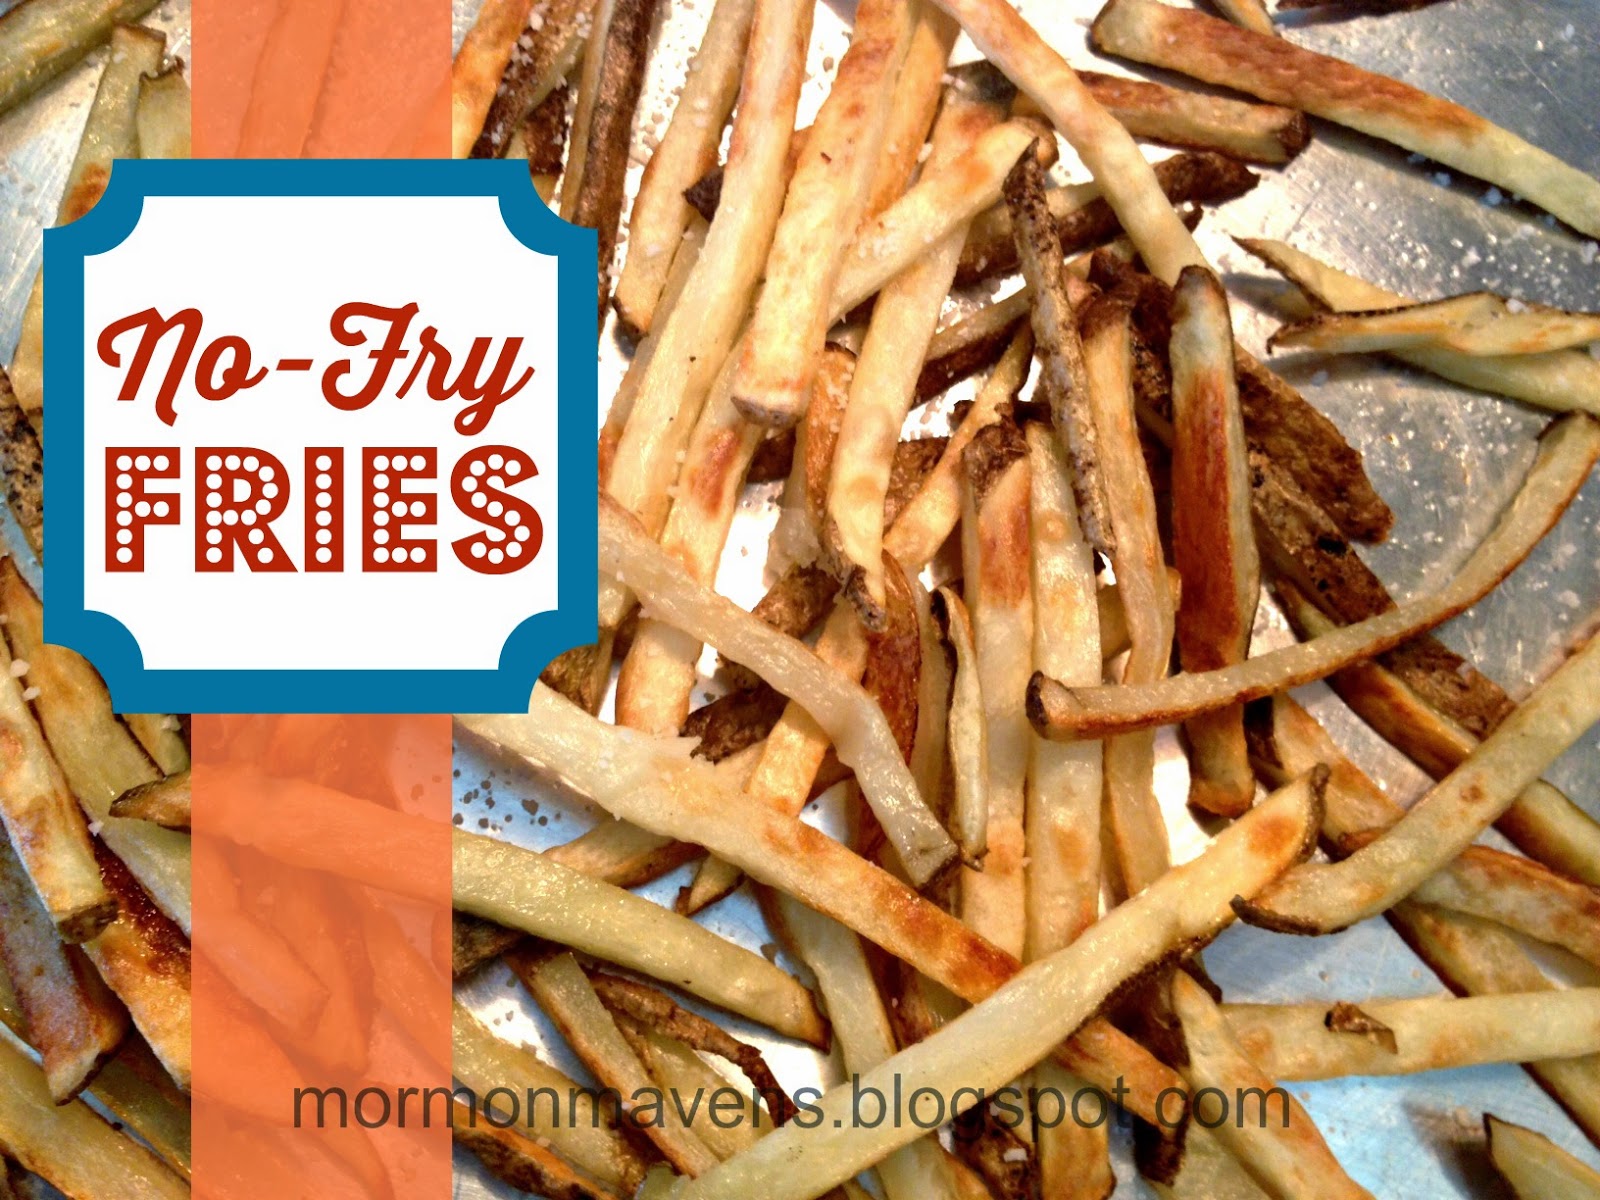
No-Fry Fries

I love homemade fries.  But I don’t make them anymore for two reasons:  (1) fried food is unhealthy, and (2) frying stuff makes my whole house smell gross.  I’ve seen this recipe bounce around Pinterest enough to know that these fries must be pretty good.  So I figured I’d give ’em a try.  I’m not normally a crispy fry person, but I must say with these I prefer them crunchier.

Ingredients:
2 large Russet potatoes
2 Tbsp. olive oil
coarse sea salt or kosher salt

1.  Preheat oven to 450 degrees.  Cut potatoes into 1/3″ thick fries.  (Cut in half first, then cut each half into 1/3″ slices, then cut each slice into fries.)
2.  Place in a bowl of very cold water and stir them around with your hand.  Strain in a colander and place on a cookie sheet lined with a clean kitchen towel.  Use another clean towel to dry the fries well.
3.  Remove the towels.  Drizzle olive oil over the fries and toss to coat.  Sprinkle with salt and toss again.  Spread the fries out evenly.
4.  Bake until browned, turning halfway through…..25-35 minutes, depending on your oven and preference.

Source:  this is all over Pinterest and is supposedly from Gwyneth Paltrow

Abs Diet Trail Mix

This recipe comes from my favorite healthy diet called “The Abs Diet”.  It’s all about using power foods that give your body excellent fuel for healthy living.  I am not a trail mix snob.  I enjoy all kinds of trail mixes.  Of course, my favorite ones include some dark chocolate.  Give this one a try and Happy “Trails” To You!

Ingredients:

1 c. whole almonds
1 c. pecan halves
1/3 c. plain oats
 cooking spray
2 T. honey
1/2 t. cinnamon
1 c. orange-flavored dried cranberries (craisins)
1 large packet dried apricots, roughly chopped

Directions:

1.  Preheat oven to 350.  Place nuts and oats in a bowl and spray evenly with cooking spray (about 3 shots).  Drizzle with 1 T. honey and add cinnamon, stirring to coat.

2.  Spread nuts evenly on a pan and toast for 15 minutes, stirring occasionally.

3.  Once they’ve cooled, stir in the second T. honey and mix in the dried fruit.

Source:  The Abs Diet

This entry was posted in Snacks and tagged .

Good Morning Bars

I love oats. Must be my Scottish roots coming out in me. These bars were a big hit in my house for breakfast and they were gone pretty dang fast!

(this recipe post comes from my personal blog)

Ingredients 
 1 cup peanut butter
1/2 cup butter, melted (or 1/4 cup mashed banana or applesauce)
1/2 cup packed brown sugar (can reduce or use natural sweetener)
1/2 cup honey or maple syrup (can reduce or use natural sweetener)
3 tsp. vanilla extract
1 tsp. almond extract, optional
3 1/2 cups old fashioned rolled oats
1/2 cup flaked coconut (sweetened or unsweetened)
1/2 cup chopped nuts
1/2 cup dried fruit (raisins, craisins, currants, etc.)
1/2 cup mini semi-sweet chocolate chips
optional: chia seeds, sesame seeds

Instructions 
1.  Preheat oven to 350 degrees. In large bowl combine the peanut butter, butter, brown sugar, honey, and extracts stirring until well combined. Add in the remaining ingredients and stir well to combine.
2.  Press into a greased 9″x13″ baking pan. Bake for 20-25 minutes until they begin to brown around the edge. With a knife, gently cut the bars but do NOT remove. Allow to cool completely or they will fall apart.

Notes–These tasty bars are a little fragile, especially when still warm. So make sure you let them cool completely before eating them. They will firm up some while they cool.

Source:  Just a Pinch