Nutella Hot Chocolate


Originally posted on November 7, 2011.

I love Nutella.  Love, love, love it.  And once again, Pinterest provides another scrumptious idea on how to use it.  This is yummy, quick, and easy.  You can play around with the amount of Nutella to suit your personal taste.

And how many ways do you think there are to use Nutella in your life?

Ingredients:
1 cup milk (I used 1%)
1-2 Tbsp. Nutella (I eyeballed it)

1.  Place milk and Nutella in a small saucepan and heat over medium-high heat, whisking until Nutella is fully incorporated into the milk.  (You could probably use one of those little cocoa machines with the spout too.)
2.  Pour into your favorite mug and enjoy.

Source:  found on Pinterest (no original source cited there)

Butter Dips

Originally posted on September 5, 2011.

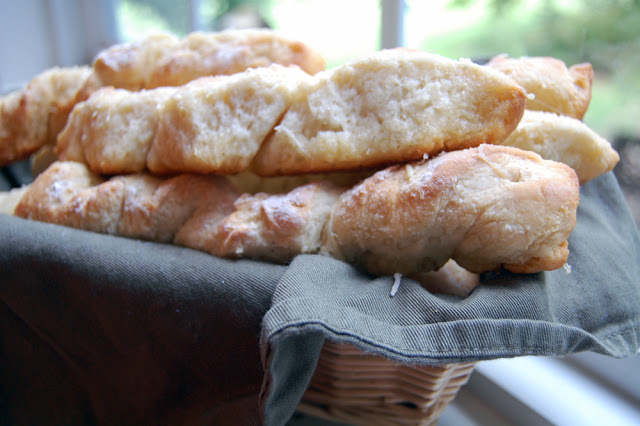
These are great quick bread sticks.  We usually have them with pasta and salad.  My kids love them.


Ingredients:
1 stick butter
3 cups all-purpose flour
2 Tbsp. sugar
4 tsp. baking powder
2 1/2 tsp. salt
garlic powder to taste
1 cup milk
shredded Parmesan cheese

Instructions:

1.  Preheat oven to 400 degrees.  Place butter in 9 x 13 pan and place in oven.  Take out when butter is melted.
2.  Mix flour, sugar, baking powder, salt, and garlic powder in bowl.  Add milk and stir until well-combined.
3.  Roll or pat dough out onto a floured surface.  Form a 5″ x 13″ rectangle.  Cut dough into strips 1″ wide.  Make twists out of each strip.  Carefully place strips into buttered pan, turning to coat.  (I start with 5″ long strips because as you twist and transfer them to the dish, they stretch.)
4. Bake for 15-20 minutes.  Sprinkle with shredded Parmesan cheese.


Source:  My friend

Comfort Potato Salad

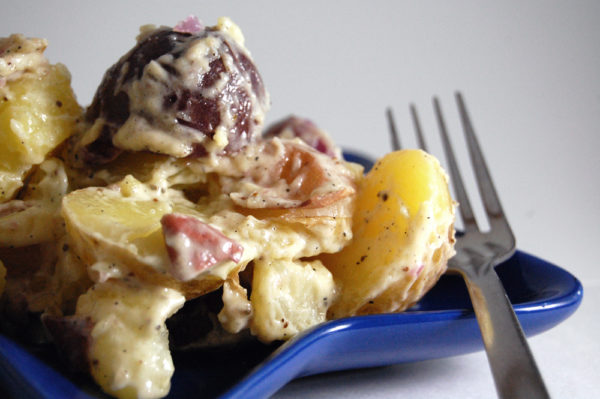
comfort potato salad


Originally posted on July 19, 2011.

I admit it.  I am a potato salad snob.  I grew up in a very different potato salad culture than most people, I think. And I have yet to taste a potato salad that is anywhere close to my mother’s recipe.  

Still, growing up, there were things about my mother’s potato salad that I did NOT like.  So, a few years after I got married, I decided to give this family classic a good makeover (although I have included my mother’s ingredients at the end of the recipe in case these foods really float your boat).

 And the result?  One of our family’s favorite dishes.  Simple but so, so good.  SO good, in fact, that my husband and kids cannot resist picking at the bowl before I am even done making it.  I hope you enjoy it.

 And I won’t be offended if your personal potato salad culture makes it impossible for you to like mine!

Ingredients:
5 pounds Yukon Gold potatoes (pictured are gold, purple, and red potatoes from our garden)
1 1/2 c. mayo (NOT Miracle Whip!….wait, that’s a mayonnaise culture thing)
1 tsp. celery seed
4 tsp. salt
1/2 tsp. pepper
1 Tbsp. apple cider vinegar
1 tsp. prepared mustard


1.  Clean potatoes gently in water and place in large pot.  Cover with water to and at least an inch above the potatoes.
2.  Boil potatoes until tender, about 20 minutes depending on the size of the potatoes.
3.  Drain potatoes and place them on a cooling rack set in a cookie sheet.
4.  While potatoes are cooling, make the dressing in a large bowl.
5.  When potatoes are cooled enough to handle (still warm is really yummy!) cut potatoes into bite-size chunks (leave the skin on) and place in the bowl with the dressing.
6.  With a rubber spatula gently toss the cut potatoes until they are evenly “bathed” in the dressing.
7.  Serve warm or at room temperature.


Source:  My Mom

My mother’s recipe differs in that she:

  • adds 1 large green pepper (chopped), 1 small onion (chopped), and 1 large jar of chopped pimento.
  • uses red potatoes only (I find them too water-y).
  • peels the potatoes before cutting them up.

Chewy Brownies

chewy brownies


Originally posted on July 20, 2011.

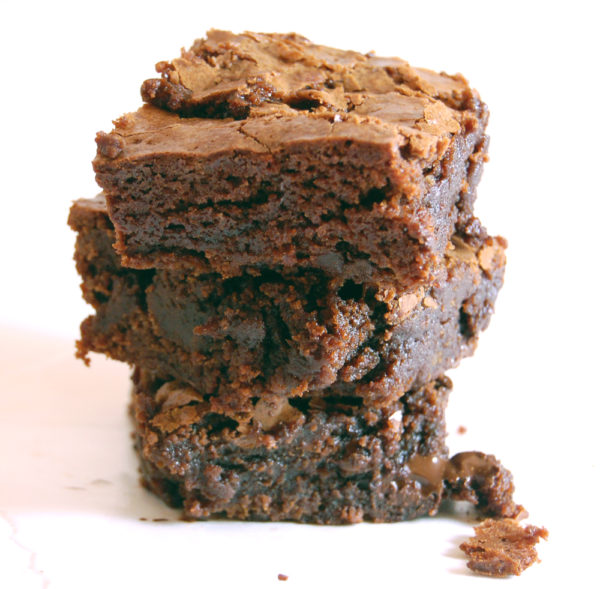
Call me crazy, but I love brownie-mix brownies.  I love the flavor, but I especially love the texture of them.  Every once in a while I’ll try a recommended brownie recipe, but I’m always disappointed in the results.  I found this recipe in a Google search for “scratch brownies that taste like a mix”.  This recipe is good enough to keep using, in place of the box mix, until I find an even better one.  It’s awesome with warmed up peanut butter for a sauce with Bittersweet Chocolate Sauce and 3 Ingredient Ice Cream.

Ingredients:
1/3 c. cocoa
1/2 c. plus 2 Tbsp. boiling water
2 ounces unsweetened chocolate, finely chopped
4 Tbsp. butter, melted
1/2 c. plus 2 Tbsp. vegetable oil
2 large eggs
2 large egg yolks
2 tsp. vanilla extract
2 1/2 c. sugar
1 3/4 c. all-purpose flour
3/4 tsp. salt
6 ounces bittersweet or semisweet chocolate, cut into 1/2″ pieces

1. Adjust oven rack to lowest position and heat oven to 350 degrees.  Line a 9×13-inch baking pan with foil, leaving about a one-inch overhang on all sides (do this in two foil layers).  Spray with non-stick cooking spray.
2.  Whisk together the cocoa and boiling water in a large bowl until smooth.
3.  Add unsweetened chocolate and whisk until chocolate is melted.
4.  Whisk in melted butter and oil (mixture may look curdled).
5.  Add eggs, yolks, and vanilla and continue to whisk until smooth.
6.  Whisk in sugar until fully incorporated.
7.  Add flour and salt and mix with rubber spatula until combined.
8.  Fold in bittersweet or semisweet chocolate pieces.
9.  Scrape batter into prepared pan and bake until a toothpick inserted halfway between the edge and center comes out with just a few moist crumbs on it, about 30-35 minutes.  Transfer pan to wire rack and cool 1 1/2 hours.
10.  Using foil overhang, lift brownies from pan.  Return them to wire rack and let cool completely, about 1 hour.  Cut into 2″ squares and serve.

If you like thicker brownies, just bake in a smaller pan and increase cooking time.

Makes 24 brownies 


Source:  Adapted from Cook’s Illustrated

Bittersweet Chocolate Sauce


Bittersweet-Chocolate-Sauce.jpg

Originally posted on July 29, 2011.

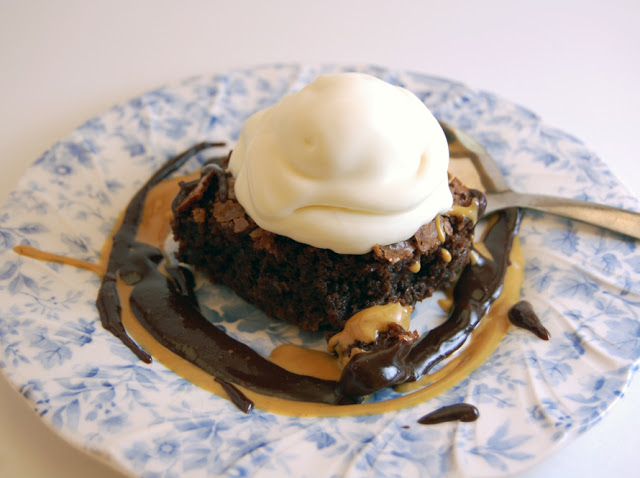
This is great served over vanilla ice cream with toasted coconut and toasted almonds.  Or on a Chewy Brownie sundae with 3 Ingredient Ice Cream and warmed peanut butter as a second sauce.

And by the way, this peanut butter thing is one of the most amazing secrets I’ve ever found.  While on vacation at Disney World one year, we visited the wonderful ice cream parlor, Beaches and Cream.  I ordered something with hot fudge and peanut butter sauce and was in utter ecstasy!  When I asked how they made the peanut butter sauce I was floored when they said it’s just warmed up peanut butter.  Now whenever we have sundaes at home, we always have this peanut butter “sauce” with this chocolate sauce recipe.  Yeah.  Utter ecstasy.

Brownie-Sundae.jpg


Bittersweet Chocolate Sauce
Write a review
Print
Ingredients
  1. 1/4 c. butter
  2. 1 1/2 ounces unsweetened chocolate
  3. 3/4 c. sugar
  4. 1/4 c. cocoa
  5. 1/4 c. half and half, whole milk, or heavy cream
  6. 1/8 tsp. salt
  7. 1 tsp. vanilla
Instructions
  1. Place butter and unsweetened chocolate in a small saucepan and melt over low heat, stirring constantly.
  2. Add sugar, cocoa, half and half, and salt. Stir until combined. Bring slowly to a gentle boil withOUT stirring (well, maybe you could stir a couple of times). If you let it go too long, the sides begin to burn; but if you don’t let it go long enough, the sugar crystals won’t dissolve and the sauce will be gritty.
  3. Remove from heat and add vanilla.
Adapted from Betty Crocker Chocolate Cookbook
Mormon Mavens https://www.mormonmavens.com/


Chocolate Bombs

It’s the afternoon.  You’re dragging.  And you’re hungry.  “Is there still ice cream in the freezer?” you think to yourself.  “Wait, no, there’s a bag of chips in the pantry!”  Or maybe you’re at the office and there’s leftover birthday cake in the break room.  Or donuts.  Or both!

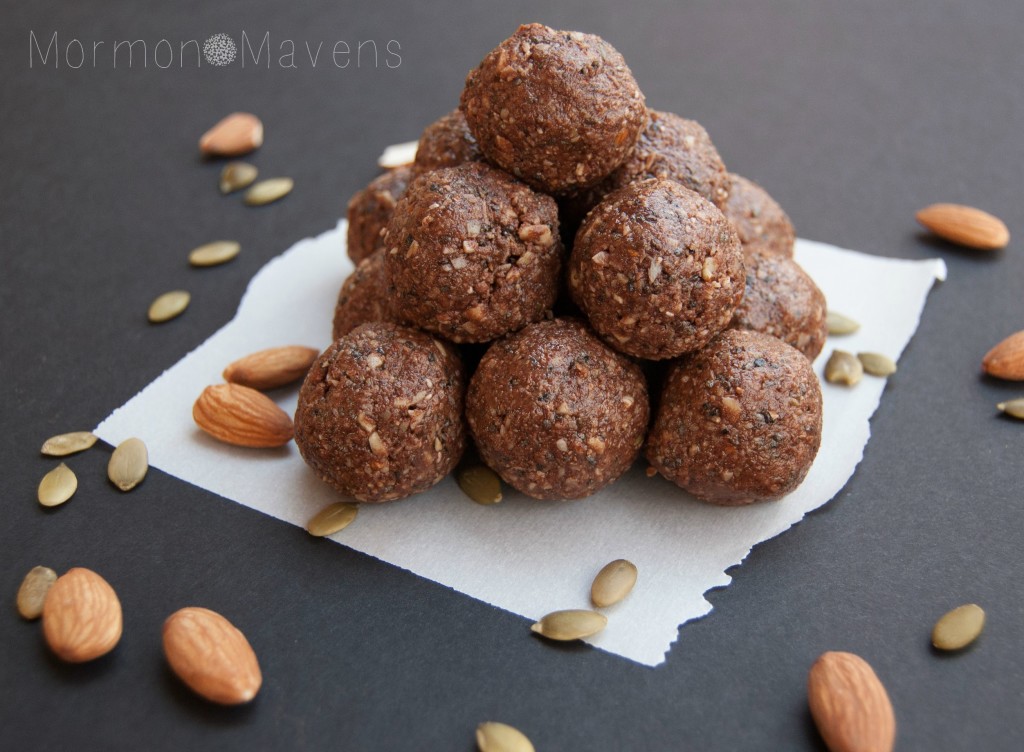
Let me introduce you to my secret weapon against those junk food temptations.  I wage war on those moments with this recipe in my arsenal.  I call them….(pause for dramatic effect)…..Chocolate Bombs!

Ever since I found this recipe from The Gabriel Method E-Cookbook, it’s been my go-to for fighting hunger and snack attacks with a healthy and filling alternative.  One of my most vulnerable times for hunger is Sundays.  I try to eat something right before I leave, but by the time I get home after church (which is three hours long) I am ready to eat the front door!  Armed with a few of these tucked away in my purse or waiting for me in the car, I soothe the hunger beast during the twenty minute drive home.

You could make a breakfast of these if you like; or just snack on them when you need a pick me up or have an afternoon snack attack.  I always have a big glass of water (or water bottle) on hand with these as they are quite the mouthful!

It’s the afternoon.  You’re dragging.  And you’re hungry.  “Chocolate bombs to the rescue!” you shout triumphantly.

chocolate bombs 2

Chocolate Bombs
Yields 10
Tasty, filling, healthy snack treats
Write a review
Print
Prep Time
10 min
Prep Time
10 min
Ingredients
  1. 1/3 cup almonds
  2. 1 Tbsp chia seeds
  3. 1 Tbsp pumpkin seeds
  4. unsweetened coconut (to taste)
  5. 1 tsp. sesame seeds
  6. 4 tsp raw cacao
  7. 3 Tbsp almond butter
  8. 2 Tbsp coconut palm sugar
  9. 1 Tbsp raw cashew butter
  10. 5-10 drops liquid stevia
  11. 1 tsp cinnamon
Instructions
  1. Place all the ingredients in a food processor and process until the almonds are in very small pieces.
  2. Check the consistency by taking a small amount of the mixture and forming it into a ball. If it's too crumbly, add more almond or cashew butter in small amounts and process again. Once it will form a ball, you've gotten it right!
  3. Using your hand or a small cookie scoop, take out tablespoonfuls of the mixture, squeeze if necessary, and roll into a ball in your hands.
  4. Eat immediately or store in the fridge in an airtight container.
Notes
  1. The original recipe calls for Tahini in place of cashew butter. Not a Tahini fan, so I subbed. The original also called for a teaspoon of stevia but I only had liquid. For the cacao I increased the amount from 3 teaspoons in the original, to 4.
  2. How much coconut you say? I'm a coconut lover, so I would guess I add 1/4 cup. This will affect how much extra nut butter you need to add at the end (if any).
  3. I love these. So when I make them, I triple the batch. Tripling just fits the mixture in my Ninja food processor
Adapted from The Gabriel Method E-Cookbook
Mormon Mavens https://www.mormonmavens.com/

Italian Elvis Sandwiches

italian elvis

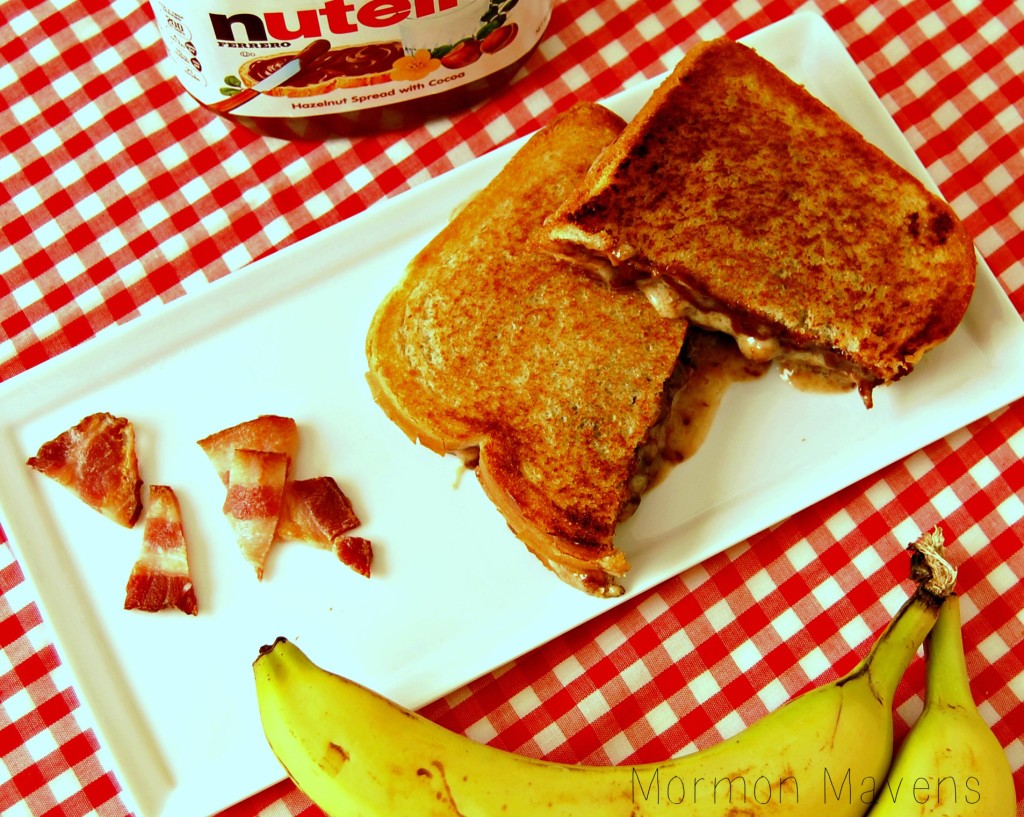
A recipe so weird, I just had to try it.

 There I sat, thumbing through who-knows-what outdated magazine at the salon, color setting in my hair.  And I almost didn’t read it.  I almost passed right by it.  But when I read the ingredients I couldn’t help myself.  I snapped a pic of it with my cell phone and made a mental note to try it soon.
 
The family was up for it.  (They are adventurous with anything that involves Nutella.)  And when we bravely tried it for the first time, they were not disappointed.  It as a big hit!  And though this dish is a rich, not-every-day kind of food, it gets requested more often than I can tell you (especially from one kid in particular).
 
So tonight, when we had the missionaries over for dinner and served these for dessert (at the request of that one kid in particular), I remembered….”Oh yeah, I never put this on the blog, did I?”
 
It only took me a year and a half to remember to share it.  Once you try it, you may not forgive me for waiting so long!  My apologies…..but honestly, you’ll be so transported by the unique flavor, you’ll forget all about being mad at me.  🙂

p.s…..comment below if you get why it’s called an Italian Elvis.

Italian Elvis Sandwiches
Yields 4
A wonderfully weird sandwich that you can even serve as a dessert!
Write a review
Print
Ingredients
  1. 8 slices sturdy white bread*
  2. 6 strips of crispy bacon, in bit sized pieces
  3. Nutella
  4. 1 ripe banana
  5. 8 ounce tub of mascarpone cheese
  6. softened butter
  7. lots of napkins
Instructions
  1. Heat a griddle or skillet to medium-low heat (like you are making a grilled cheese sandwich, cuz well, you are!).
  2. Place the banana on a dinner plate and mash it well with a fork. Empty the tub of cheese on top of the mashed banana and use the fork to incorporate the two together. Set aside.
  3. Butter one side of a slice of bread. Place this butter-side down on another slice of bread. Then carefully spread Nutella on top of the slice that's face down with butter. About 1/8" thick is fine--it's up to you how much you want. Now place the bacon pieces on top of the Nutella. (Each sandwich has about 1 1/2 strips of bacon.)
  4. Carefully lift just the Nutella slice of bread and place it butter side down on your griddle or skillet. Immediately drop some scoops of your banana/cheese mixture on top of the Nutella/bacon and carefully spread it out (it will be about twice as thick as the Nutella).
  5. Place the other slice of bread on top (you know, the one you used earlier). Using your flipper/turner/spatula device, gently press down on that top piece. Then carefully spread some butter on it.
  6. When the bottom slice is golden brown, VERY carefully lift and turn it over to cook on the other side. All that gooey goodness might make this step a little challenging, but stick with me....it's worth it.
  7. Once the other side is done, lift it out carefully and place it on a flat surface to cool for a minute or two before slicing and eating.
Notes
  1. Regarding the bread*--super soft white bread will not hold up well to the spreading of Nutella and tends to flatten too much during cooking. I recommend something like Pepperidge Farm breads, which are delicious and stand up well to this recipe.
  2. How many sandwiches this recipe makes will depend a lot on how thick you spread the ingredients on the bread slices. The amounts listed above reflect my family's preferences and you may need to adjust the recipe based on your own preferences.
  3. Where to find mascarpone cheese? In my grocery store, it's found in the deli department, but if you can't find it, just ask someone at the store.
  4. Yes, you do need to have the bacon in pieces. If you just lay 3 half-strips on bacon down, those suckers will slide right out of the sandwich when you take a bite. Also, my family prefers it crispy; yours may like it chewier (in which case it's even more important that the bacon be in pieces).
  5. Why lots of napkins? You obviously haven't tried to eat one yet. Go make one, eat it, and then we'll talk.
Mormon Mavens https://www.mormonmavens.com/

Lasagna Soup

Have I told you how much I absolutely love Thrive?  I mean, seriously.  It’s amazing.  I have saved so much time in the kitchen just by using Thrive foods–they are ready to use right out of the packaging–no more chopping onions, no more greasy meat prep, etc.  And the taste is unmatched!  Not to mention the nutrition bonus of eating freeze dried foods of the highest quality.  You are really missing out if you haven’t tried Thrive for yourself.

I love “throw and go” cooking with Thrive foods.  The other day I made some spaghetti sauce using that method; and for me, that means just tossing in what I like and adding enough water along the way to rehydrate the foods to perfection.  This is all without any measuring!!!  Love it.  And my spaghetti meat sauce, which I began making AFTER I started the pasta, was done before the pasta was!

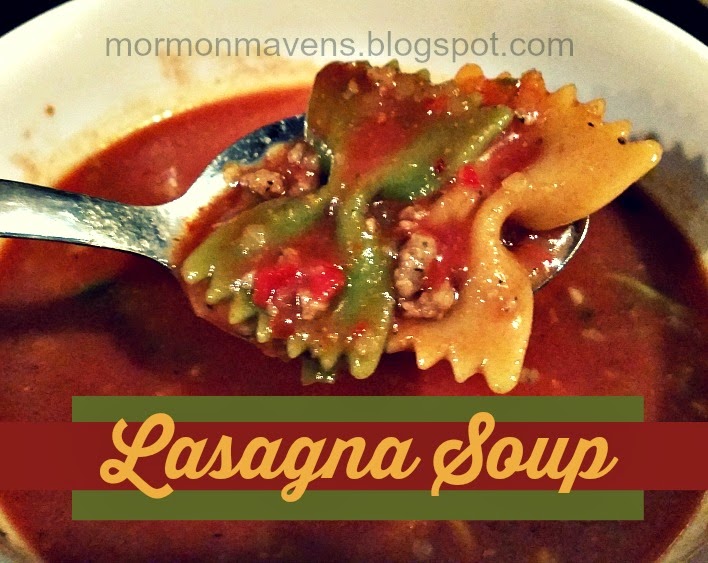
But sometimes I do like to try recipes and measure.  Lasagna Soup intrigued me when I saw it and, lemme tell you, it did NOT disappoint my taste buds.  Several in the family went back up for seconds of this tasty dish.  This one is definitely going to be made many times in our house!  And, bonus, you can also vacuum seal this (layered in the order listed) in a quart mason jar and keep it on the shelf for emergency quick meals (although going directly into the pot was fast to begin with).  Just dump and go.  (Email me at gimmethrive@gmail.com for more info on jar meals!)

Ingredients:

¼ cup Thrive Tomato Powder
1 tsp Thrive Chef’s Choice Seasoning
 ¼ cup Thrive Tomato Sauce 
3 TBSP Thrive Mixed Bell Peppers
 1 TBSP Thrive Chicken Bouillon
¼ cup Thrive Freeze Dried Onions
 1 tsp  Garlic powder
¾ cup Thrive Freeze Dried Sausage Crumbles 
¼ tsp Crushed Red Pepper
2 cups Thrive Farfalle (Bowtie) Noodles

1. Dump all the ingredients into a pot or Dutch oven.  Stir in 8 cups of water.
2.  Bring to a boil.  Turn the heat down to medium.  Simmer for 10-15 minutes until the noodles are al dente.

Top with shredded mozzarella cheese and serve with salad and breadsticks!  Easy peasy!


For more information on how you can save time and money while eating nutritious, convenient food from Thrive, 
email me at gimmethrive@gmail.com.  
You can also visit my website to learn more.


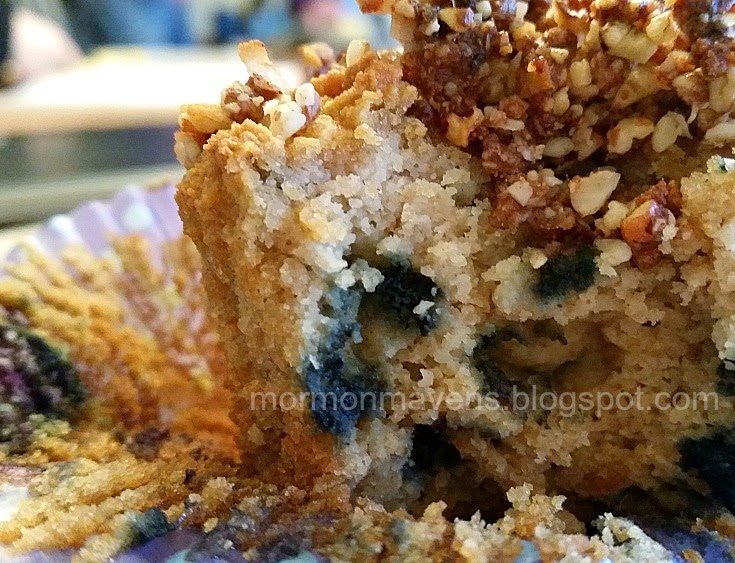
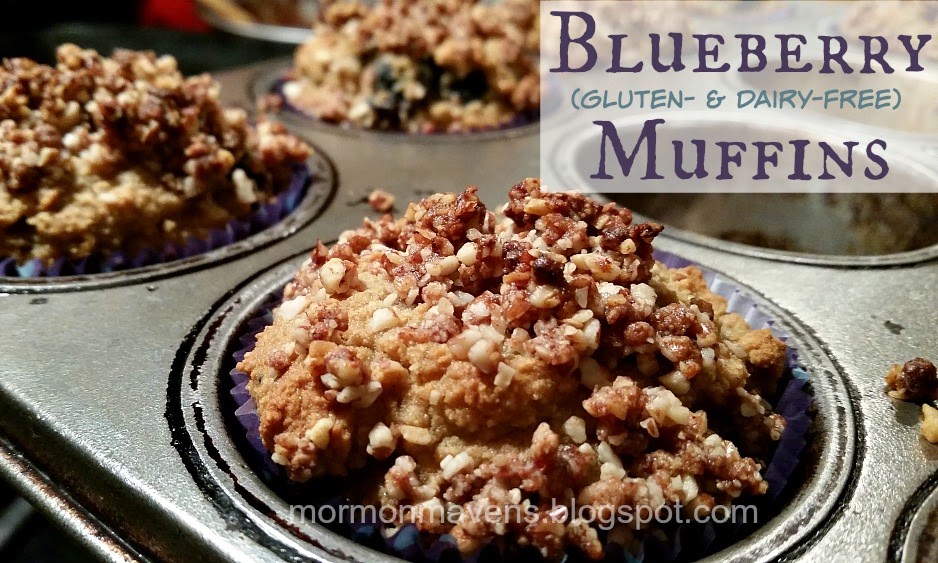
Gluten-free and Dairy-Free Blueberry Muffins

Are you gluten-free?  Do you find that you are sometimes less than thrilled to try new gluten-free recipes because they often don’t satisfy?  Maybe it’s just me.  I guess I’m jaded now.  Nevertheless, I decided to try this one for breakfast today because, well, I suppose I haven’t lost all hope.

I wasn’t expecting much.  Actually, I was expecting a slightly sweet blob of cardboard.  But I was really happy with the result.  Happy, as in, I will make these again.  And that’s saying a lot….for me, anyway.


Gluten-Free and Dairy-Free Blueberry Muffins

2 large eggs, at room temp
2 Tbsp. lemon juice
1/3 cup palm shortening, softened
1 tsp. vanilla extract
1/3 cup honey
1/2 cup warm water
1 3/4 cup Pancake Mix (see recipe below)
1/2 tsp. ground cinnamon
1/2 cup fresh blueberries (or reconstituted freeze-dried blueberries–what I used)

Topping
1/3 cup pecan halves
1 Tbsp. unsweetened shredded coconut
1 Tbsp. solid coconut oil
1 Tbsp. blanched almond flour
1 Tbsp. honey
3/4 tsp. ground cinnamon
1 large date, pit removed
pinch of sea salt

1.  Preheat oven to 350 degrees.  Place an oven-safe dish filled with 2 cups of water on the bottom oven rack.  Place a rack in the middle–this is where the muffins will bake.
2.  Place all the muffin ingredients, except the blueberries, in a blender.  Process for half a minute, scrape down, and process again until smooth.  Pour mixture into a bowl and stir in the blueberries.
3.  In a muffin tin, place 10 paper liners.  Fill each liner 2/3 full.
4.  In a food processor, combine all the topping ingredients.  Pulse them together until like coarse crumbs.  Sprinkle atop each muffin.
5.  Bake for 20-25 minutes.  Test with a toothpick by inserting into the middle of a muffin; if it comes out clean, it should be ready.  Remove the baked muffins to a wire rack to cool for a bit.

Pancake Mix
3 cups blanched almond flour
1 cup coconut flour
1 Tbsp. baking soda
2 tsp. cream of tartar
3/4 tsp. sea salt
Whisk together and store in airtight container in fridge (will last for 6 months).

Source:  Against All Grain by Danielle Walker

Mom’s Beef Stew

I love simple, tasty food.  Especially when it’s comfort food.  And this Beef Stew hits all those attributes for me.  I just love it.

Ingredients:
2 pounds stew beef
2 Tbsp. bacon grease (or shortening)
1 large onion (sliced)
1 tsp. minced garlic (from the jar)
1 quart hot water
1 Tbsp. salt
1 Tbsp. lemon juice
1 tsp. sugar
1 tsp. Worcestershire sauce
1/2 tsp. black pepper
1 bay leaf

6 small potatoes, cut in chunks
6 small onions, cut in chunks
3 carrots cut into 1″ pieces
1/2 cup flour
1/2 cup cold water

1.  In large pot, heat bacon grease over medium-high heat.  Brown stew beef.
2.  Add remaining ingredients up to and including the bay leaf.  Bring to a boil; then reduce heat, cover, and simmer for 1 1/2 hours.
3.  Add veggies.  Cover and simmer 1 hour.
4.  Remove and discard bay leaf.  Combine flour and water in a small bowl to form a paste.  Stir this into the stew.  Cover and cook over medium heat until thick and bubbly.

Makes 2 1/2 quarts of stew.

Notes:

  • Though I always use the same type of ingredients, their form varies from time to time for me.  This time I didn’t have any fresh onions so I used my freeze-dried Thrive onions.  
  • To make this GLUTEN FREE, use an alternative flour like I did this time.  I used Krusteaz Gluten Free flour.
Source:  my mom