Melissa
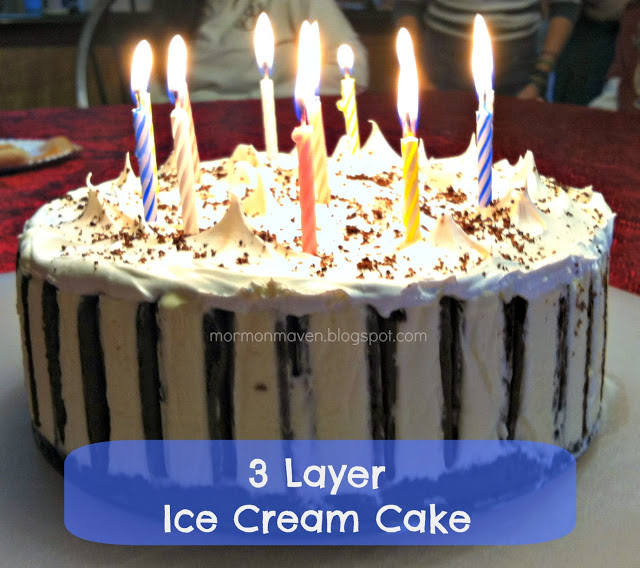
3 Layer Ice Cream Cake
Ingredients:
1 pack of Oreos
3 quarts of your favorite ice cream
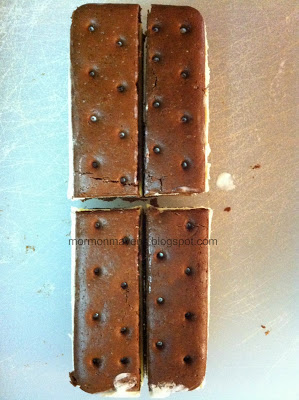
1 box ice cream sandwiches – keep in freezer until ready to use
Cool Whip
Instructions:
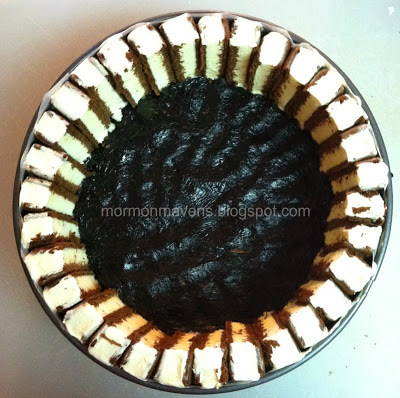
1. You will need a springform pan. Spray the pan with non-stick cooking spray. Cut strips of wax paper to line the pan. The spray will help the wax paper stick to the pan.
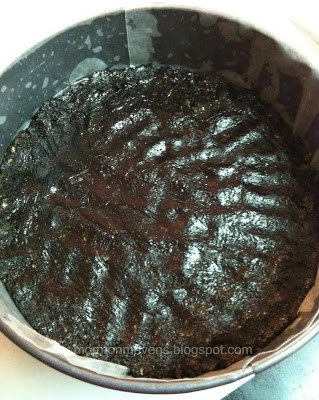
2.. Put about half of the Oreos in a blender and blend to make fine crumbs, or small chunks, whichever you prefer. (You can also put the Oreos in a bowl or zip lock bag and crush with a wooden mallet. Sometimes I use the bottom of a drinking glass and gently tap to break the cookies into small pieces.) Save a tablespoon of crumbs or chunks to sprinkle on top of the final layer. Add a little water to your crushed Oreos so that they stick together a bit and you can press them into the bottom of your springform pan. I used a little too much water by accident and made almost an Oreo brownie. : ) It was good, but I prefer the bottom more crumbly instead of gooey.
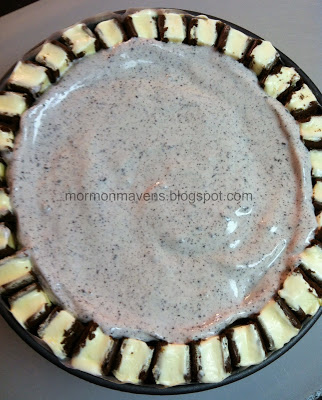
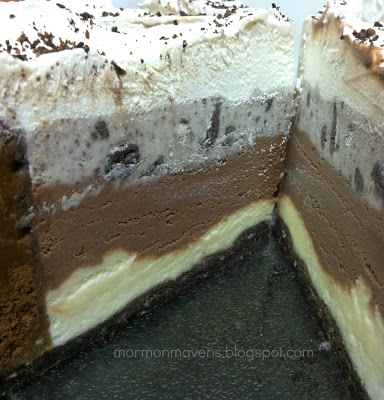
5. Scoop out about 3/4 of the ice cream for your first layer and put into a bowl. The whole quart would be too much. If you have a smaller springform pan, then maybe half of it would do…I have bought the fancy pints of ice cream for making these in a smaller springform pan. Stir the ice cream until soft and smooth. We have been known to add chunks of brownie, nuts, huge Oreo chunks, or whatever we are craving in each layer! Yum! Pour into pan. You may want to put it in the freezer for 15-30 minutes or so to let that layer get firm. if you don’t, your layers will not be straight.
6. Repeat step 5 for the 2nd layer.
7. Repeat step 5 for the 3rd layer.
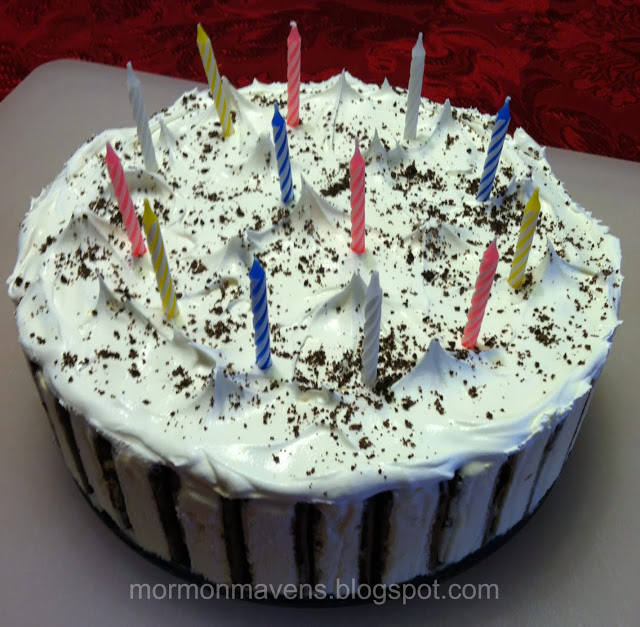
8. Spread Cool Whip over the top. Try to make it look pretty. I make little peaks on mine by using the back of the spoon. I can’t explain that…just try to make it look pretty. : )
9. Sprinkle some Oreo crumbs on the top. This is as creative as I get, but I’m sure you could add some special touches to make it look really pretty.
10. Put it in the freezer and let it freeze hard for 24 hours. Every time I have made it in the morning and tried to serve it that night, it was not frozen enough and it was more of a blob than beautiful layers. Take out of freezer and remove the outside of the springform pan and the wax paper. Cut and serve! Everyone will love it! : )
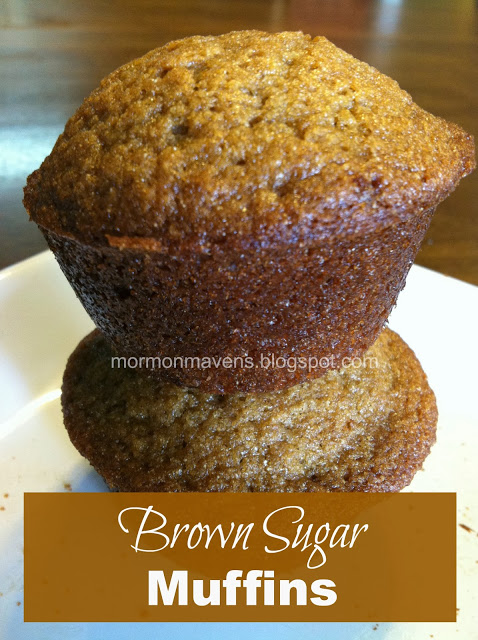
Brown Sugar Muffins
Mini German Pancakes
Mini German Pancakes
Ingredients:
6 eggs
1 cup milk
1 cup flour
1/4 tsp salt
1 1/2 tsp vanilla
1/4 cup butter, melted
Directions:
1. Preheat oven to 400 degrees. Grease or spray muffin tins well.
2. Mix all ingredients together in a bowl. Or you could whirl it in a blender for a few seconds until smooth.
3. Fill baking cups with the batter almost full if you want them to puff up high like the picture below. (Makes 12-18 depending on how high you fill the muffin cups.)
4. Bake about 12 minutes or until golden brown. They will puff up really high while baking, and then deflate a bit as they are cooling.
5. You can fill with fruit topping or a lemon sauce, sprinkle with powdered sugar, or use cinnamon sugar and maple syrup, whipped cream, or whatever sounds good to you!
Easy French Bread
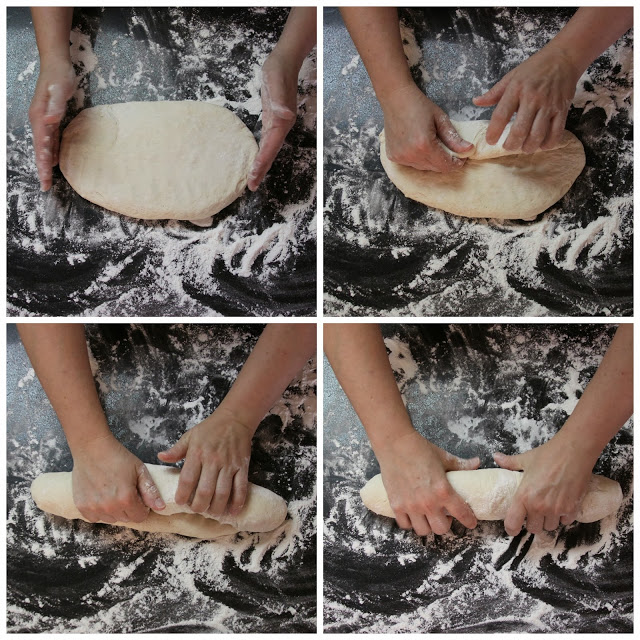
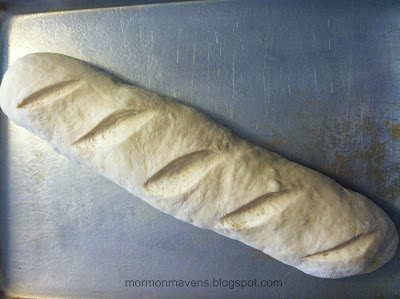
If you have never made bread before, this is a perfect place to start! This is such an easy, delicious bread! And really it’s hard to mess it up! It makes fabulous garlic bread, French toast, delicious sandwiches and bread bowls! It will be a family favorite!
I forgot about my bread that morning while I was homeschooling my children, and I let it rise a little too much. It got huge, but it was still gorgeous and delicious! You can spread a little butter on the top of the hot loaves when it comes out of the oven. ENJOY!!!
Pumpkin Chocolate Chip Cookies

Pumpkin Chocolate Chip Cookies
Ingredients:
1 cup canned pumpkin
1 cup white sugar
1/2 cup vegetable oil
1 egg
2 cups all purpose flour
2 teaspoons baking powder
2 teaspoons cinnamon
1/2 teaspoon salt
1 teaspoon baking soda
1 teaspoon milk
2 teaspoons vanilla extract
2 cups semisweet chocolate chips (I used some chocolate chunks this time)
1/2 cup chopped pecans or walnuts (optional)
Directions:
1. Combine pumpkin, sugar, vegetable oil, egg and vanilla. Add flour, baking powder, baking soda, milk, cinnamon and salt. Stir in chocolate chips and nuts.
2. Spray cookie sheet with baking spray. Drop cookie dough by spoonful onto baking sheet.
3. Bake at 350 degrees for about 10 minutes. These are cake-like, so make sure centers are done like a cake. Baking time will depend on the size you make the cookies. I personally like to take them out of the oven right before they start to brown. I’m not a fan of overdone cookies!
4. Eat warm with a glass of milk and you will think you have died and gone to heaven!
Notes:
1. I am pretty crazy over lots of chocolate chips in my cookies, and lots of nuts too. Feel free to use as many or as little as you like. 2 cups is quite a lot, and that’s how I like them! For these in the pictures, I used 1 cups of chocolate chips and 1 cup of chocolate chunks. And I used about 3/4 cup of chopped pecans. So, so, so delicious!
Source: I’ve had this recipe for over 20 years in my notebook. Not sure where it came from!
Peach and Berry Cobbler
Homemade Playdough
Homemade Playdough
Ingredients:
1 cup all purpose flour
2 tsp cream of tartar
1 cup water
1/2 cup salt
1 TBSP oil
food coloring (I have used liquid drops and gel. Either one works great!)
Directions:
1. Mix flour, cream of tartar and salt together in a saucepot (no heat yet!). Add water, oil and food coloring.
2. Stir mixture together. Make sure you have the right amount of food coloring so that it is the color you want. This is the only chance you have to add more coloring!
3. Turn heat on high and stir constantly until it forms a ball. This happens really fast!
4. As soon as it has formed a ball and most of the wetness is gone, dump playdough onto a counter or cutting board. Let cool for a few minutes, and knead to until smooth. If you overcook it, the dough will be a little dry. I like to take it off the heat with a little wetness still showing in the dough, and then knead it until smooth. (See picture and explanation below.)
5. Store in a plastic bag. Have fun! (I put it in a plastic bag while still warm, so it keeps the moisture and does not dry out.)
Note: I always make a double batch, or a few batches with different colors. One batch will not be quite enough to share happily with 2 or 3 children. More is better!
Source: Adapted from Cookin’ With Home Storage by Vicki Tate
This is what it looks like as it starts forming a ball. See how it is still wet? At this stage, I would flip the dough over and let the wet part touch the hot pan and then take it out with just a few wet spots on the dough. Once you make your first batch, you’ll understand how fast it forms a ball, and when to take it out of the pan!
The Best Chocolate Chip Cookies Ever!
Easy Homemade Biscuits
The other night we were out of bread and rolls, so I decided to whip out some quick biscuits to serve with dinner. These are easy to make, delicious, and it only takes a few minutes until you can sink your teeth into a hot, fresh, fluffy biscuit!
Easy Homemade Biscuits
Ingredients:
3 cups all purpose flour (you can use 1 cup whole wheat flour in the place of 1 cup all purpose flour)
1/2 tsp salt
4 1/2 tsp baking powder
2 TBSP sugar (I personally don’t add the sugar, but it’s part of the original recipe.)
3/4 tsp cream of tartar
3/4 cups cold butter (1 1/2 sticks)
1 1/3 cups milk (plus a little more)
1 egg, beaten
Directions:
1. Mix all dry ingredients in a large bowl.
2. With a pastry blender, cut in butter until mixture looks crumbly. If you don’t have a pastry blender, you can cut up the butter with a knife as shown in the picture, and then mix and blend with your hands. That might not be the most sophisticated way to do it, but it works just fine.
3. Add egg and milk, stirring just until moistened. If the mixture seems too dry, add a little more milk. You want the dough to be quite moist, like the photo below. Do not overmix. You want to stir the dough as little as possible.
4. Turn dough out onto a floured surface. Sprinkle a little flour onto dough so you can touch it. Pat out about 1 inch thick or so. Cut dough with a biscuit cutter, or use a glass or cup like I do. Do not handle the dough very much. The less you touch it, the lighter they will be.
5. Place biscuits on a sprayed baking sheet. Bake in preheated 450 degree oven for 10 – 12 minutes or until the biscuits are done and are starting to brown on top. I like them when they are lightly browned, but some people like to cook them a bit longer and get them more browned and crustier.
6. Enjoy immediately with butter and honey, jelly, or even some delicious sausage gravy!
Source: I got the original recipe from my friend Patty Graff, a fabulous cook!

